
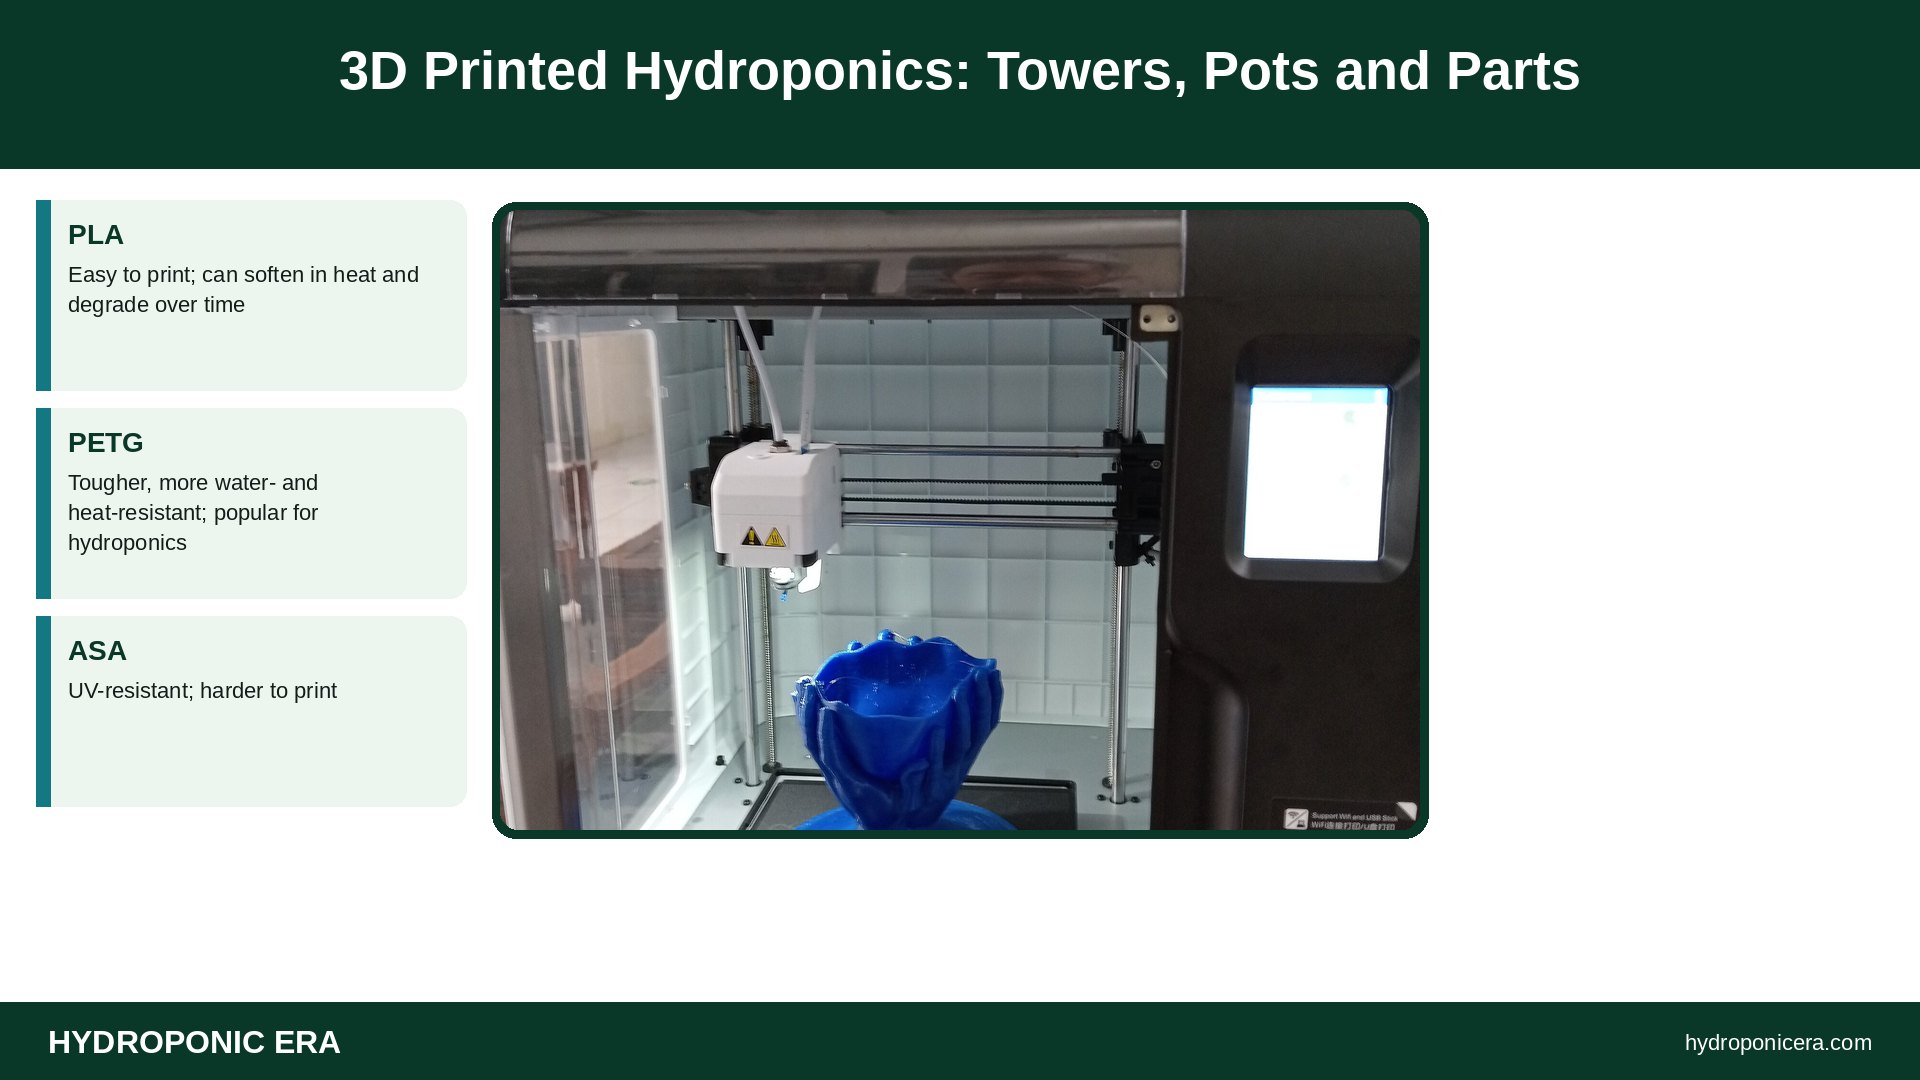
3D printed hydroponics lets you make custom net cups, tower sections, NFT end caps, seed-starter trays, and brackets at home, usually in PETG, which handles water and light better than PLA. The key concern is that the parts touch water used to grow food. Oklahoma State University’s Food and Agricultural Products Center and printer maker Prusa both warn that layer lines and gaps in FDM prints can harbor bacteria and that filament isn’t automatically food safe. Choose food-contact-rated filament where possible, print with smooth surfaces, use opaque colors, and clean and replace parts regularly.
Key takeaway: 3D printing is great for small custom hydroponic parts; use PETG or food-contact-rated filament, opaque colors, and easy-to-clean designs.
| Material | Water use | Notes |
|---|---|---|
| PLA | Fair | Easy to print; can soften in heat and degrade over time |
| PETG | Good | Tougher, more water- and heat-resistant; popular for hydroponics |
| ASA | Good outdoors | UV-resistant; harder to print |
| ABS | Fair | Fumes when printing; less common for food uses |
What Can You Make With 3D Printed Hydroponics?
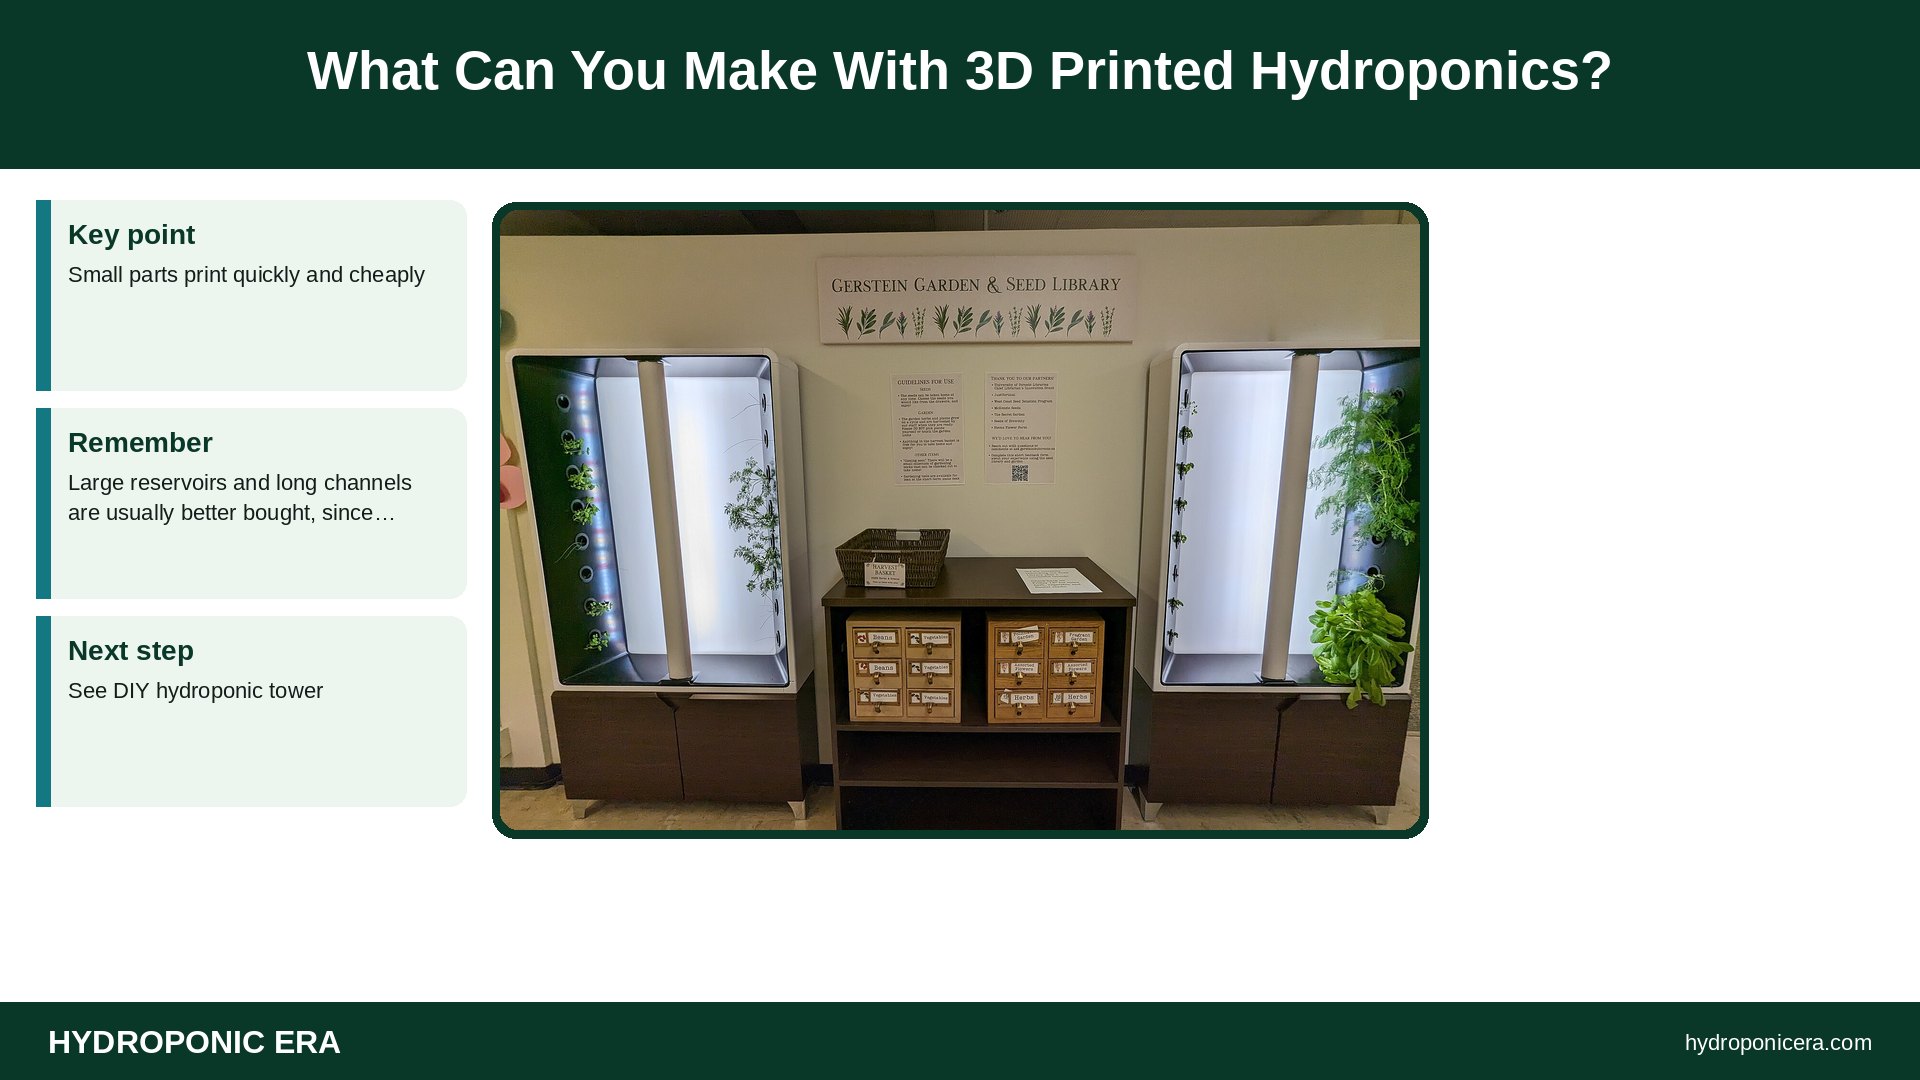
- Net cups and net cup lids in custom sizes.
- Stackable tower sections and planting ports.
- NFT channel end caps and inlet fittings.
- Kratky jar lids and seedling holders.
- Light brackets, tubing clips, and sensor mounts.
Small parts print quickly and cheaply. Large reservoirs and long channels are usually better bought, since big prints take many hours and may leak at layer seams. See DIY hydroponic tower.
Food Safety in 3D Printed Hydroponics
Oklahoma State University notes that 3D printed parts can have tiny gaps and crevices where bacteria collect and that cleaning them is harder than cleaning smooth molded plastic. Prusa’s guidance on food-safe printing adds that both the filament and the printer setup matter, including the nozzle material. For hydroponics, choose filament marked as food-contact compliant where you can, avoid filled or glitter filaments, and remember that roots and nutrient water are in constant contact with the part.
Best Filament for 3D Printed Hydroponics
PETG is the most common choice because it is tough, resists water, and handles warmer temperatures than PLA. PLA is easy to print but can soften in a warm room or sunny window and may break down over long exposure to moisture. For outdoor parts, ASA resists UV better. Whatever you use, choose black or dark opaque colors for anything that holds nutrient, so light can’t reach the water and grow algae.
Print Settings for Watertight Parts
Use more perimeters (walls), higher infill near water-holding areas, and a slightly higher extrusion temperature for better layer bonding. Smaller layer heights give smoother surfaces that are easier to clean, a point Formlabs also makes in its food-safe printing guide. Test each part with water before installing it in a system.
Sealing 3D Printed Hydroponics Parts
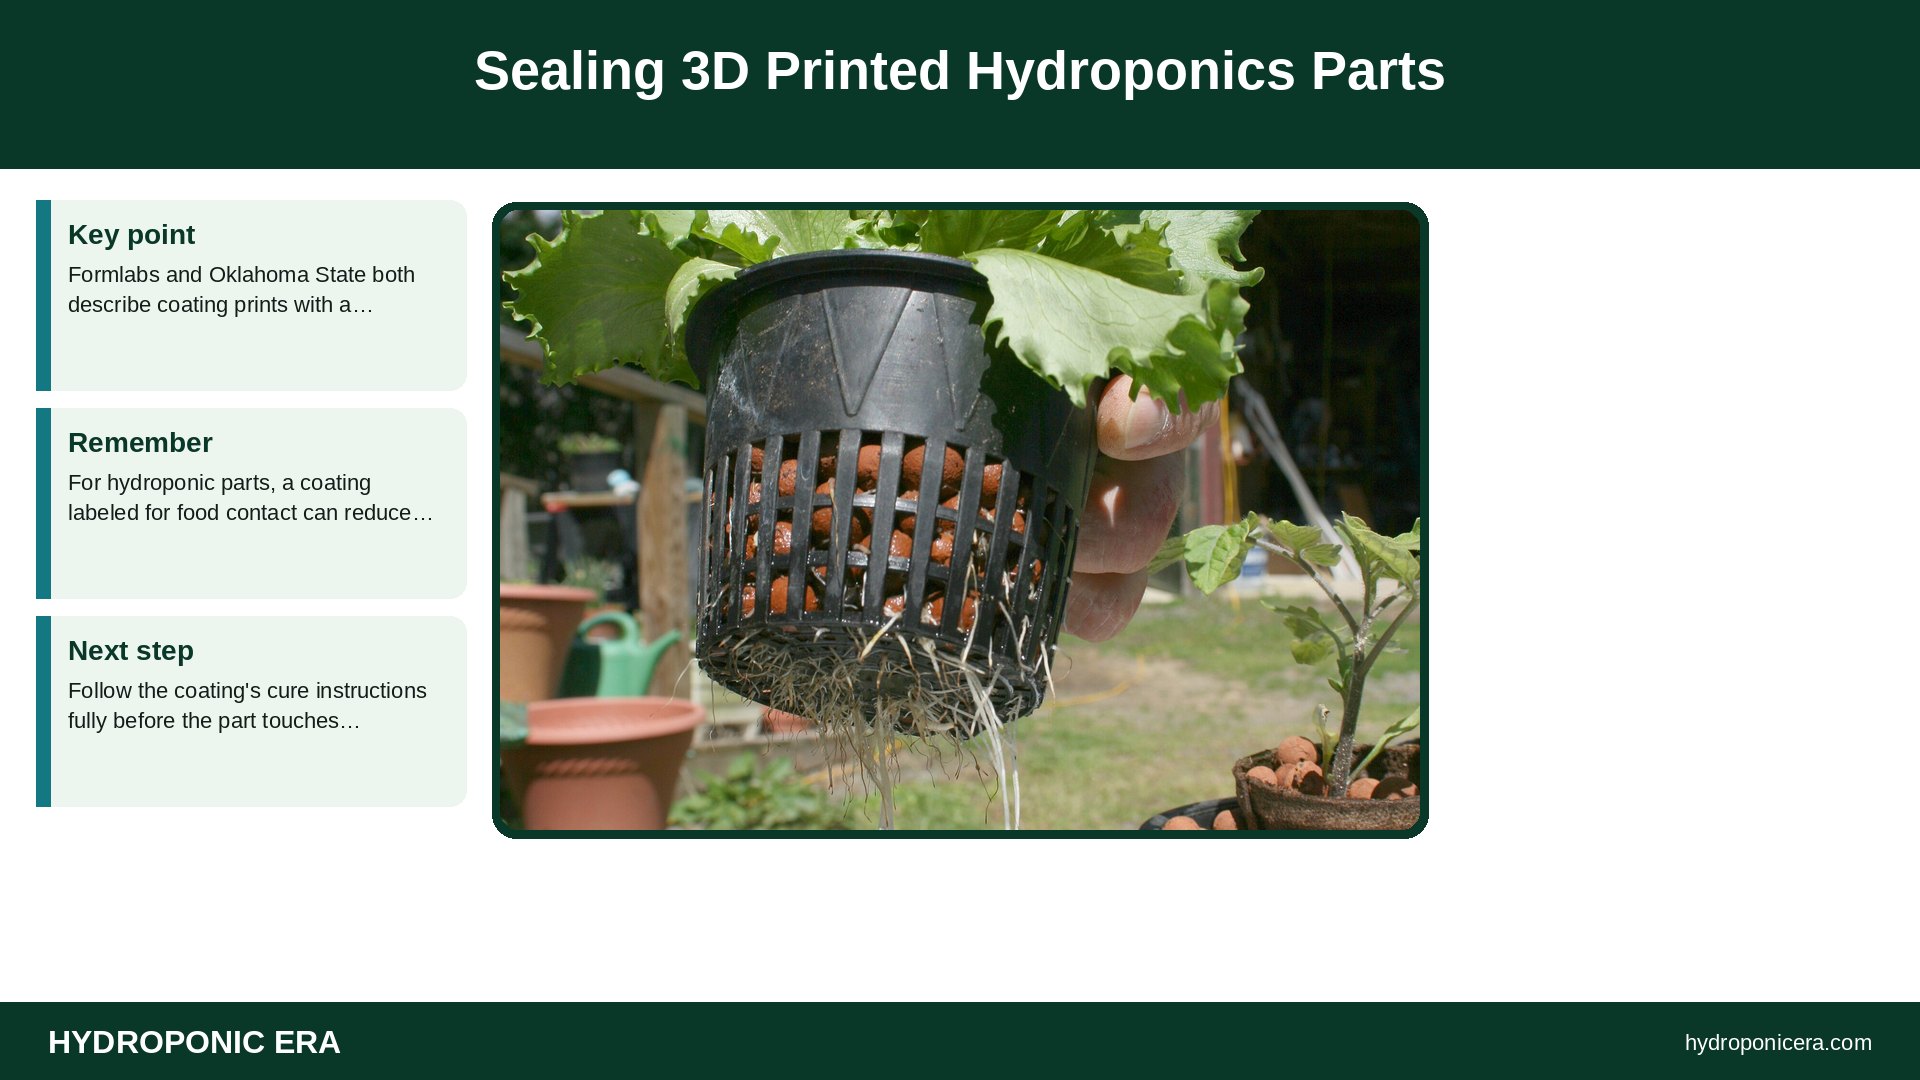
Formlabs and Oklahoma State both describe coating prints with a food-safe epoxy or resin to seal layer lines. For hydroponic parts, a coating labeled for food contact can reduce leaks and make cleaning easier. Follow the coating’s cure instructions fully before the part touches water.
Cleaning and Replacing Parts
Clean printed parts between crops with warm, soapy water and a soft brush, then rinse well. Oklahoma State notes that sanitizing helps reduce bacteria on printed surfaces. Replace parts that crack, warp, or grow stubborn biofilm, since printing a new one is cheap. See end-of-grow teardown.
Designing 3D Printed Hydroponics Parts
Design for easy cleaning: avoid deep, narrow crevices, round inside corners, and make parts that come apart. For net cups, slots wide enough for roots but small enough to hold media work best. Many free designs exist on model-sharing sites; check reviews and print one test part before printing a full set.
Common Problems
- Leaks at layer seams: add walls, raise temperature, or seal the part.
- Algae inside parts: light-colored or thin walls let light through.
- Warping: heat or sun softening PLA.
- Brittle parts: UV exposure on non-UV-stable filament.
3D Printed Hydroponics Cost
Small parts like net cups use only a few grams of filament each, so printing them can be cheaper than buying specialty sizes. The real costs are the printer, your time, and failed prints. For standard parts sold cheaply in bulk, buying is often easier.
Equipment Checklist for 3D Printed Hydroponics
- A 3D printer with a clean nozzle.
- PETG or food-contact-rated filament.
- Dark, opaque filament colors.
- Food-safe sealing coating (optional).
- A water test tub for leak checks.
Most of this gear is reusable from crop to crop, so the first setup costs the most. Buy reliable meters first; they prevent the majority of problems.
Beginner Mistakes With 3D Printed Hydroponics
Common mistakes are using thin walls that let light through, printing water-holding parts in PLA in a warm room, and designing parts with deep crevices that can’t be cleaned.
Getting Started With 3D Printed Hydroponics
Start small, change one thing at a time, and keep a simple log of pH, EC, temperature, and what you changed. Most hydroponic problems show up as patterns in those numbers before they show on the plant. Compare your notes with the sources below, and adjust slowly rather than chasing every small swing. A steady routine matters more than any single product or setting.
Choosing Food-Contact Filament for 3D Printed Hydroponics
Prusa’s guidance on food-safe FDM printing warns that color pigments and unknown additives in filament may not be as neutral as the pure plastic, and that it’s hard to know how much is present, which is why natural, uncolored filament is often preferred for food contact. Look for the manufacturer’s food-contact declaration for the specific product. Prusa also notes the nozzle matters: a standard brass nozzle wears over time and that worn material ends up in your print, so a stainless steel nozzle is recommended for food-contact parts. For hydroponics, balance this with the need for opaque parts: use natural filament for parts that touch roots briefly, and dark parts or covers where light would reach the nutrient.
FAQs: 3D Printed Hydroponics
Is PLA safe for hydroponics?
It works for short-term parts, but PETG holds up better in water and warmth.
Are 3D printed parts food safe?
Not automatically; layer lines can trap bacteria, so use rated filament and clean parts well.
What color filament is best?
Opaque, dark colors to block light and algae.
Can I print a whole hydroponic tower?
Yes, but large prints take long and must be watertight.
Should I seal printed parts?
A food-safe coating can help seal layer lines.
Is PETG better than PLA?
For water-contact parts, PETG usually lasts longer.
Sources
- Oklahoma State University FAPC — 3-D Printed Parts for Food Contact
- Prusa Knowledge Base — Food Safe FDM Printing
- Formlabs — The Essential Guide to Food Safe 3D Printing
- Photo credits (Wikimedia Commons, edited with titles): 3D Printing by MukhtaromST (CC0); Gerstein Science Information Centre aeroponics towers by Jason Zhang (CC BY-SA 3.0); Gerstein Science Information Centre aeroponics towers by Jason Zhang (CC BY-SA 3.0); 2009-03-30 Lettuce roots by Ildar Sagdejev (Specious) (CC BY-SA 4.0); Hydroton by Lucis (CC BY-SA 3.0)