
A DIY hydroponic tower is a vertical pipe, usually 4-inch PVC, with angled planting holes, a small submersible pump in a reservoir at the base, and a tube that carries nutrient solution to the top so it trickles back down past the roots.
It lets you grow 12–30 leafy greens or herbs in about the floor space of a 5-gallon bucket. The keys to a good build are food-safe pipe rated for drinking water, a pump strong enough for the tower height, light-proof materials to stop algae, and a nutrient solution kept in the ranges University of Florida IFAS Extension gives for small lettuce systems: about 65–80°F, EC 1.2–1.8 mS/cm, and well oxygenated.
Key takeaway: Build with NSF-61 rated pipe, size the pump to the tower height, keep it light-proof, and grow compact leafy crops.
| Part | Typical choice | Why it matters |
|---|---|---|
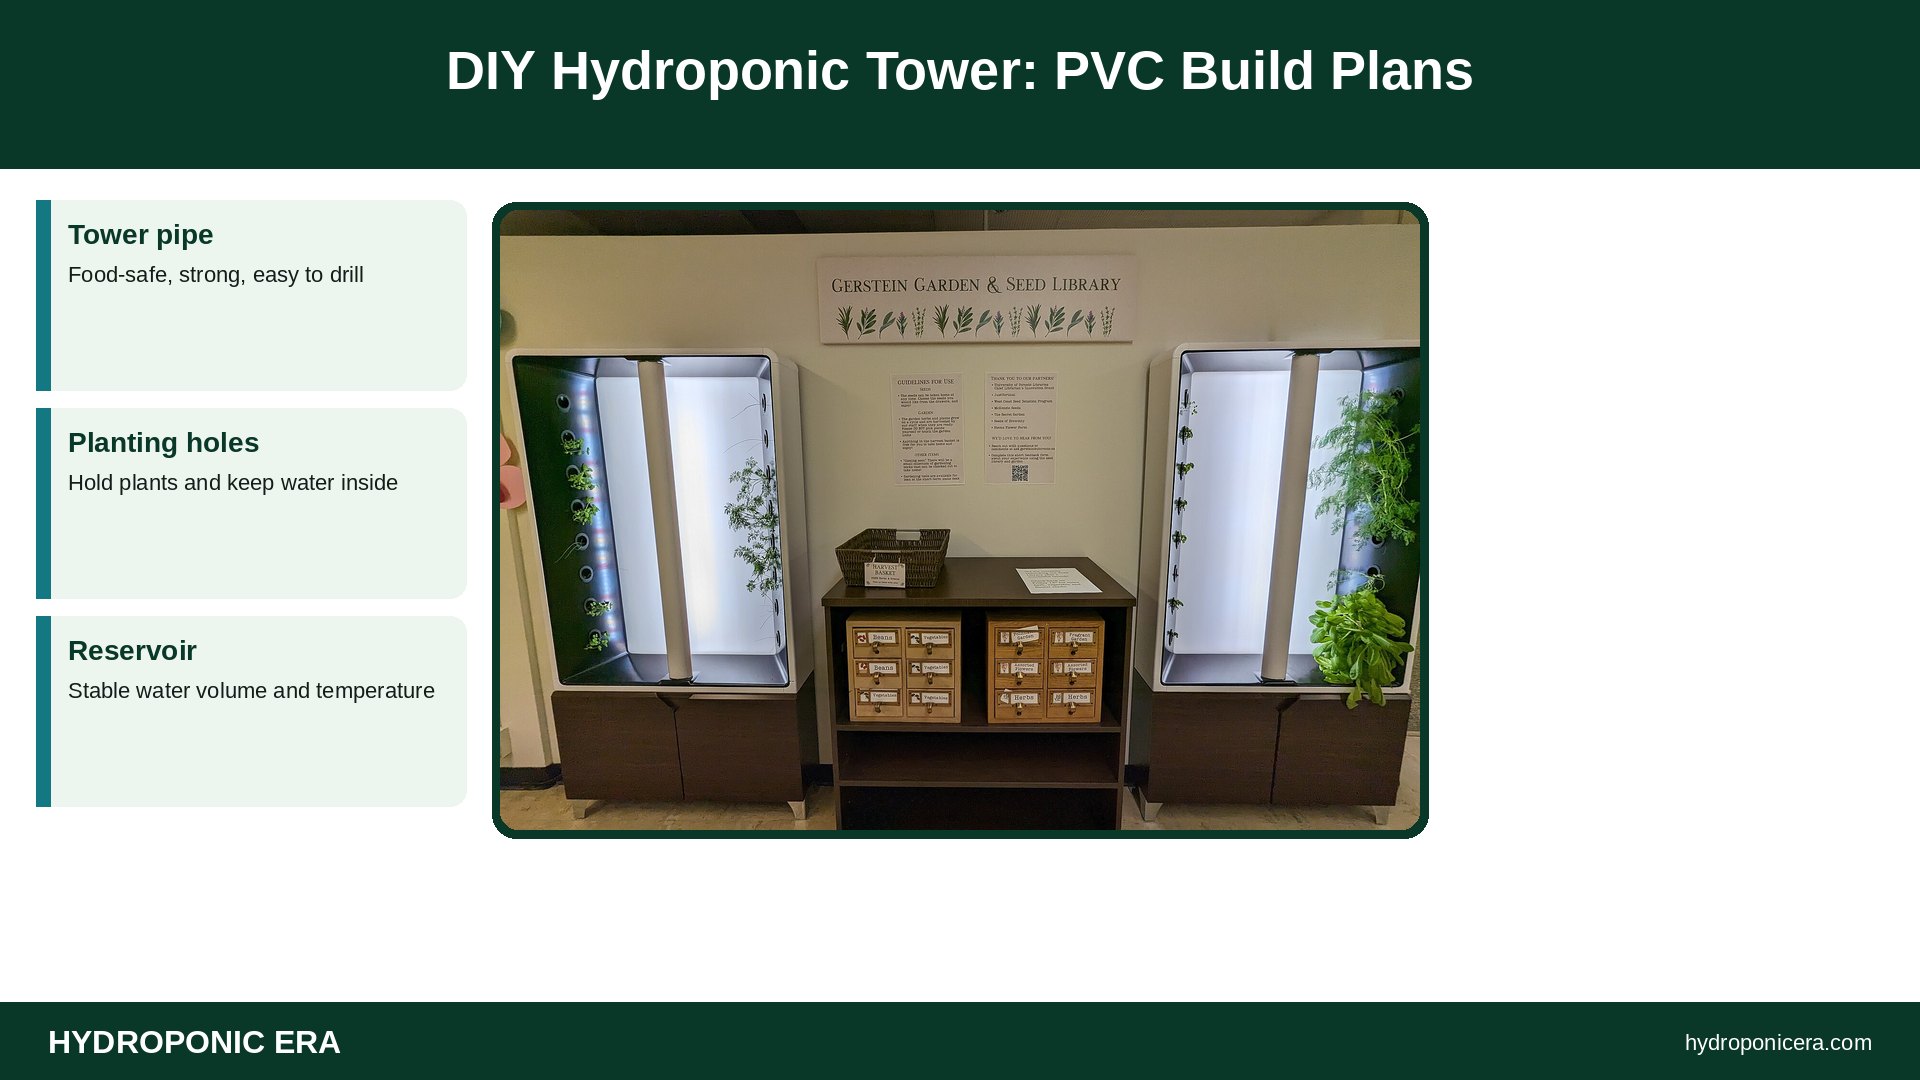
| Tower pipe | 4-inch PVC, NSF-61 rated | Food-safe, strong, easy to drill |
| Planting holes | 2-inch net cups, angled up | Hold plants and keep water inside |
| Reservoir | 5-gallon or larger opaque bucket or tote | Stable water volume and temperature |
| Pump | Submersible, rated above tower height | Lifts water to the top |
| Feed line | ½-inch tubing to a cap or spray ring | Even flow down the inside |
| Timer (optional) | Short cycles for media-filled towers | Saves power; keep roots moist |
How a DIY Hydroponic Tower Works
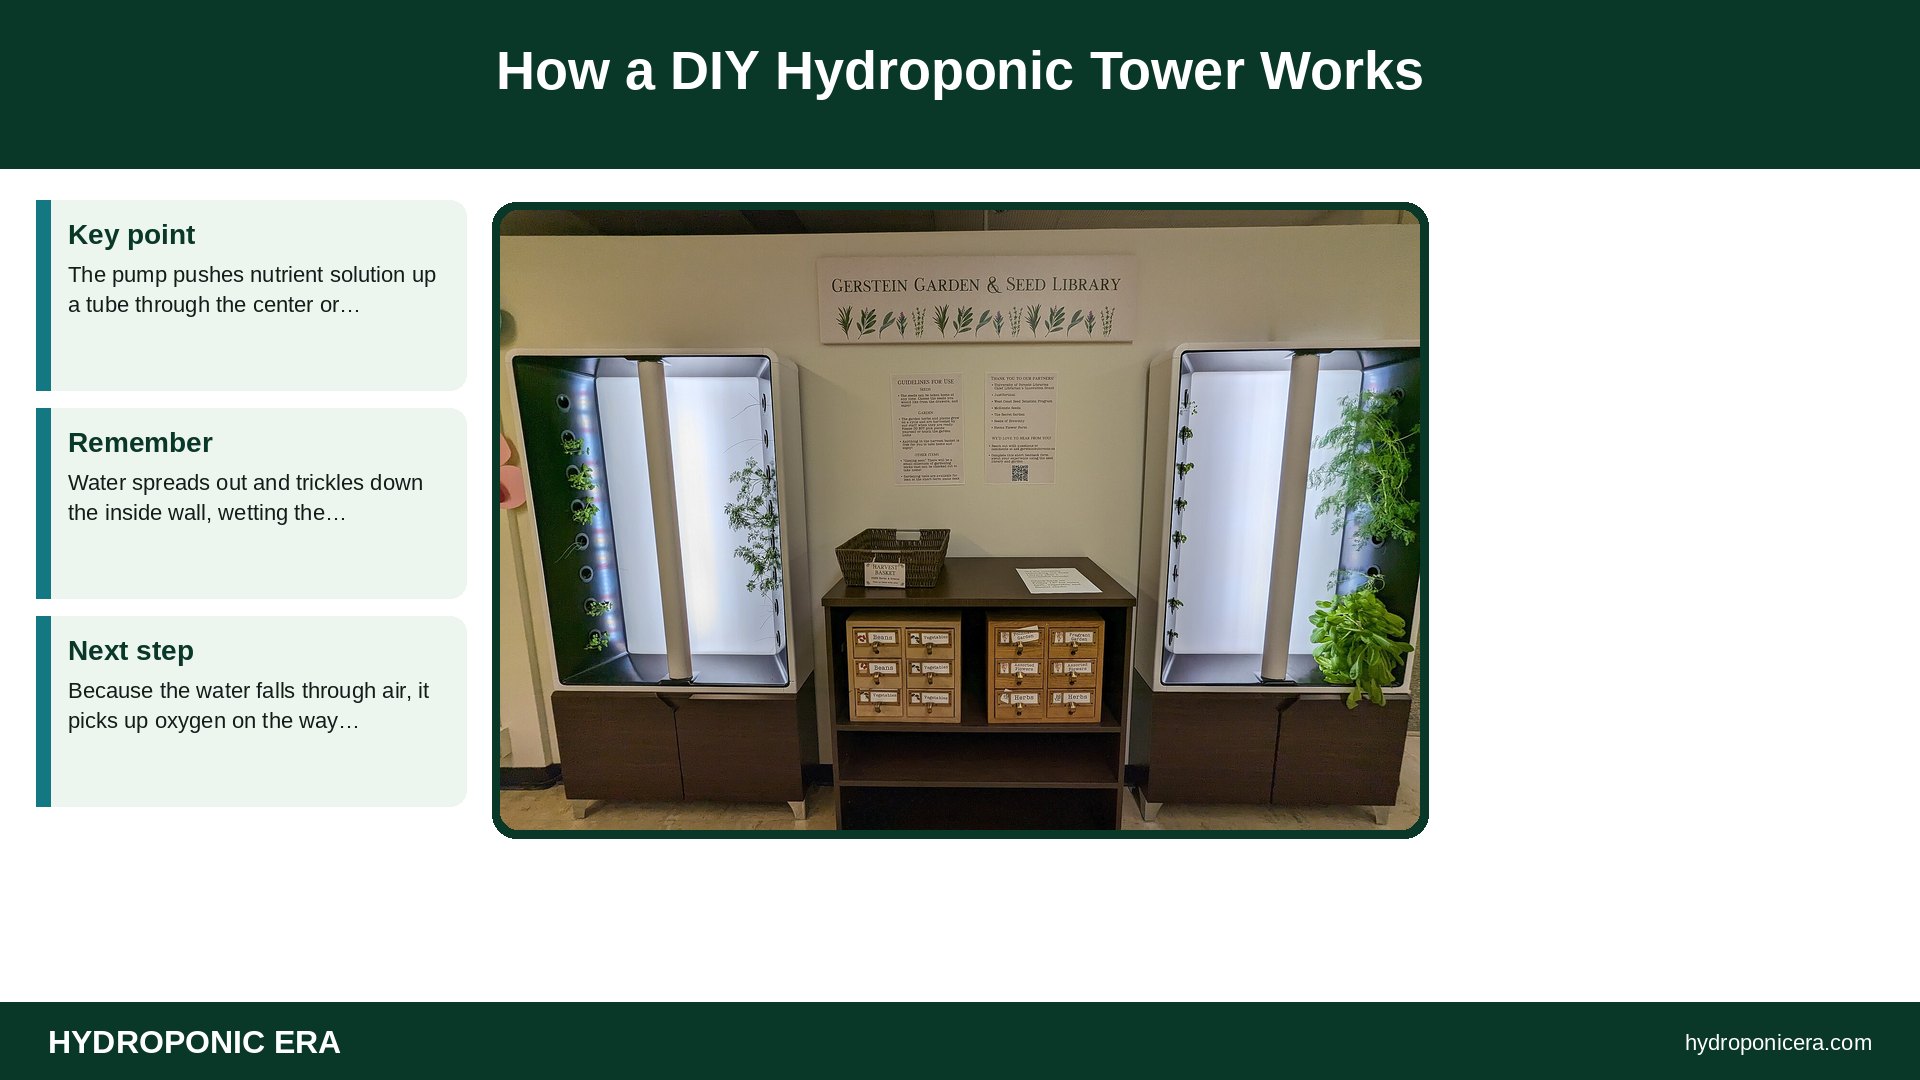
The pump pushes nutrient solution up a tube through the center or side of the pipe to a cap at the top. Water spreads out and trickles down the inside wall, wetting the roots that hang from each net cup, then drains back into the reservoir. Because the water falls through air, it picks up oxygen on the way down. Commercial towers use the same idea. See hydroponic tower gardens.
DIY Hydroponic Tower Materials List
- One 4- or 5-foot length of 4-inch PVC pipe (look for NSF-61 marking, the standard for drinking-water system components).
- A 4-inch end cap for the top and a way to stand the pipe in the reservoir lid.
- 2-inch net cups and a 2-inch hole saw.
- Opaque reservoir with a lid, 5 gallons or larger.
- Submersible pump with a published flow curve.
- ½-inch vinyl or poly tubing and fittings.
- Growing medium: clay pebbles, rockwool plugs, or foam starter plugs.
- pH and EC meter. See pH and EC meters.
Avoid pipe of unknown origin, and don’t use pipe that previously carried chemicals or wastewater. See PVC and tubing mistakes.
DIY Hydroponic Tower Build Steps
- Mark holes: stagger planting sites in a spiral, roughly 6–8 inches apart vertically, so plants don’t shade each other.
- Cut holes at an angle: drill upward at about 45 degrees so net cups tilt up and water stays inside. Some builders heat the PVC and press a lip outward; work outdoors and avoid overheating PVC, which can release harmful fumes.
- Deburr and rinse: remove plastic chips so they don’t clog the pump.
- Feed line: run tubing from the pump up to the top cap. Drill a few small holes in a ring or let it splash onto a disc so water spreads around the wall.
- Base: set the tower upright through the reservoir lid so it drains straight back.
- Light-proof: paint or wrap white or clear sections; light inside the pipe causes algae. See light-proofing methods.
- Test with water: run for a day to check leaks and flow before adding nutrients.
Sizing the Pump for a DIY Hydroponic Tower
The pump must lift water from the reservoir surface to the top cap. Pump boxes list maximum flow at zero lift and a maximum head height where flow stops. Choose a pump whose head rating comfortably exceeds your tower height, then check its flow at that height. A gentle, steady trickle is the goal; too much flow splashes out of the holes.
Best Crops for a DIY Hydroponic Tower
- Lettuce, especially loose-leaf and butterhead.
- Kale, chard, and Asian greens.
- Basil, mint, cilantro, parsley, and chives.
- Strawberries, which hang neatly from the sides.
Large fruiting plants like tomatoes and squash get too heavy and need more root space. See best herbs for hydroponics.
Nutrients, pH, and Temperature
For lettuce in small systems, UF/IFAS suggests keeping the solution at 65–80°F, dissolved oxygen around 5 mg/liter, and EC between 1.2 and 1.8 mS/cm. UF/IFAS gives a pH of 6.0–7.0 for lettuce in that guide. A tall tower in sun can warm the water quickly, so shade the reservoir. See EC and TDS.
DIY Hydroponic Tower Lighting

Outdoors, rotate the tower or place it where all sides get light. Indoors, a single overhead light leaves the bottom dim; use vertical LED bars on two or more sides. See LED watts per square foot.
DIY Hydroponic Tower Maintenance
- Top up the reservoir with fresh water as plants drink.
- Check pH and EC a few times a week.
- Change the solution every 2–3 weeks or when EC drifts.
- Clean the pump intake and check the top distributor for clogs.
- Pull roots that grow into the drain path.
Common DIY Hydroponic Tower Problems
- Dry top plants: pump too weak or distributor clogged.
- Leaks from holes: holes not angled enough, or flow too strong.
- Algae: light entering the pipe or reservoir.
- Root rot: warm water and low oxygen. See Pythium root rot.
- Tower tips over: widen the base or anchor it.
Planning Tips: DIY Hydroponic Tower
Plan the tower around the reservoir. A larger reservoir holds pH and nutrient strength steadier between checks, while a small bucket can swing quickly on hot days. Make sure the base is wide and stable, because a full tower is top-heavy, and keep the pump intake raised slightly off the bottom so it doesn’t suck up sediment. Paint or wrap any translucent parts to block light and keep algae out of the water.
Spacing matters too. Leafy greens and herbs fit close together, while larger plants like tomatoes shade the ports below them and get too heavy for most homemade towers. Put taller crops at the top and shade-tolerant greens lower down.
Weekly Routine for DIY Hydroponic Tower
- Check pH and EC, and record them.
- Top off the reservoir with plain, pH-adjusted water.
- Look at roots for color and smell.
- Check leaves, especially undersides, for pests.
- Clean filters, emitters, and pump intakes.
- Change the nutrient fully every two to three weeks, or sooner if EC drifts.
Beginner Mistakes With DIY Hydroponic Tower
The most common mistakes are skipping pH testing, using nutrient that’s too strong, letting light reach the water, and ignoring water temperature. Each one is easy to fix once you know to check for it. Start with fewer plants than you think you need, learn the routine, and expand once the system runs smoothly.
FAQs: DIY Hydroponic Tower
What pipe is safe for a DIY hydroponic tower?
PVC marked NSF-61, the drinking water component standard.
How tall should a DIY tower be?
Four to five feet suits most indoor spaces and small pumps.
How many plants fit?
Roughly 12–30, depending on pipe length and spacing.
Does the pump need to run all the time?
Often yes for bare-root towers; media-filled towers can use timed cycles.
What grows best?
Lettuce, greens, herbs, and strawberries.
Sources
- UF/IFAS Extension — Growing Lettuce in Small Hydroponic Systems (HS1422)
- NSF — NSF/ANSI 61: Drinking Water System Components
- Photo credits (Wikimedia Commons, edited with titles): Gerstein Science Information Centre aeroponics towers by Jason Zhang (CC BY-SA 3.0); Gerstein Science Information Centre aeroponics towers by Jason Zhang (CC BY-SA 3.0); Hydroton by Lucis (CC BY-SA 3.0); Terramera scientists working in a climate-controlled growth chamber located in Vancouver, BC. The space uses LED lighting, which supports plant growth. (50188965171) by Simon Fraser University – Communications & Marketing (CC BY 2.0); Hydroponic lettuce @ Plaine des Cafres 03 by Rémih (CC BY-SA 4.0)