
What are the best seed starting trays? The best seed starting trays are divided cell flats that sit inside a solid tray, with drainage holes in every cell and a clear dome for germination. University of Minnesota Extension recommends one seedling per cell so roots don’t tangle. Fill cells with sterile seed-starting mix, water from below, and remove the dome once seedlings reach it.
Key takeaway: Seed starting trays work best as a system: cell insert, solid tray, dome, heat mat and lights. Keep the mix moist but not soggy, keep lights 2–4 inches (5–10 cm) above seedlings, and clean reused trays in 10% bleach to prevent damping-off.
| Seed starting trays checklist | Recommendation | Source |
|---|---|---|
| Tray type | Cell flats in a solid tray; one seedling per cell | UMN |
| Drainage | Holes in every container | UMN |
| Mix | Sterile peat-vermiculite seed-starting mix | UMN |
| Dome | Remove when seedlings touch it | UMN |
| Light distance | 2–4 inches (5–10 cm); 12–16 hours | UMN |
| Cleaning reused trays | 10% bleach for 30 minutes, then rinse | UW–Madison |

What Are Seed Starting Trays?
Seed starting trays are shallow plastic or fiber containers for germinating seeds indoors before transplanting. A typical setup has three parts: a cell insert with individual pockets, a solid tray underneath that holds water, and a clear plastic dome. University of Minnesota Extension notes plastic cell flats are made to fit standard trays and are mostly reusable.
Why Use Cell Trays Instead of One Open Flat?

Cell trays keep each seedling’s roots separate, so transplanting does less damage. UMN Extension recommends divided containers with a single seedling per cell instead of sowing many seeds in one open flat, because roots grow together and get injured when you pull them apart. Onions and leeks are exceptions; UMN says they can start in one flat and be separated while small.
| Tray style | Best for | Drawback |
|---|---|---|
| Cell flat insert | Most vegetables and flowers | Small cells dry out fast |
| Open flat | Onions, leeks, microgreens | Roots tangle for other crops |
| Fiber or peat pots | Cucumbers, squash and other poor transplanters | Can wick water away |
| Hydroponic plug tray | Rockwool or foam plugs for soilless systems | Needs careful moisture control |
What Should You Fill Seed Starting Trays With?
Fill seed starting trays with a commercial seed-starting mix, usually peat and vermiculite with no true soil. UMN Extension says these mixes are sterile, light and free of weed seeds. Water the mix before sowing; if it settles more than half an inch (1.3 cm) below the rim, top it off and water again.
For hydroponic starts, use plugs instead of soil; compare options in our guides to rockwool, Oasis cubes and hydroponic germination methods.
When Should You Start Seeds in Trays?
Start seeds in trays by counting back from your outdoor planting date. University of Minnesota Extension’s schedule, written for Minnesota, gives these indoor times; adjust for your own frost date.
| Crop | Time indoors | UMN start window |
|---|---|---|
| Onions, leeks | 14–15 weeks | Early February |
| Broccoli, cabbage, head lettuce | 10–11 weeks | Early March |
| Peppers, eggplant | 9 weeks | Mid-March |
| Tomatoes | 5–6 weeks | Early April |
| All transplants | Harden off 1–2 weeks | Early to mid-May |
UMN also advises buying only the seed you will use in two or three years and storing leftover packets airtight in the refrigerator.
How Do You Use Seed Starting Trays Step by Step?
- Clean the trays. Reused trays go in 10% bleach for 30 minutes, then a good rinse, per UW–Madison.
- Fill and pre-wet the cells with seed-starting mix.
- Sow seeds about twice as deep as they are wide, UMN’s rule of thumb.
- Label each row with a permanent marker.
- Add the dome to hold moisture and heat.
- Use bottom heat if the room is cool.
- Move under lights as soon as seedlings appear.
- Thin to one seedling per cell with scissors after true leaves form.
How Do You Water Seed Starting Trays?
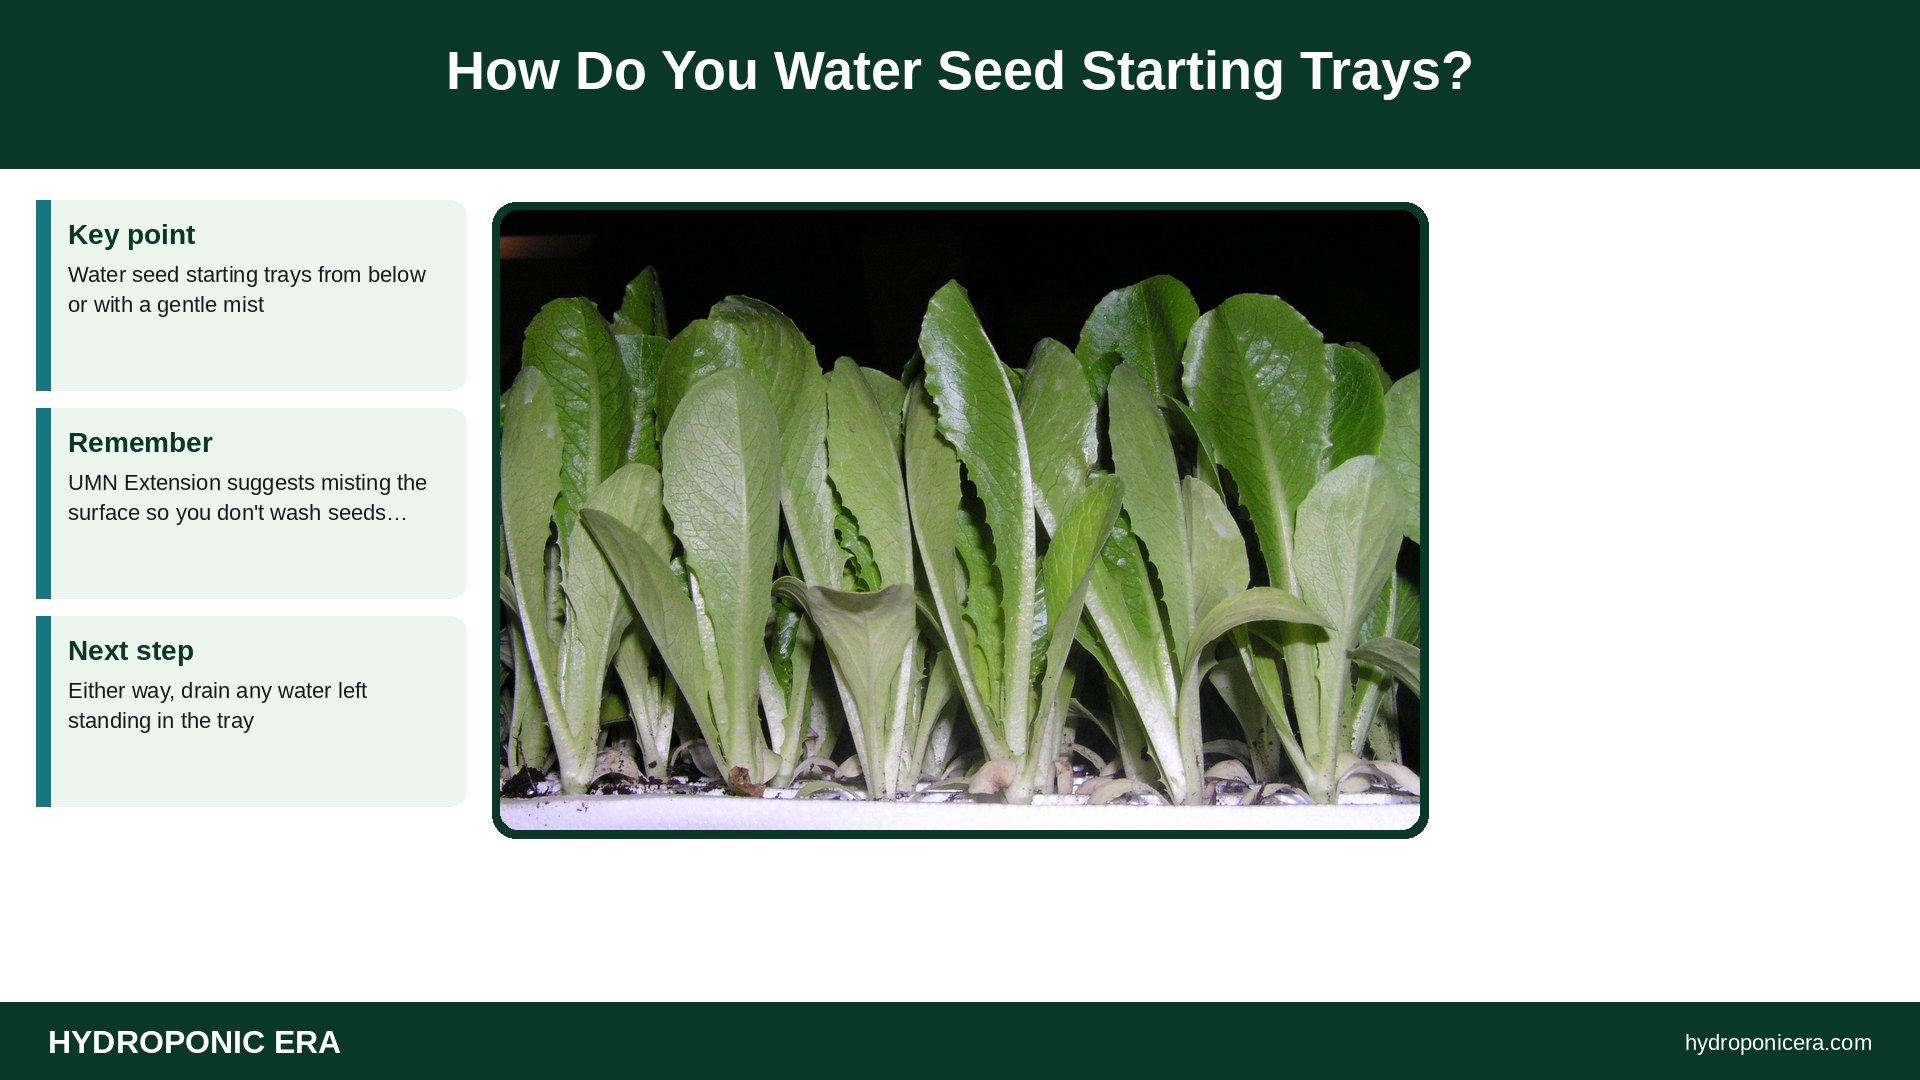
Water seed starting trays from below or with a gentle mist. UMN Extension suggests misting the surface so you don’t wash seeds out, or adding water to the tray so it moves up into the mix. Either way, drain any water left standing in the tray. UW–Madison warns that damping-off organisms are more active in wet soil, so keep the mix slightly on the dry side once seedlings are up.
Do You Need a Dome and Heat Mat?
A dome and heat mat speed germination but are not always required. UMN Extension says domes keep moisture in and help hold root-zone heat; remove them when seedlings reach the lid. Mix in containers can be as much as 5°F (3°C) cooler than the air, so a heat mat helps seeds sprout faster and can reduce damping-off. Do not plug the mat into the light timer.
Learn more in our guide to seedling heat mats and humidity domes.
How Much Light Do Seedlings in Trays Need?
Seedlings in trays need strong light close above them. UMN Extension recommends fluorescent or LED lights no more than 4 inches (10 cm) above the seedlings, with 2 inches (5 cm) ideal, for 12–16 hours a day. Lack of light is the main cause of tall, skinny stems, and a windowsill is often too cold at night and too hot by day.
See our guides to a seed starting shelf with grow lights and leggy seedlings.
How Do You Prevent Damping-Off in Seed Starting Trays?
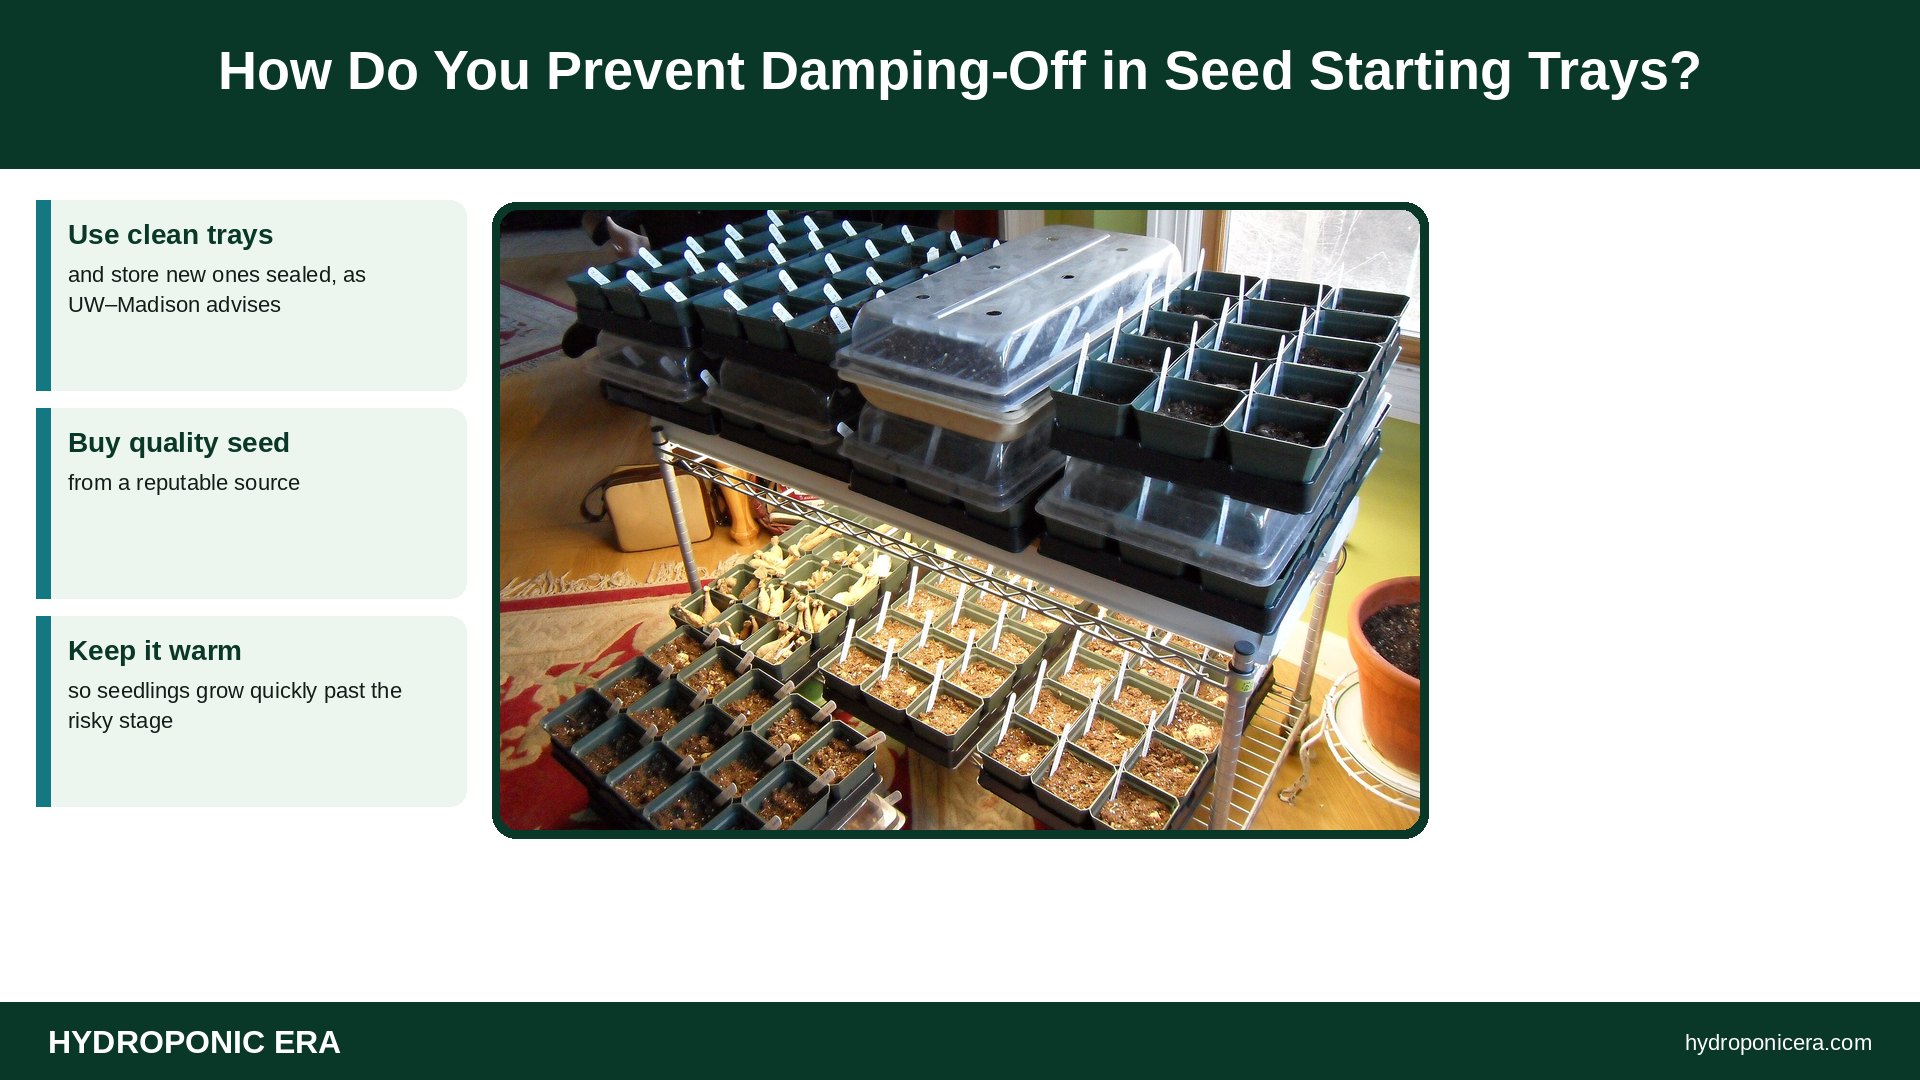
- Use clean trays and store new ones sealed, as UW–Madison advises.
- Buy quality seed from a reputable source.
- Use sterile or pasteurized mix.
- Keep it warm so seedlings grow quickly past the risky stage.
- Don’t overwater.
Read the full guide to damping-off in seedlings.
When Should Seedlings Leave the Tray?
Move seedlings when they outgrow their cells, usually when roots fill the cell and leaves crowd neighbors. UMN Extension suggests containers 1–2 inches (2.5–5 cm) wider than the cell, lifting each by the root ball and never by the stem. Start feeding a quarter-strength fertilizer once a week after several sets of true leaves. See transplanting hydroponic seedlings.
Before planting outside, UMN recommends hardening off over about two weeks: start with a few hours in afternoon shade, then add a little more sun and time outdoors each day.
FAQs
How many cells should a tray have?
Smaller cells suit fast crops; larger cells hold seedlings longer before transplant.
Can I reuse seed starting trays?
Yes. Clean and disinfect them first.
Do seed trays need drainage holes?
Yes. UMN says all seed-starting containers need them.
When do I remove the dome?
When seedlings touch the lid.
Should I fertilize right away?
No. Seeds carry their own food at first.
Are peat or fiber pots better than plastic trays?
They suit crops that resent root disturbance, like cucumbers and squash; trim the rim to soil level at planting so it does not wick water, UMN advises.
Sources
- University of Minnesota Extension — Starting seeds indoors
- University of Wisconsin–Madison Extension — Dampening Damping-Off: Tips on Seed Starting to Avoid Disease
- Photo credits (Wikimedia Commons, edited with titles): Plugs ready for transplant (7027255351) by Dwight Sipler from Stow, MA, USA (CC BY 2.0); Fleece lined greenhouse potting tray and seed pots – Flickr – peganum by peganum from Small Dole, England (CC BY-SA 2.0); Lettuce Plugs by Apapac at English Wikipedia (Public domain); Dahlias started indoors by F. D. Richards from Clinton, MI (CC BY-SA 2.0); 5670Farm Ready Seedling Facility East West Seed Philippines 20 by Judgefloro (CC0)