
Quick Answer: hydroponic seedlings transplanting
hydroponic seedlings transplanting succeed when you start seed in clean, inert plugs; give strong light immediately after germination; keep early nutrient strength mild; and move plants into the final system only when roots are visible and true leaves are present—without tearing the root ball or drowning the crown. Transplant shock in hydroponics is usually cultural (light, EC, temperature, handling), not mysterious. A clean nursery stage prevents you from inoculating an entire reservoir with weak, stretched, or pest-laden plants.
Continue with growing media for hydroponics (draft sibling), nutrients, and pH.
Key Takeaways
- Penn State Extension’s “Starting Seeds Indoors” guidance emphasizes clean containers, quality seed-starting media, warmth for germination, and strong light to prevent stretch—principles that transfer directly to hydroponic plugs.
- University of Minnesota Extension’s indoor seed-starting materials likewise stress timing, light close to seedlings, and careful watering to avoid damping-off conditions.
- University of Georgia’s greenhouse transplant bulletin (B1144) highlights advantages of containerized transplants: uniformity, controlled fertility, and a media-enclosed root ball that reduces shock—useful framing even for home hydroponic plugs.
- UF/IFAS media guidance (EP623) notes sanitation and reuse limits for soilless media; dirty plugs become pathogen carriers.
- Oklahoma State soilless mediums fact sheet supports choosing media for aeration and drainage—soggy nursery trays invite fungus gnats and root disease.
- Virginia Tech’s vegetable seeding/transplant publication (426-001) reinforces planning crop timing before you sow more plants than your system can hold.
Related HydroponicEra guides
- Hydroponic system for beginners
- How to start hydroponics at home
- Best grow lights
- Cleaning and sterilizing between crops (draft sibling)
- Air pumps and air stones (draft sibling)
Why hydroponic seedlings transplanting needs a nursery stage
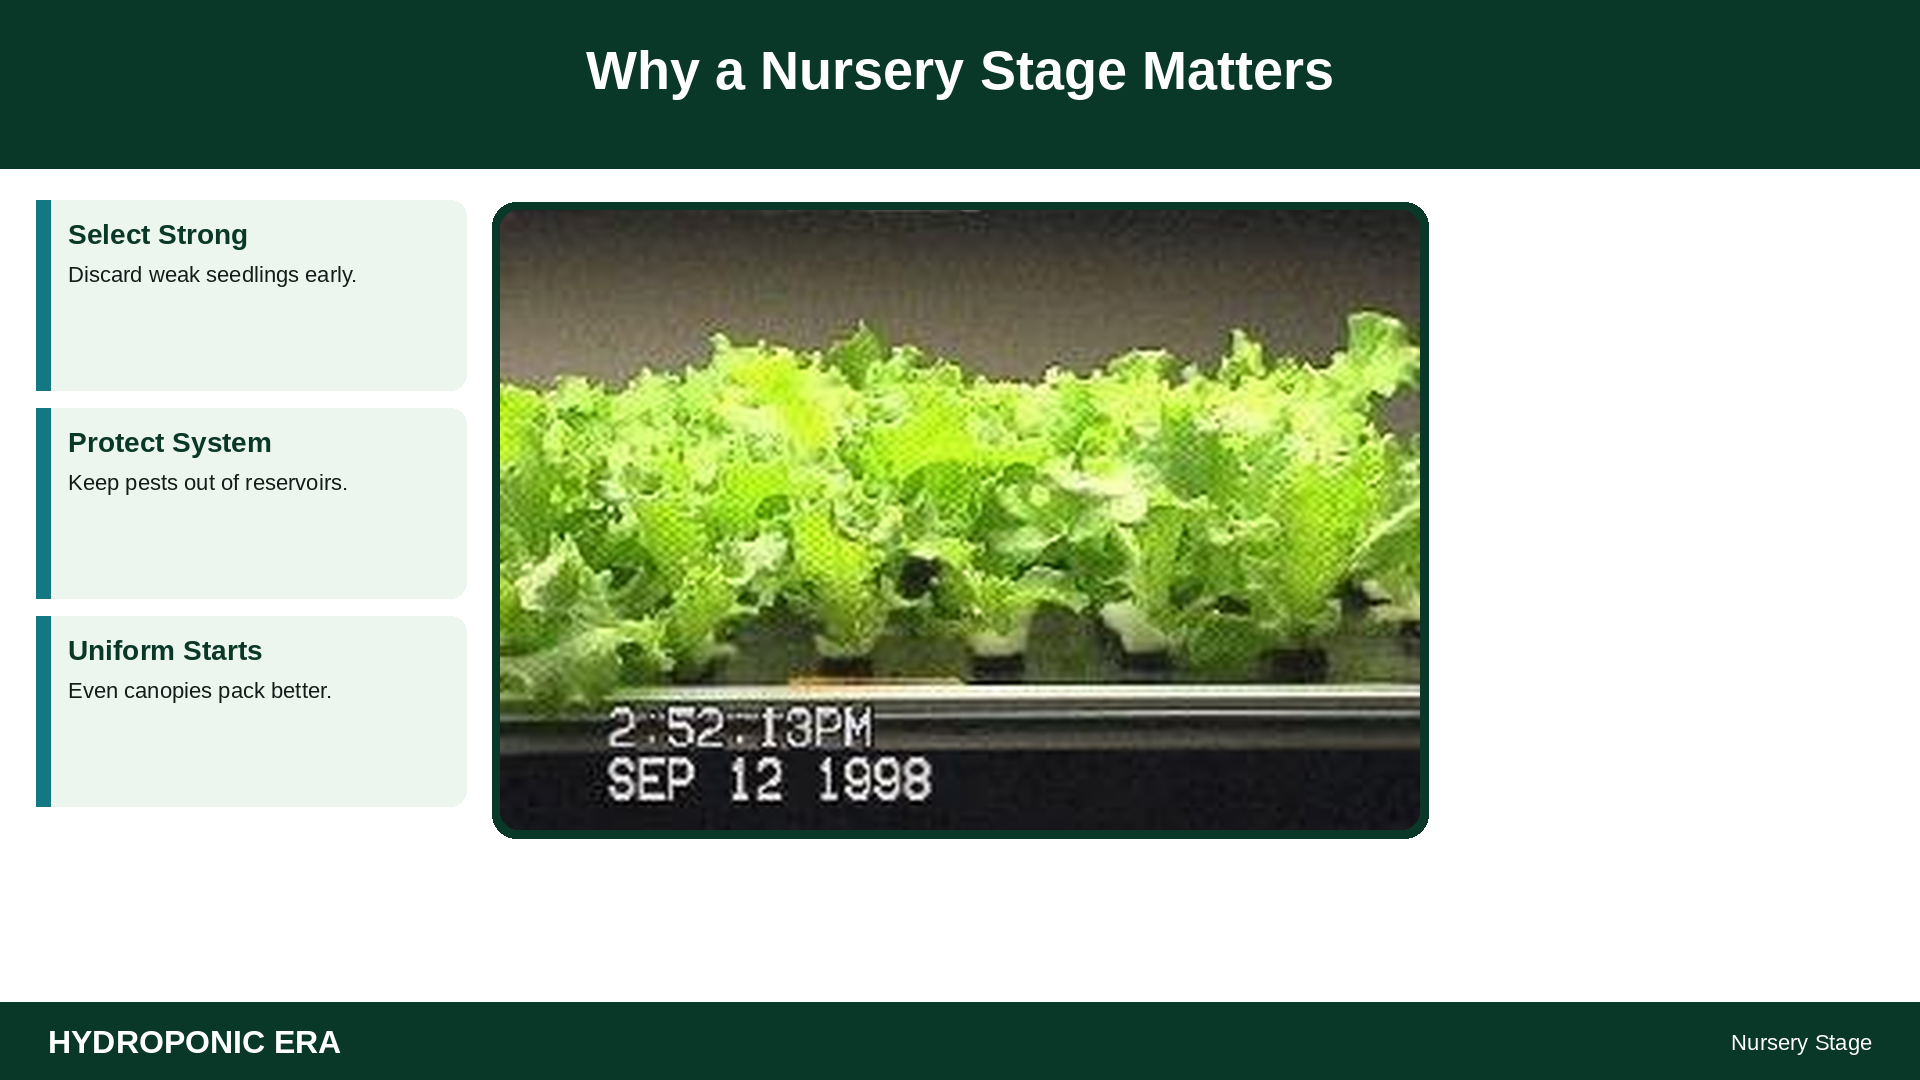
Sowing seed directly into a large NFT channel or DWC tub is possible for some crops, but a nursery stage gives you selection power: keep the strongest seedlings, discard weak ones, and avoid wasting reservoir volume on blanks. UGA’s transplant discussion lists uniformity and controlled early growth as reasons greenhouse growers use containerized starts—home hydroponic growers get the same benefits at smaller scale.
Nursery isolation also protects the main system. Fungus gnats, damping-off organisms, and algae-laden trays are easier to manage in a small propagation area than after they circulate through meters of channel.
Choose Plugs and Media

| Option | Beginner fit | Notes |
|---|---|---|
| Rockwool / stonewool cubes | Excellent | Pre-condition per product guidance; pH of unused cubes can be high |
| Phenolic foam plugs | Excellent | Uniform; match size to net pots |
| Coco plugs / pellets | Good | Watch salt content; rinse if directed |
| Expanded clay in net pots | OK for larger seeds | Less ideal for tiny seed without a fine insert |
| Garden soil in cups | Poor for hydroponics | Introduces microbes, pests, and clogging fines |
Read growing media for deeper comparisons. Whatever you choose, start clean.
Step-by-Step: From Seed to System
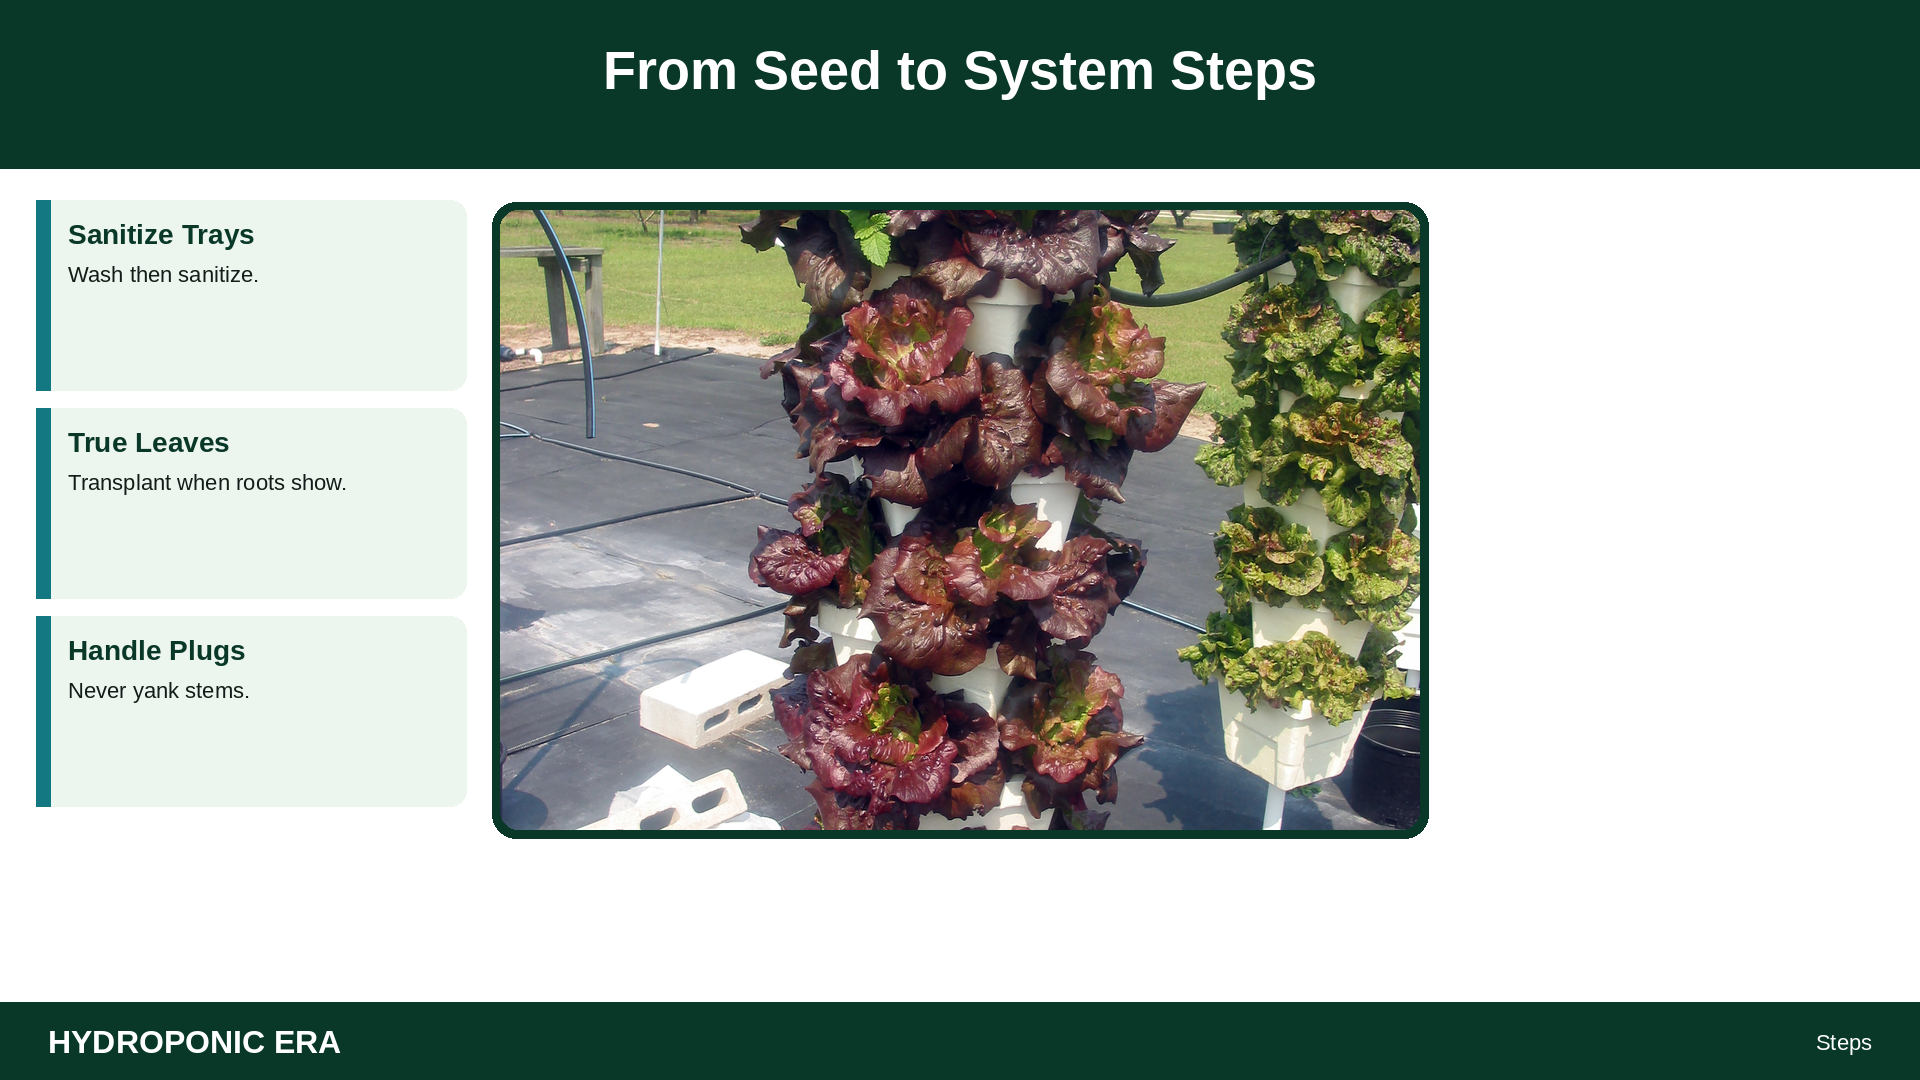
- Sanitize trays and tools if reused. Between cycles, follow the spirit of greenhouse sanitation guidance: remove debris, wash, then sanitize with labeled products and proper contact time.
- Prep plugs. Hydrate rockwool or foam as directed. Avoid squeezing plugs into anaerobic mush.
- Sow at the correct depth. Tiny seeds stay near the surface; follow the packet.
- Cover for humidity until radicles appear, then remove covers to reduce fungal pressure.
- Provide warmth for germination appropriate to the crop (cool crops differ from tomatoes). Penn State and UMN indoor seeding pages both emphasize temperature as a germination driver.
- Light immediately after emergence. Stretch happens fast under a distant bulb.
- Water with plain water or very mild nutrient at first. Do not blast seedlings with full fruiting-strength solution on day one.
- Thin to one plant per plug when needed—scissors at the base beat yanking neighbors.
- Hardening step: increase light and airflow; move from nursery EC toward system EC in small steps over a few days.
- Transplant when roots show at plug edges and true leaves are present. Handle by the plug, not the stem.
- Seat the plug in the net pot so the crown is not submerged in stagnant water. In DWC, water should kiss roots/air gap appropriately; in NFT, verify film contact without burying stems.
- Confirm pump, aeration, and pH/EC the same day you transplant—do not “check tomorrow.”
Important Variables at Transplant
| Variable | Beginner target habit | Failure mode |
|---|---|---|
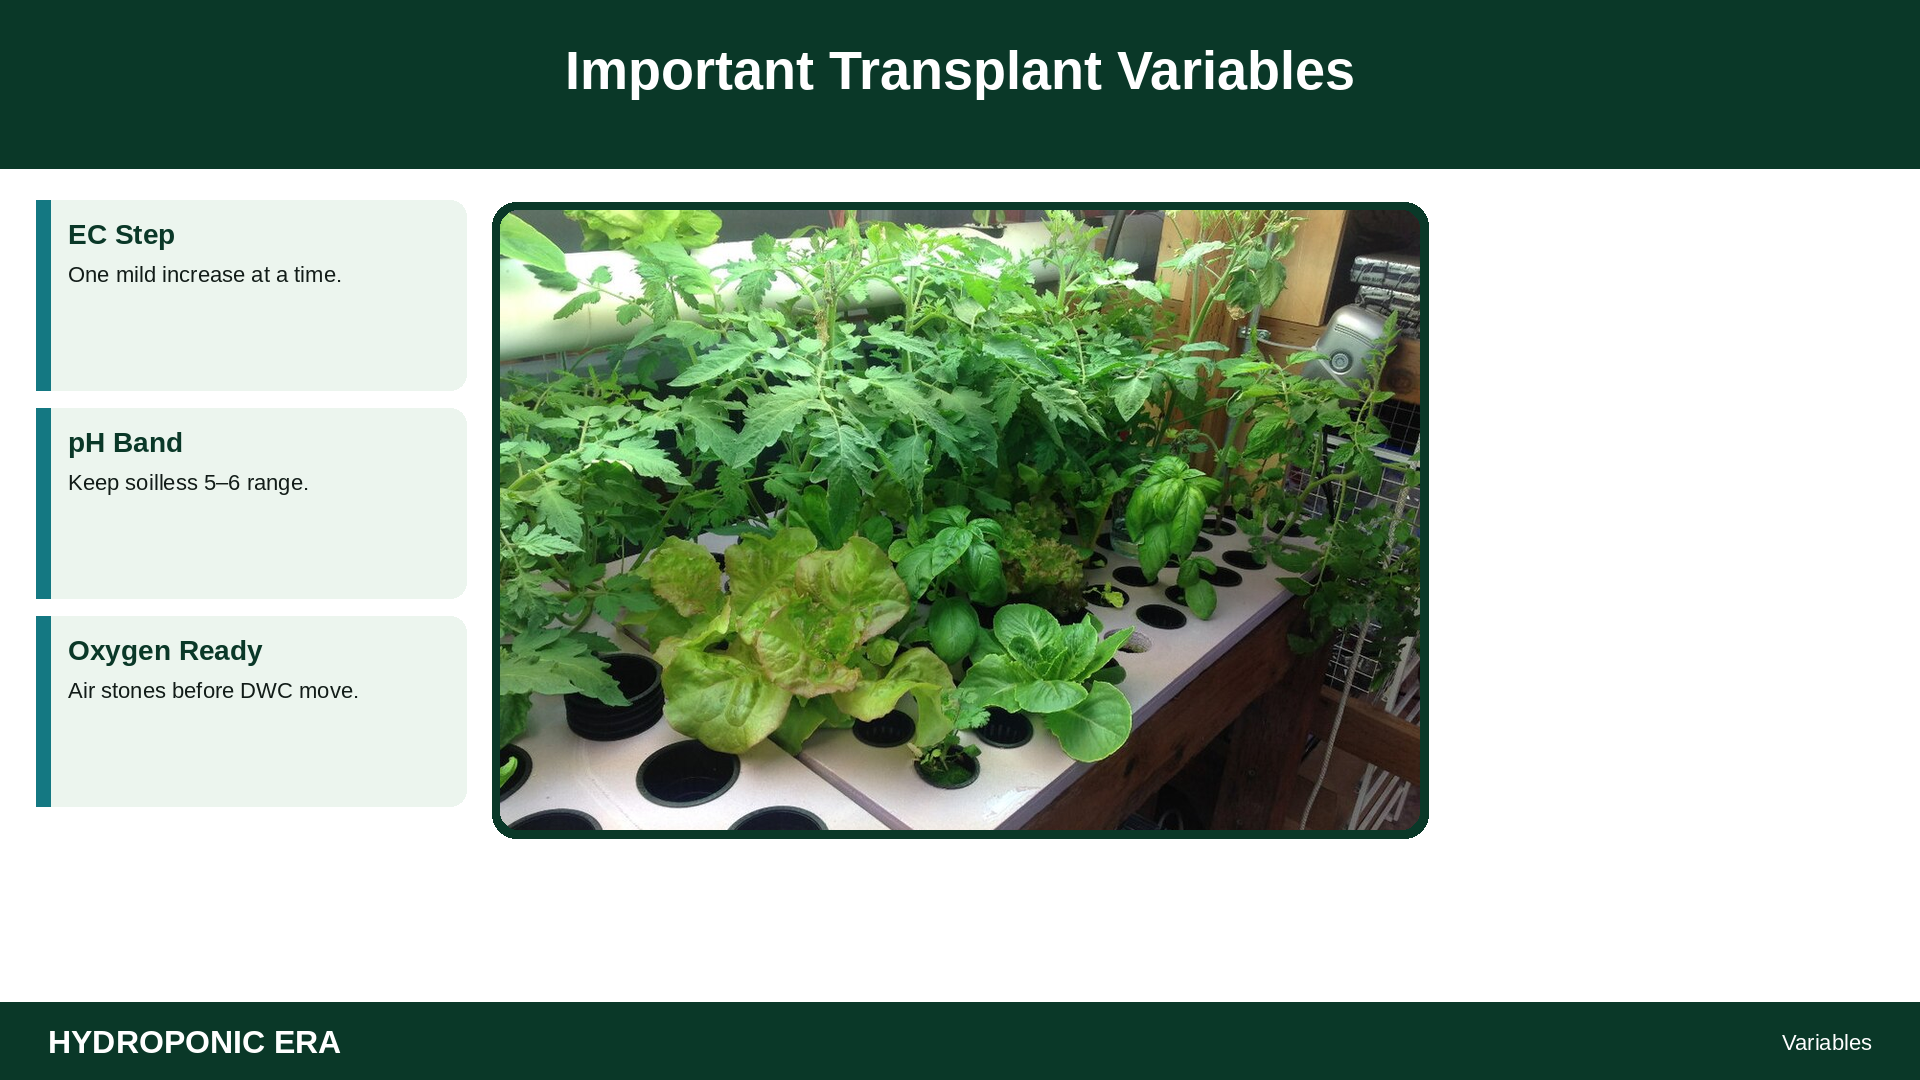
| EC step-up | Mild → moderate gradually | Instant tip burn |
| pH | Soilless band ~5.0–6.0 (OSU hydroponic guidance) | Lockout symptoms |
| Light | Strong, close, even | Stretch, weak stems |
| Root oxygen | Air stones / flowing film | Wilt with wet roots |
| Temperature | Crop-appropriate nights | Stalling or damping-off pressure |
| Sanitation | Clean plugs and reservoirs | System-wide infection |
| Timing | Match sow date to system space | Overgrown transplants in tiny channels |
Crop Timing Framework (Not a Yield Promise)
Virginia Tech’s home vegetable seeding guidance (426-001) is built around planning—when to sow relative to transplant or outdoor dates. Hydroponic growers should plan similarly:
- How many net-pot sites exist?
- How many days does this crop occupy a site?
- When must the next succession be sown so the system never sits empty—or overcrowded?
Leafy greens turn over faster than tomatoes. Fruiting crops need nursery space plus long final sites. Map that on paper before you buy seed in bulk.
Transplanting into DWC, NFT, Dutch Bucket, and Towers
- DWC: Ensure air stones run before plants go in. Roots need oxygen on day one—see air pumps draft and dissolved oxygen draft.
- NFT: Confirm slope and flow; clear biofilms first. Young roots must touch the film without baking dry at lights-on.
- Dutch bucket / drip: Pre-wet media; verify emitters. Support stems for fruiting crops early.
- Towers: Watch upper sites for drying; verify even distribution.
System primers: DWC, NFT, Dutch bucket, tower garden.
Common Mistakes

- Starting in garden soil “because it’s natural”
- Leaving humidity domes on too long after germination
- Weak light for two weeks, then blaming genetics for stretch
- Jumping from water-only plugs to aggressive fruiting EC overnight
- Transplanting into a dirty reservoir “to clean later”
- Holding seedlings until they are root-bound ropes
- Grabbing stems like handles
Troubleshooting Seedling and Transplant Failures

| Symptom | Likely causes | What to do |
|---|---|---|
| No germination | Old seed, wrong temp, uneven moisture | Fresh seed; correct warmth; re-sow |
| Collapse at soil line | Damping-off pressure | Improve airflow; reduce wetness; sanitize trays |
| Stretching | Insufficient light | Lower lights; intensify; restart if too far gone |
| Yellow after transplant | EC/pH shock or low light | Verify meters; gentle solution; review lockout draft |
| Wilt in DWC | Low oxygen / heat | Aerate; check reservoir temperature draft |
| Fungus gnats | Chronically wet media surfaces | Dry surface slightly; sticky cards; pests draft |
| Algae on plugs | Light + nutrients on wet surfaces | Reduce splash; opaque covers; algae draft |
What to Check Before You Transplant a Whole Batch
- Are roots white/cream and visible—not brown and slimy?
- Is the destination system cleaned and running?
- Is EC only one step above nursery strength?
- Is pH in band after the solution fully mixed?
- Is light ready at the final canopy height?
- Do you have spare plants if some fail?
- Is your schedule free to monitor the first 48 hours?
Damping-Off and Early Disease Pressure
Seedling collapse is often linked to overly wet, still, contaminated trays. Cultural prevention beats rescue:
- Use clean plugs and trays
- Remove humidity domes after germination
- Increase gentle airflow without windburn
- Avoid overwatering “to be safe”
- Discard infected plugs instead of “saving” them into the main reservoir
If roots darken and smell foul after transplant, treat it as a system sanitation and oxygen problem—see brown roots and cleaning between crops.
Labeling, Recordkeeping, and Batch Control
Write cultivar and sow date on each tray. When something fails, you need to know whether it was seed lot, temperature, or nutrient step-up. A simple notebook with sow date, first true leaf date, transplant date, and EC/pH at transplant will teach faster than buying another additive.
For mixed systems, never move a suspicious tray “to the back channel to see what happens.” Quarantine or discard.
Buying Transplants vs Starting Your Own
UGA’s transplant bulletin frames the make-vs-buy decision around management skill, capital, and time. Hydroponic hobbyists should ask:
- Do I have a bright nursery shelf?
- Can I keep trays sanitary?
- Am I growing specialty cultivars unavailable as clean hydroponic-ready plugs?
Store herbs in soil pots are convenient but often messy to convert. If you buy starts, prefer clean inert-media transplants from reputable suppliers when available, and inspect for pests before they enter your tent.
EC Step-Up Example (Framework, Not a Universal Recipe)
Example learning pattern many beginners use successfully:
- Germination: moisture with water or very dilute solution
- Early true leaves: mild vegetative strength
- Pre-transplant: match within one small step of the destination reservoir
- Post-transplant day 1–3: hold steady; do not “boost”
- After plants resume growth: adjust toward crop-stage targets
Exact numbers depend on your nutrient brand’s label and meter units. The principle is gradual change. Pair with nutrient basics.
Species Timing Differences (Framework)
Lettuce and many herbs move from sow to transplant quickly under strong light. Tomatoes and peppers usually need a longer nursery period and thicker stems before Dutch bucket life. Cucumbers grow fast but hate cold plugs. Strawberries may start from runners or plugs depending on your method—see the strawberry guide rather than forcing a lettuce timeline onto berries.
Build a wall calendar with sow dates backward from when system sites free up. Empty sites are idle capital for commercial-leaning growers and missed salad for hobbyists.
Water Quality at the Nursery Stage
If your tap water is extremely hard or heavily chlorinated, seedlings may show stress even before transplant. Let chlorine off-gas if appropriate for your water type, or use a known potable source. Measure pH of the plug solution—not only the big reservoir. OSU’s EC/pH hydroponic guidance still applies in miniature trays.
Algae on nursery plugs signals light plus nutrients on wet surfaces. Reduce splash and block stray light. Algae itself is not always lethal, but it correlates with fungus-gnat habitat—see the pests draft.
Handling and Ergonomics
Work at a comfortable table height. Dropping trays destroys plugs and morale. Keep a trash bowl for thinned seedlings and a rinse bucket for hands before touching clean plugs. Nursery hygiene is part of transplant success, not a separate personality trait.
Case Walkthrough: Lettuce Plug Into NFT
Day 0: sow two seeds per foam plug; keep warm and moist. Day 3–5: germinated; remove cover; lights close. Day 7–10: thin to one seedling; mild nutrient. Day 12–16: roots visible; destination NFT cleaned and flowing. Transplant day: EC within one step of nursery; pH set; place plugs; confirm film contact within an hour. Next 48 hours: watch for wilt and tip burn; adjust only if meters disagree with plant behavior.
If half the batch fails, do not transplant the failures “to fill holes.” Empty sites beat disease amplifiers.
Go / no-go gate for hydroponic seedlings transplanting
Use a hard gate so hydroponic seedlings transplanting does not happen on hope alone.
| Gate | Pass | Hold |
|---|---|---|
| Roots | Visible at plug edge without rotting smell | Only a few short roots / slimy roots |
| Leaves | True leaves present; compact growth | Extreme stretch from weak light |
| Solution plan | Mild early strength ready in destination system | Full fruiting EC waiting for babies |
| Environment | Destination lights/flow verified | Broken pump or dry channels |
- Handle plugs by the media, not by yanking stems.
- After hydroponic seedlings transplanting, watch 48 hours for wilt that signals shock, clog, or oxygen issues.
hydroponic seedlings transplanting: practical review sheet
Use this review sheet to keep hydroponic seedlings transplanting actionable after you finish the main guide.
- What did you measure today related to hydroponic seedlings transplanting?
- What did you change with your hands (not just what you bought)?
- What will you re-check in 24–48 hours about hydroponic seedlings transplanting?
- Which linked HydroponicEra guide should you reread next?
- What cleaning or logging step did you skip last cycle?
| Item | Today | Next check |
|---|---|---|
| Environment | ||
| Solution (pH/EC) | ||
| Roots / pests / biofilm | ||
| Plant response |
Print or duplicate this table in your notes app. The goal is not paperwork—it is fewer repeated mistakes around hydroponic seedlings transplanting.
hydroponic seedlings transplanting: habits that compound
These habits keep hydroponic seedlings transplanting practical between deep cleans and big changes.
- Keep notes when you work on hydroponic seedlings transplanting so small changes stay visible across weeks.
- Revisit hydroponic seedlings transplanting after any reservoir reset, media change, or heat wave.
- Teach one other person your hydroponic seedlings transplanting checklist—explaining it catches gaps.
- Photograph the system when hydroponic seedlings transplanting looks correct; compare when it does not.
- Do not chase products until the basic hydroponic seedlings transplanting habits are consistent.
- If results stall, re-read the troubleshooting section with hydroponic seedlings transplanting in mind.
- Pair hydroponic seedlings transplanting with pH/EC logs rather than memory alone.
- Schedule a monthly review specifically about hydroponic seedlings transplanting and hygiene.
Review hydroponic seedlings transplanting together with your cleaning and measurement routine.
hydroponic seedlings transplanting FAQs
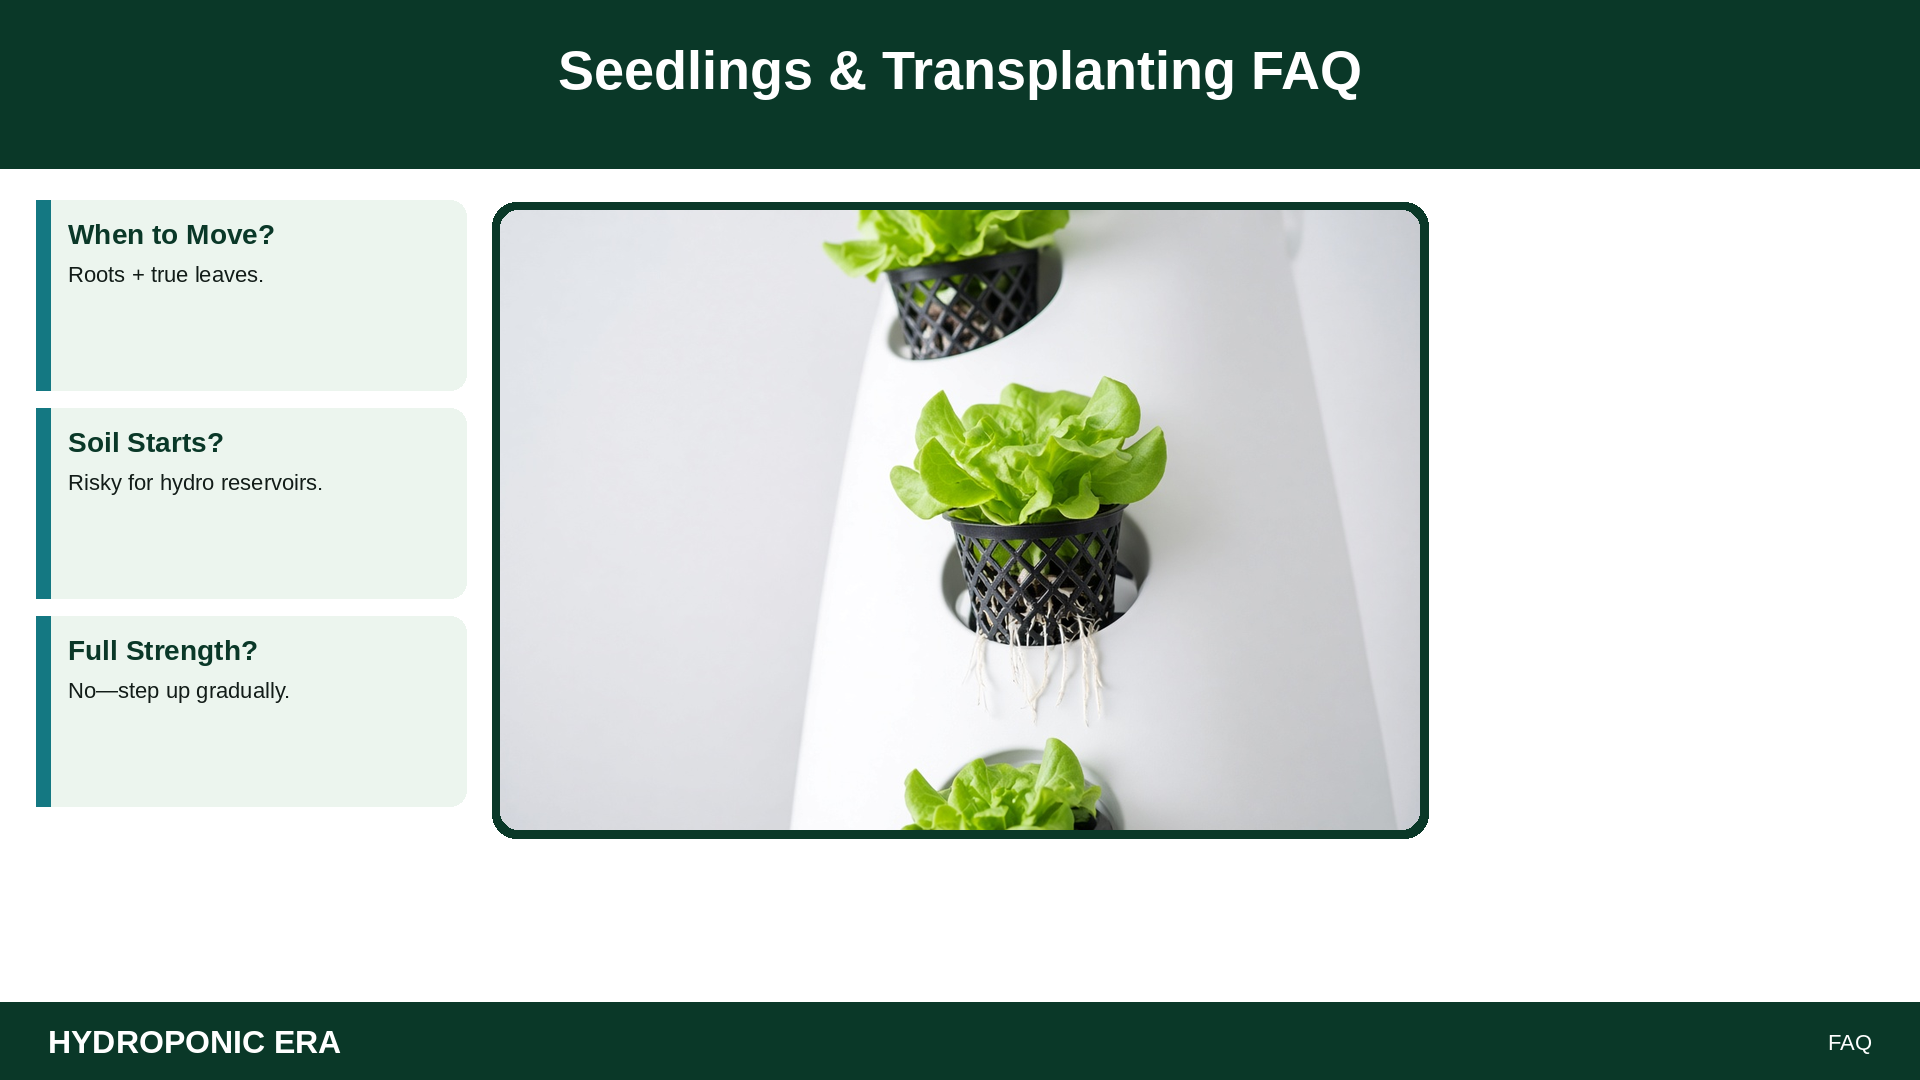
When should I transplant hydroponic seedlings?
When true leaves are present and roots show at the plug edge—typically days to a couple of weeks depending on crop and temperature. Do not wait until plants are severely root-bound.
Should seedlings get full-strength nutrients?
No. Start mild and step up. Full fruiting strength on day-old sprouts is a common burn path.
Can I transplant soil seedlings into hydroponics?
It is risky: soil fines and microbes enter the reservoir. Prefer inert plugs started for hydroponics.
Why do my transplants wilt after moving?
Handling damage, sudden EC/light changes, or low root oxygen are common. Confirm aeration and environmental step-downs.
Do I need a separate nursery light?
A dedicated bright nursery shelf prevents stretch and frees the main system for finished plants. Many beginners fail by sharing one dim lamp.
How clean do trays need to be?
Clean enough that debris and biofilms are gone before sanitizing. Greenhouse sanitation extensions stress wash-then-sanitize order—sanitizer cannot skip scrubbing.
Sources
- Penn State Extension — Starting Seeds Indoors
- University of Minnesota Extension — Starting Seeds Indoors
- University of Maryland Extension — Starting Seeds Indoors
- University of Georgia Extension — Greenhouse Transplants for Me? (B1144)
- Virginia Cooperative Extension — Vegetable Planting Guide and Recommended Planting Dates (426-001)
- UF/IFAS EDIS — Common Media Used in Hydroponics (EP623)
- Oklahoma State University Extension — Soilless Growing Mediums
- Oklahoma State University Extension — EC and pH Guide for Hydroponics
9 thoughts on “Hydroponic Seedlings and Transplanting: From Plug to System”