
If you want a calm plan for how to start hydroponics at home, give yourself seven focused days—not a weekend shopping spree. Each day has one job: choose a system, gather supplies, mix nutrients, plant, place lights, check water, then lock in a weekly habit.
This 7-day start plan is a practical sequence so beginners finish setup, take a first pH and EC reading, and know what to do next week. You still learn the same roots-water-light basics covered in our hydroponic garden beginner’s guide, but paced so nothing piles up on day one.
By the end of the week you will know how to start hydroponics with a small kit or a single reservoir, a short shopping list, and a notebook—not a greenhouse full of unused parts.
Table of contents
- Day 1: Pick a simple system
- Day 2: Gather supplies
- Day 3: Mix water and nutrients
- Day 4: Add plants or seeds
- Day 5: Light and placement
- Day 6: First check (pH, EC, roots)
- Day 7: Build your weekly habit
- Mistakes that stall week one
- Frequently asked questions
- Final thoughts
Day 1: Pick a Simple System (How to Start Hydroponics)
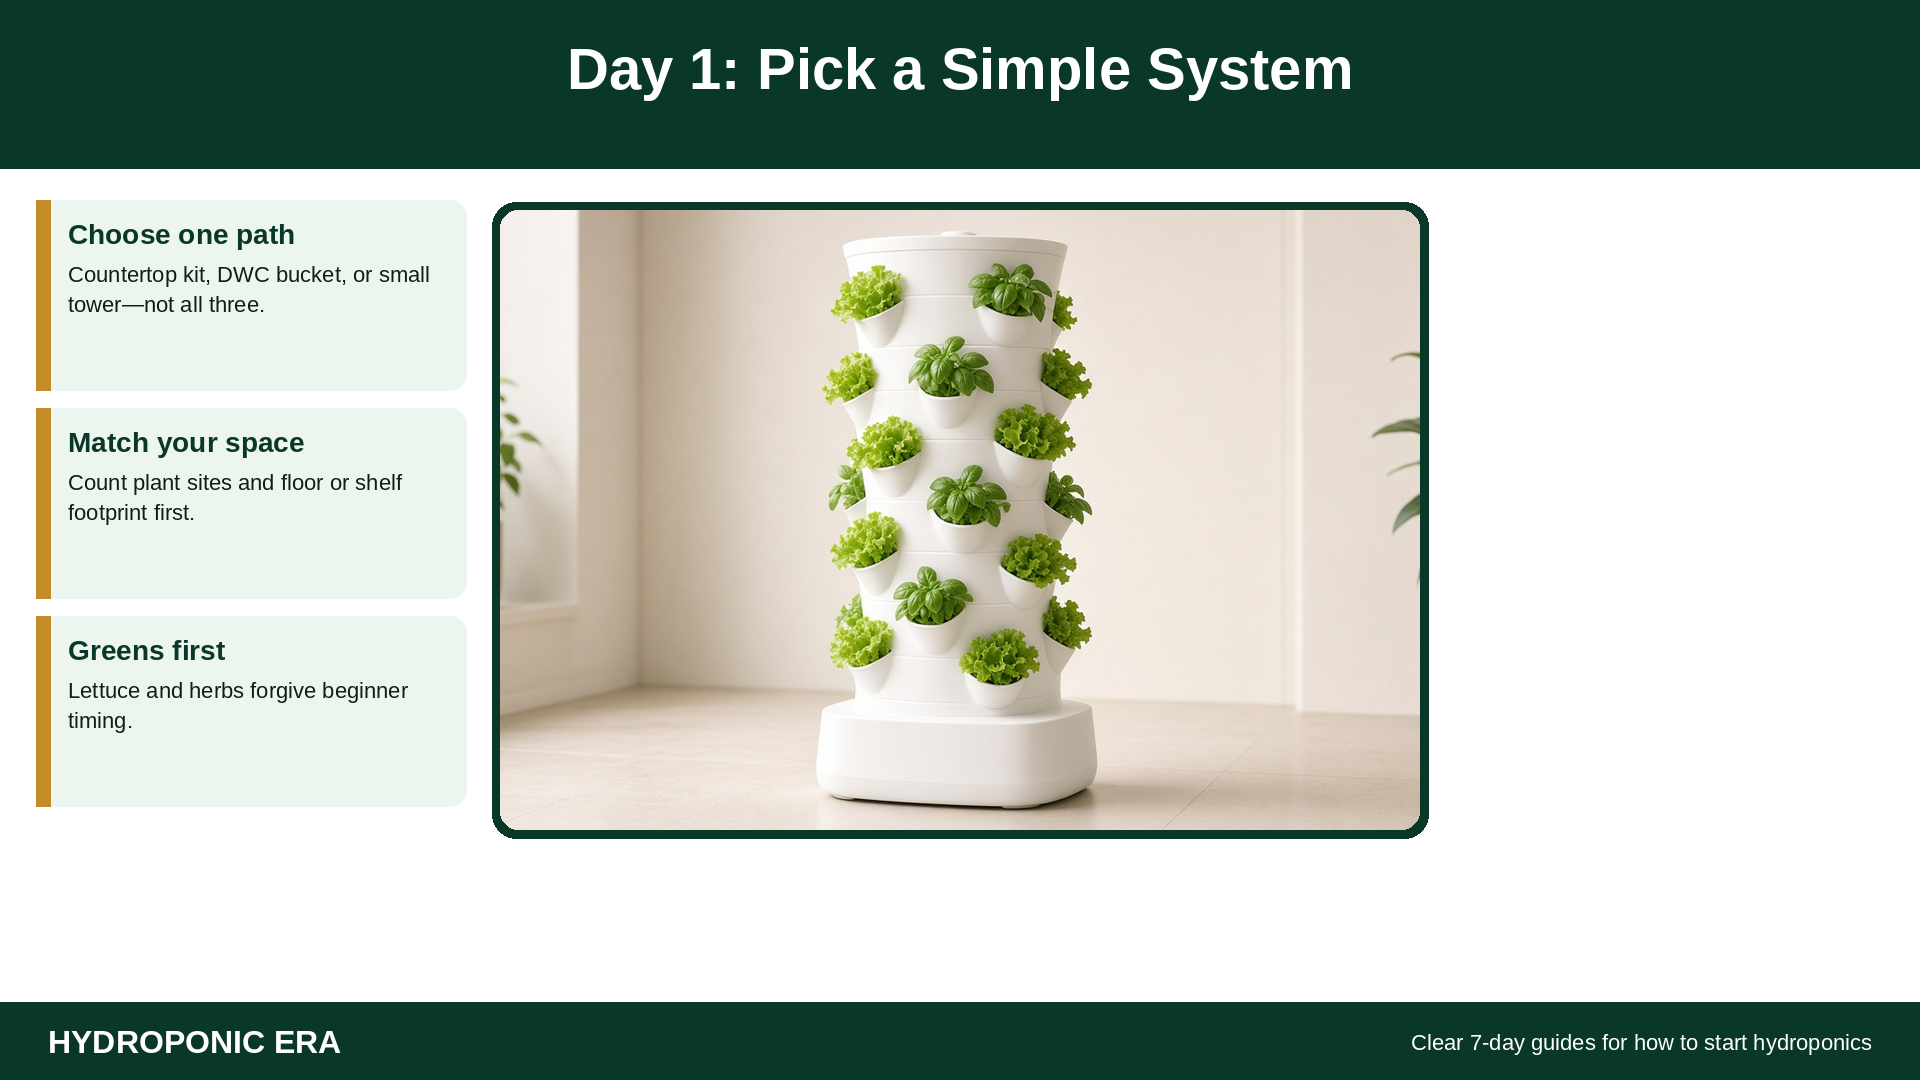
Day one answers one question: which single system will teach you how to start hydroponics without juggling three designs at once. Pick one path and write it down.
Good first choices for most homes:
- Countertop kit: matched parts, small plant count, fast to fill and clean
- Deep water culture (DWC) bucket: opaque reservoir, lid with net pots, air pump and stone
- Small tower or vertical kit: more sites in a narrow footprint if you already have floor space and a strong light plan
University of Minnesota Extension’s small-scale hydroponics guide reminds home growers that recirculating and liquid-culture systems share the same needs: clean water, dissolved nutrients, oxygen at the roots, and enough light. Your day-one choice is which container delivers those needs with the least fuss.
Skip fruiting crops for the first run. Leaf lettuce, basil, and mint forgive timing mistakes while you learn how to start hydroponics. If you later want a taller system, our hydroponic tower garden guide covers that layout after week one.
Decision rule: if you cannot name the reservoir, the plant holders, and the oxygen or flow method in one sentence, simplify before you buy.
Day 2: Gather Supplies for How to Start Hydroponics

Day two is a short shopping list, not a cart of gadgets. When people ask how to start hydroponics on a budget, the answer is usually “buy the boring essentials once.”
Collect:
- Opaque reservoir or the kit tank, plus a lid you can open for cleaning
- Net pots or grow cups sized to the lid or pockets
- Inert media (clay pebbles, rockwool cubes, or kit plugs)—never garden soil in a recirculating system
- Hydroponic nutrients made for soilless culture
- Air pump, tubing, and air stone for DWC, or a working circulation pump for kit systems
- pH meter, EC or TDS meter, and small bottles of pH Up and pH Down
- Measuring jug, mixing pitcher, waterproof mat, and a notebook
- A grow light and timer if the room is not already bright enough for leafy greens
Illinois Extension’s home hydroponics overview stresses starting with a manageable unit rather than overbuilding. Automation and chillers can wait until one harvest succeeds.
Day 3: Mix Water and Nutrients
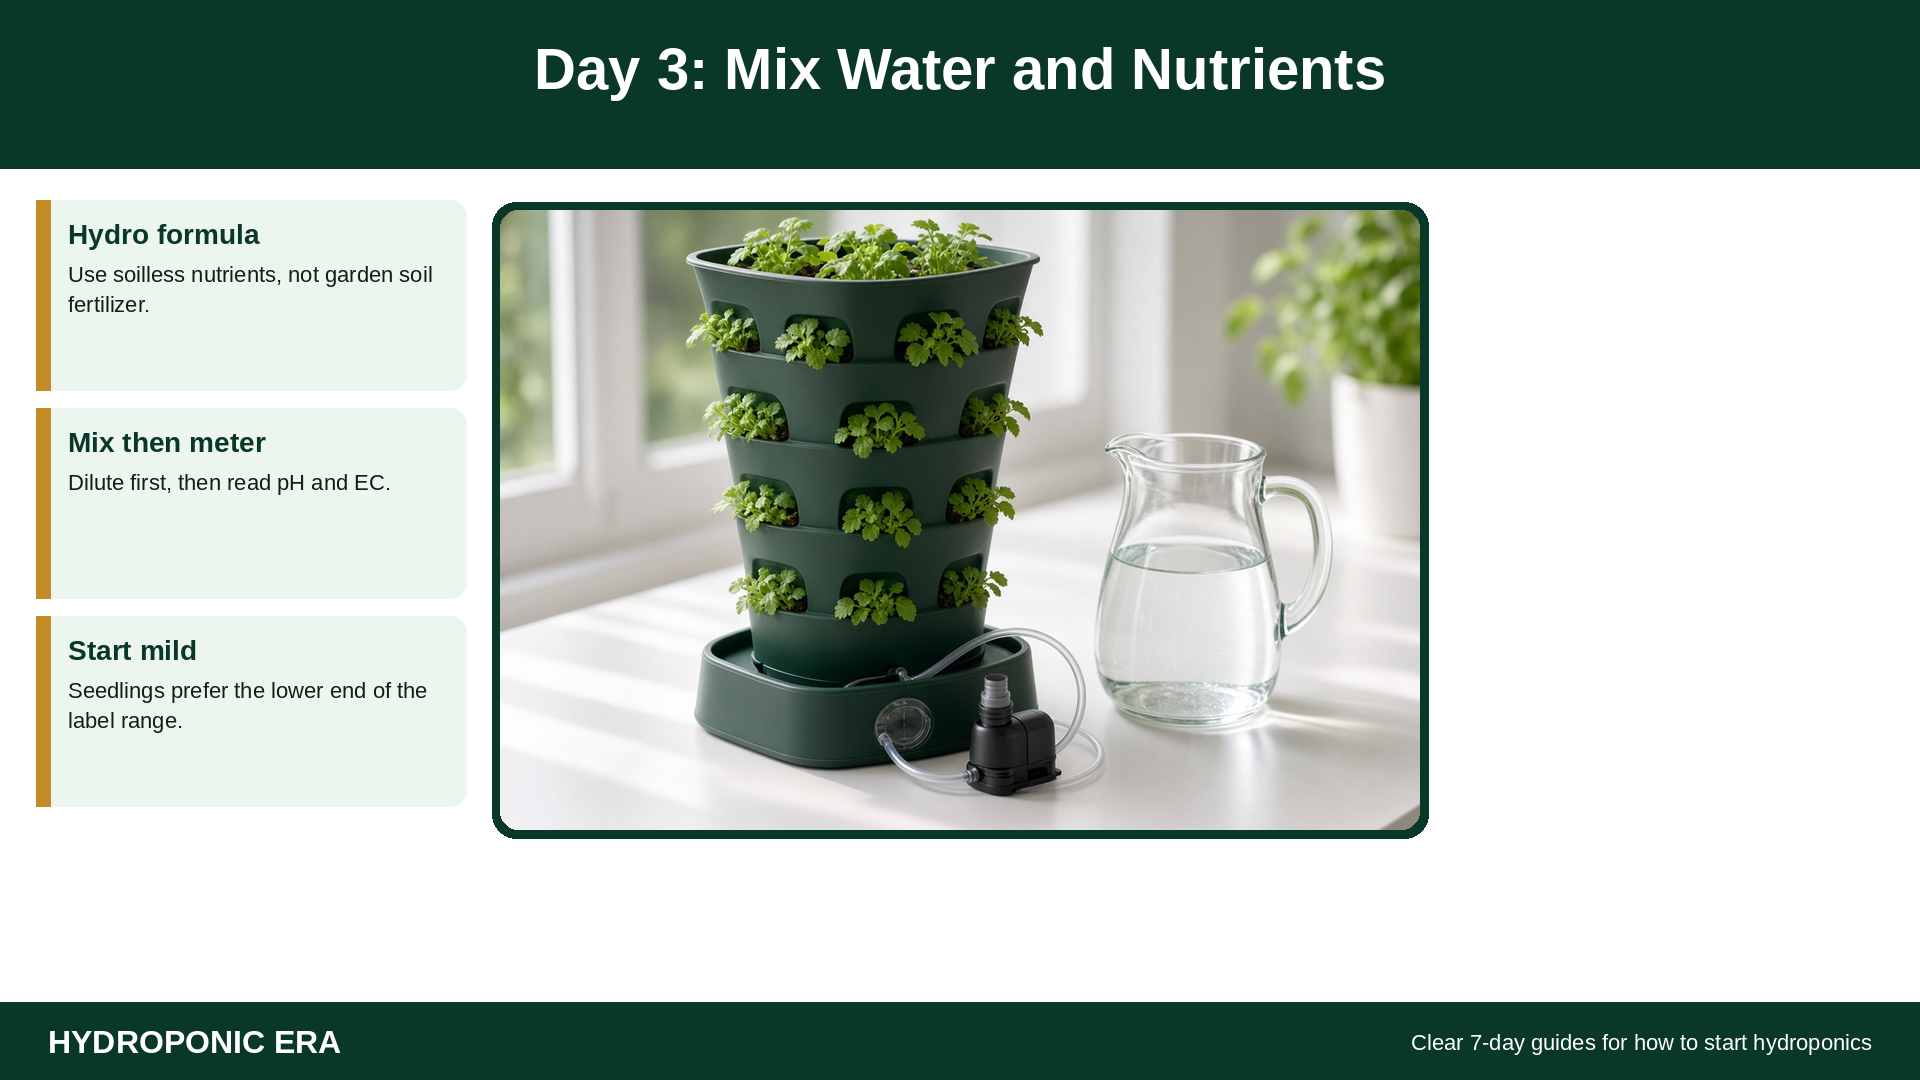
Day three turns empty hardware into a working solution. This step is central to how to start hydroponics because roots will live in what you mix—not in soil that buffers mistakes.
Practical mixing order:
- Fill the reservoir with clean water to a marked line you can repeat
- Add hydroponic nutrients in the label order for multi-part formulas
- Stir thoroughly, wait a few minutes, then measure EC or TDS
- Measure pH and adjust slowly toward a mildly acidic band (often near 5.5–6.5 for leafy greens)
- Recheck both meters after each small change
Oklahoma State University’s hydroponics fact sheet frames nutrient solution management as the heart of soilless growing. Start at the milder end of the crop range for seedlings. Do not pour soil fertilizer into the tank; it is not formulated for hydroponic ion balance.
Write the date, volume, nutrient brand, EC, and pH in your notebook. That page becomes the baseline for later questions about how to start hydroponics after a reservoir change. Pair this day with our guide on how to control pH in hydroponics so small drifts do not turn into panic.
Day 4: Add Plants or Seeds
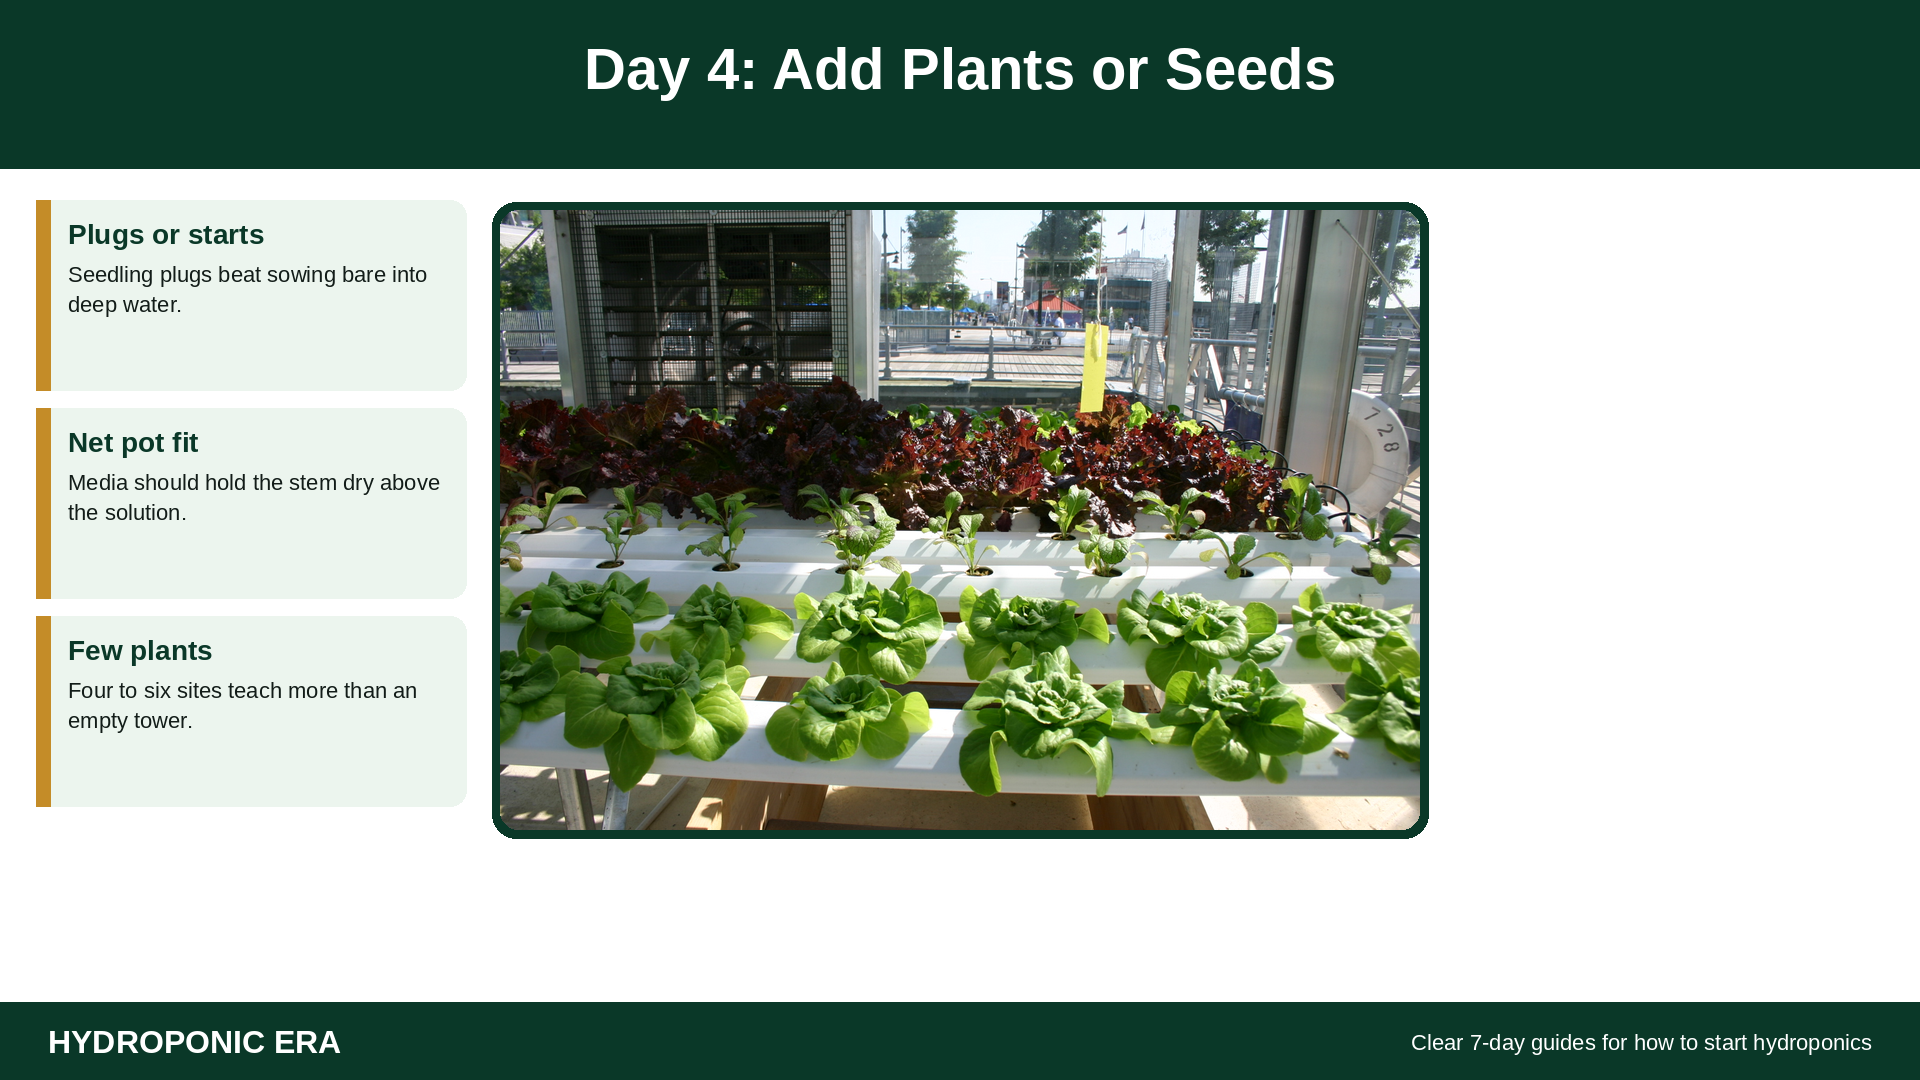
Day four puts living roots into the system. For most beginners learning how to start hydroponics, seedling plugs or small starts are calmer than scattering dry seed into deep water.
Steps that stay steady:
- Pre-soak rockwool or rinse clay pebbles so media is clean and wet
- Seat each seedling so the stem stays dry above the solution while roots can reach moisture
- Fill only some sites at first—four to six plants teach more than a crowded empty tower
- Label varieties and sowing dates on tape near each pot
Leaf lettuce is a classic first crop; our lettuce hydroponics guide goes deeper once this week is done. Keep peppers and tomatoes for a later cycle.
If you start from seed in plugs, wait until roots peek before transplanting into net pots. Rushing dry cubes into deep water often floats media and stresses stems.
Day 5: Light and Placement
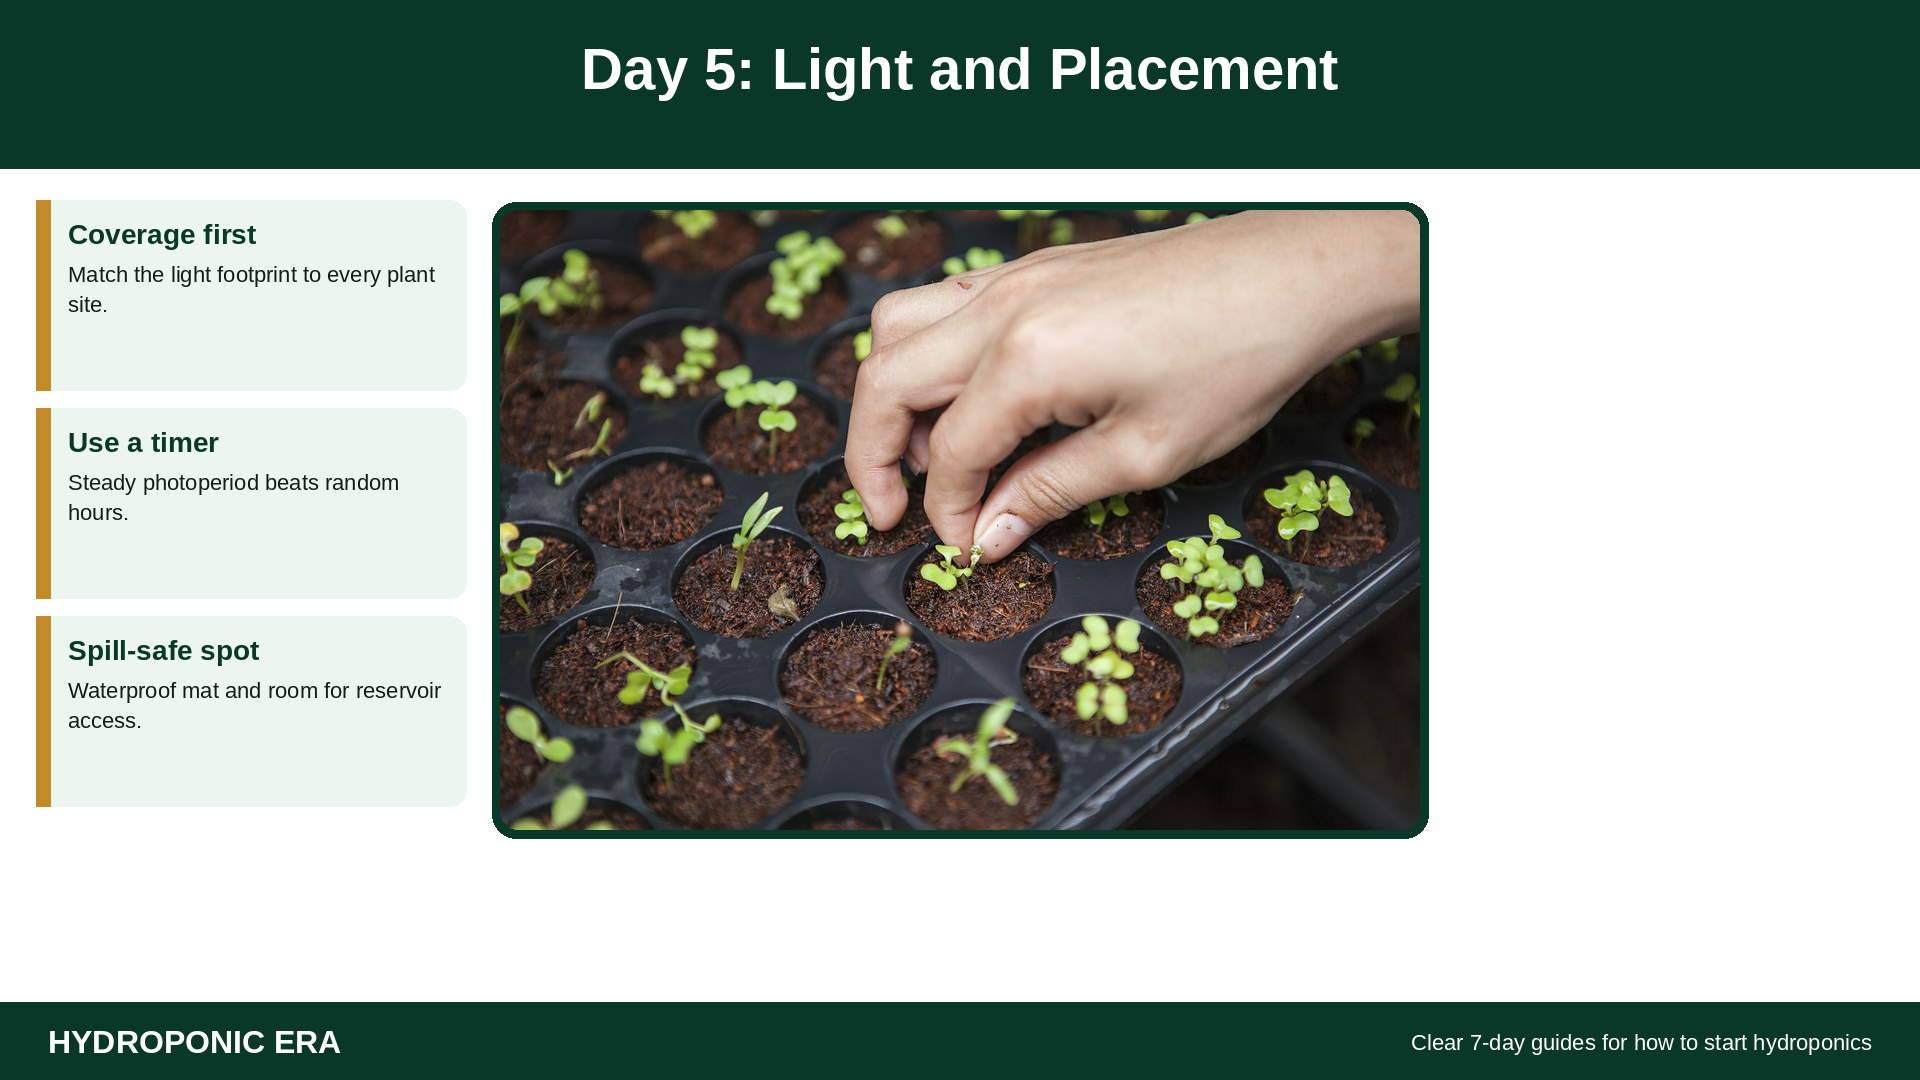
Day five places the system where plants can actually grow. Indoor plans for how to start hydroponics fail quietly when a tray sits in a dim corner with no timer.
Checklist:
- Match light coverage to every plant site, not only the center of the tray
- Set a timer for a steady photoperiod suited to leafy greens (often around 14–16 hours)
- Hang or stand the fixture so heat does not scorch leaves; raise it as plants grow
- Put the reservoir on a waterproof mat with room to open the lid and empty water
- Keep the air pump above the water line or use a check valve
University of New Hampshire Extension notes that home units range from tabletop pods to free-standing systems; all need a spill-safe location and reliable light. A bright window helps herbs; a full tray usually needs a dedicated LED. See our best grow lights for hydroponics guide if you still need a fixture.
Also plan cleaning access. A shelf you cannot reach with a pitcher slows every water change.
Day 6: First Check (pH, EC, and Roots)
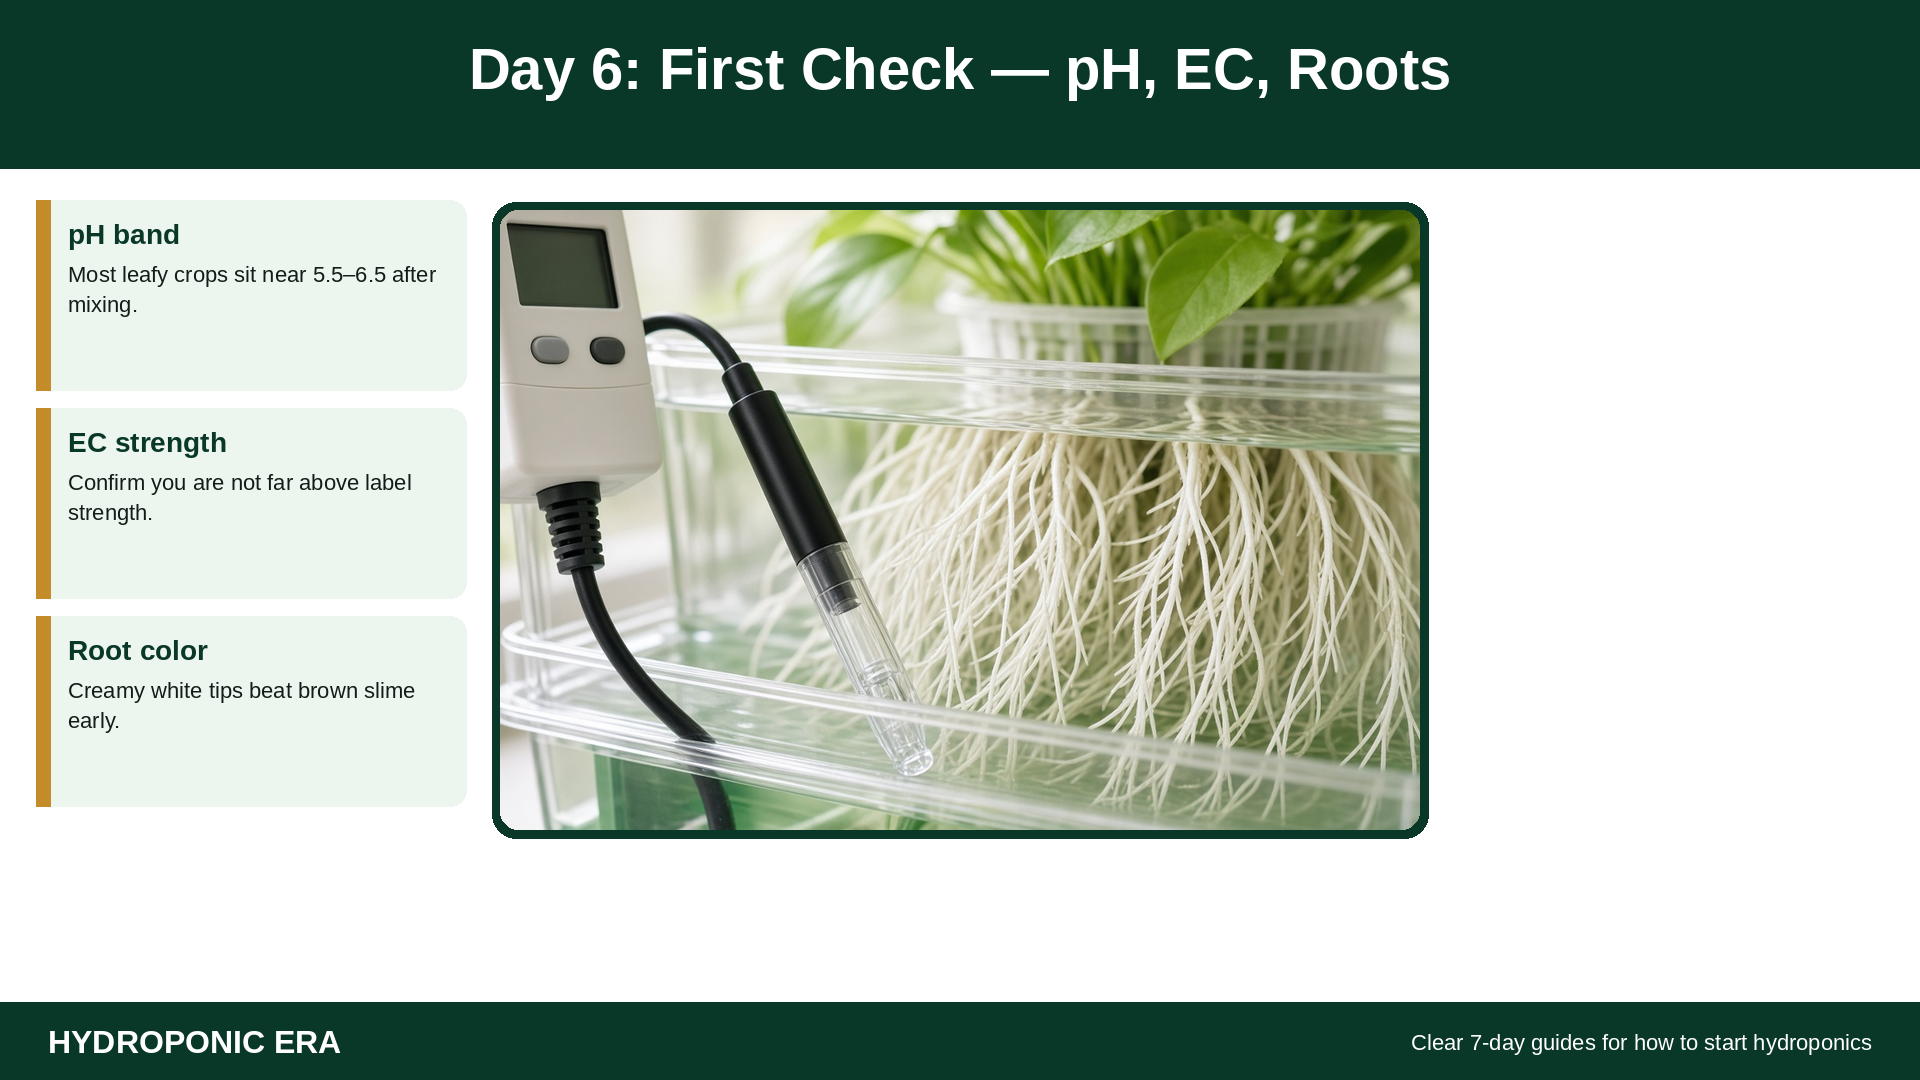
Day six is the first calm inspection. Anyone studying how to start hydroponics should treat this as a skill day, not a crisis day.
Run this short loop:
- Look at the water line and top up with plain water if evaporation dropped the level
- Measure EC; if it rose sharply from evaporation, adjust toward your day-three target
- Measure pH and nudge gently if it left the leafy band
- Lift one net pot and check root tips—creamy white growth is encouraging; brown slime and foul smell need more oxygen, cooler water, or a cleaner reservoir
- Confirm the air stone still bubbles evenly and the light timer still matches your plan
Write every reading. Patterns matter more than a single perfect number. If roots look stressed, our guide on brown hydroponic roots explains common causes. Day six shows that how to start hydroponics is mostly measurement and observation, not product upgrades.
Day 7: Build Your Weekly Habit
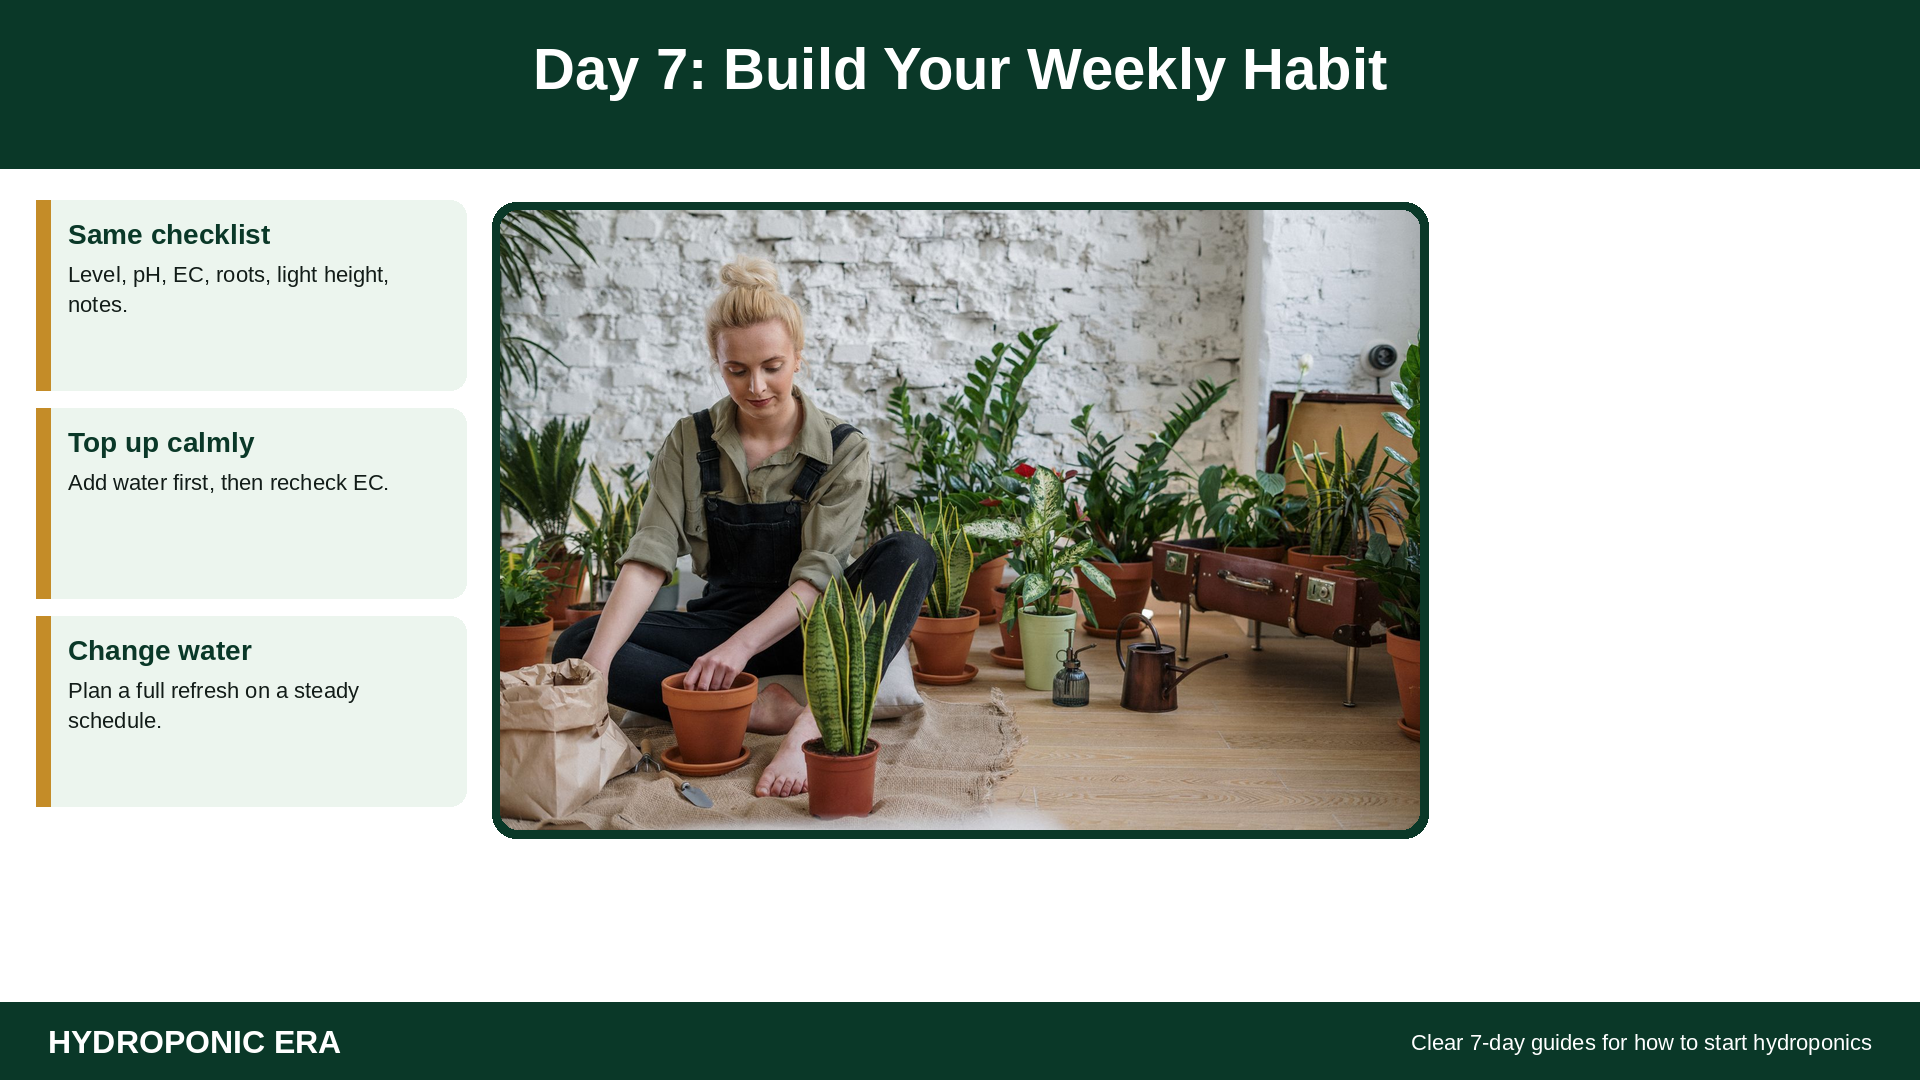
Day seven turns the first week into a repeatable routine. The goal of how to start hydroponics is not a perfect day-seven photo—it is a habit you can keep when life gets busy.
Adopt a simple weekly checklist:
- Check reservoir level twice a week; top up with water, then recheck EC
- Measure pH after topping up or after adding nutrients
- Glance at roots and leaf color once a week
- Raise the light as plants stretch toward the fixture
- Plan a full reservoir change on a schedule your climate supports (see our guide on how often to change hydroponic water)
- Note what you harvested or pruned
Keep the notebook beside the meters. When you later expand to an indoor hydroponic garden, the same habit scales—you add sites, not chaos. That rhythm is the lasting part of how to start hydroponics well.
Mistakes That Stall Week One (How to Start Hydroponics Safely)
These early mistakes slow almost every beginner figuring out how to start hydroponics:
- Buying three systems at once — split attention means no system gets a clean first week
- Using soil fertilizer — it is not a hydroponic nutrient formula
- Skipping meters — blind mixing hides strength and pH problems until leaves fade
- Clear reservoirs in bright rooms — light on the solution invites algae quickly
- Too little light indoors — stretched seedlings are a placement issue, not a “bad kit”
- Overfilling with advanced crops — tomatoes and peppers need more light and support than week-one greens
- Ignoring air — still water without oxygen stresses roots within days
Correcting one of these beats adding another accessory. Days six and seven usually reveal which mistake, if any, is active.
Next reads: Choose a hydroponic system · Hydroponic greenhouse basics · Prevent algae in reservoirs
Frequently Asked Questions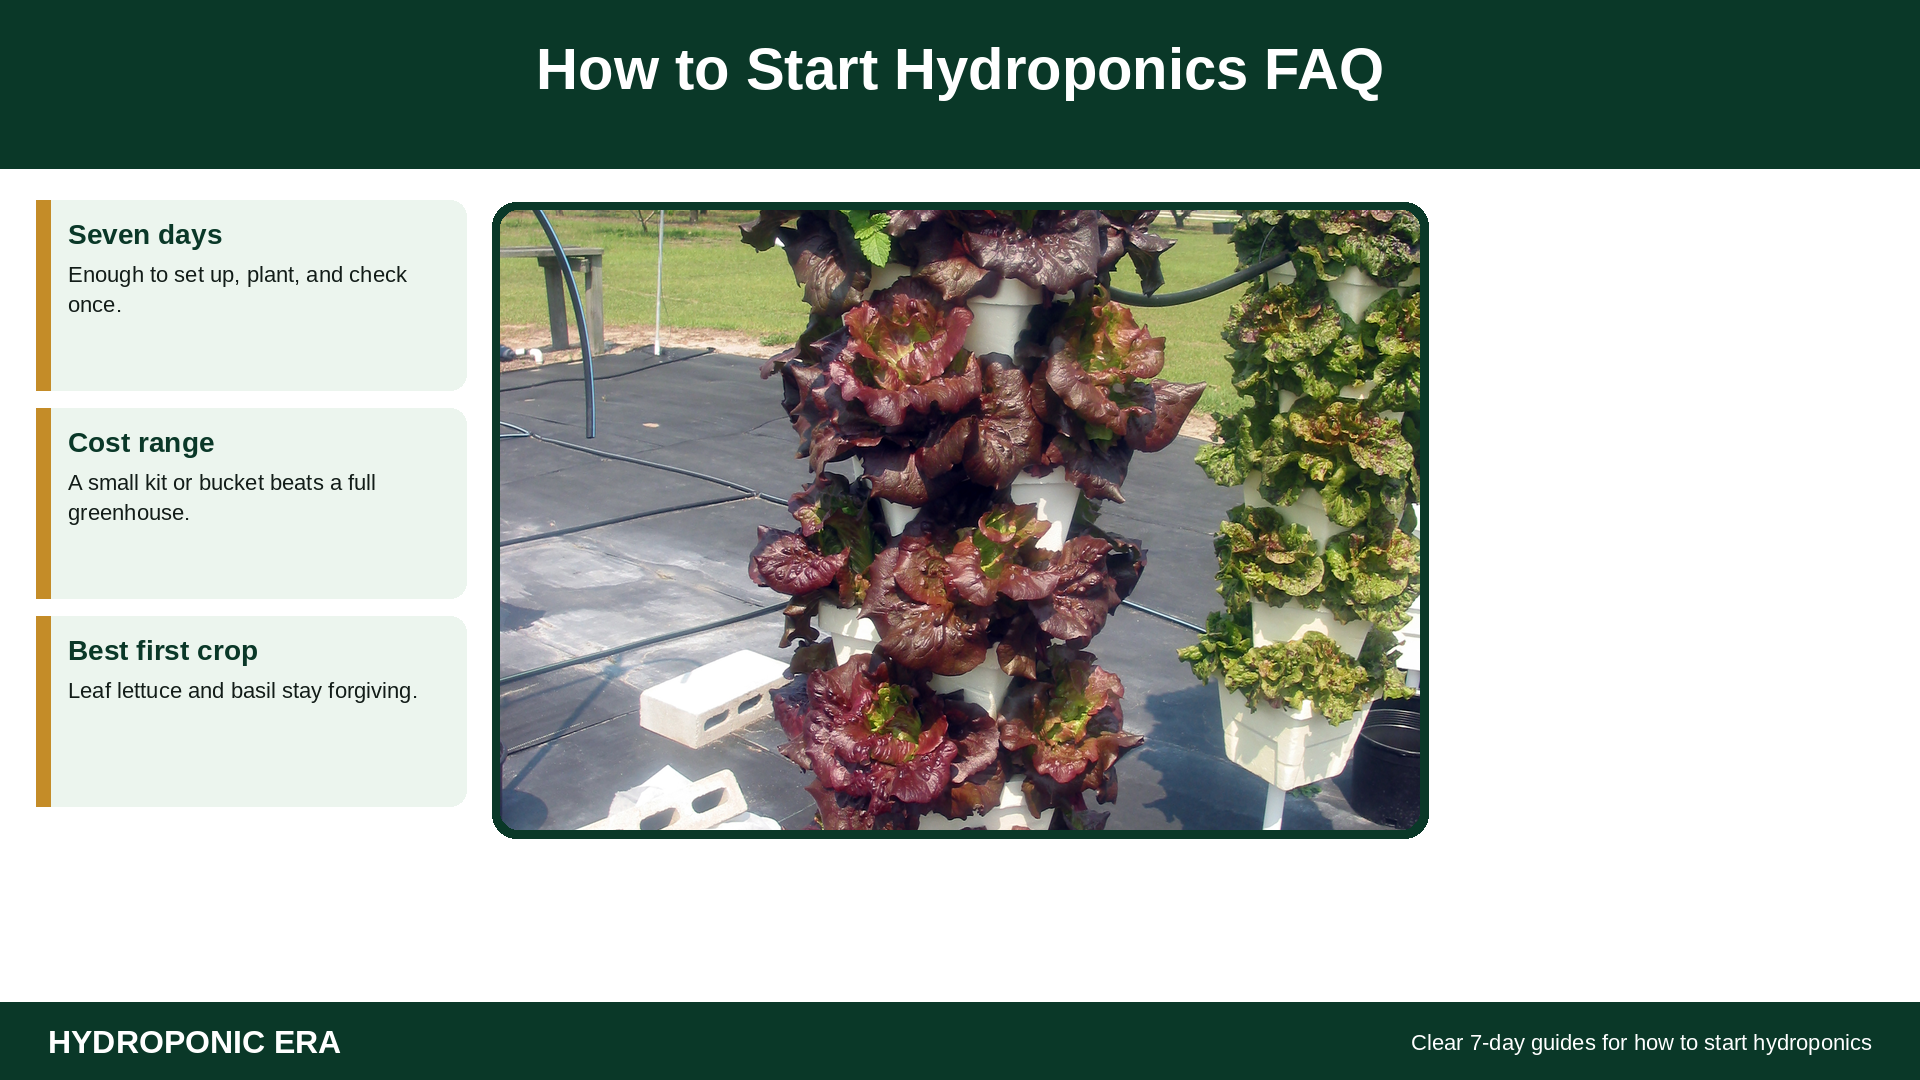
How long does it take to learn how to start hydroponics?
Seven days is enough to assemble, plant, and complete a first water check. Skill deepens over the first harvest cycle as you repeat pH, EC, and reservoir changes.
What is the cheapest way for how to start hydroponics at home?
A single opaque DWC bucket with net pots, an air pump, basic nutrients, meters, and a modest LED costs less than a large decorative tower and teaches the same water skills.
Do I need a kit to know how to start hydroponics?
No. A kit speeds matching parts; a careful DIY list works if you already understand reservoir, media, oxygen, nutrients, and light. Choose one approach and finish it.
Which plants are best when you start hydroponics?
Leaf lettuce, basil, and mint. Save heavy fruiting crops until light and weekly habits feel automatic.
Can beginners outdoors follow how to start hydroponics the same way?
Yes in mild seasons if you protect the reservoir from rain dilution and strong sun heating the solution. Many beginners still prefer a stable indoor corner for week one.
Related reading
- Aeroponics for Beginners
- Why Hydroponic Leaves Turn Yellow
- How to Grow Mint Hydroponically
- How to Grow Peppers Hydroponically
- How to Grow Microgreens Hydroponically
Final Thoughts
Learning how to start hydroponics is less about collecting gear and more about finishing a calm seven-day sequence: one system, a complete supply list, a mixed reservoir, living plants, honest light, a first meter check, and a weekly habit you can keep.
Use university-backed basics—clean water, balanced nutrients, oxygen, and light—and keep your notebook open. When week one feels ordinary, expand plant count. Until then, protect the routine that already works.
For a broader overview after this plan, return to the complete hydroponic garden beginner’s guide. For now, follow the seven days, measure twice, and let the first harvest prove you know how to start hydroponics at home.
10 thoughts on “How to Start Hydroponics at Home in 7 Days”