
Introduction
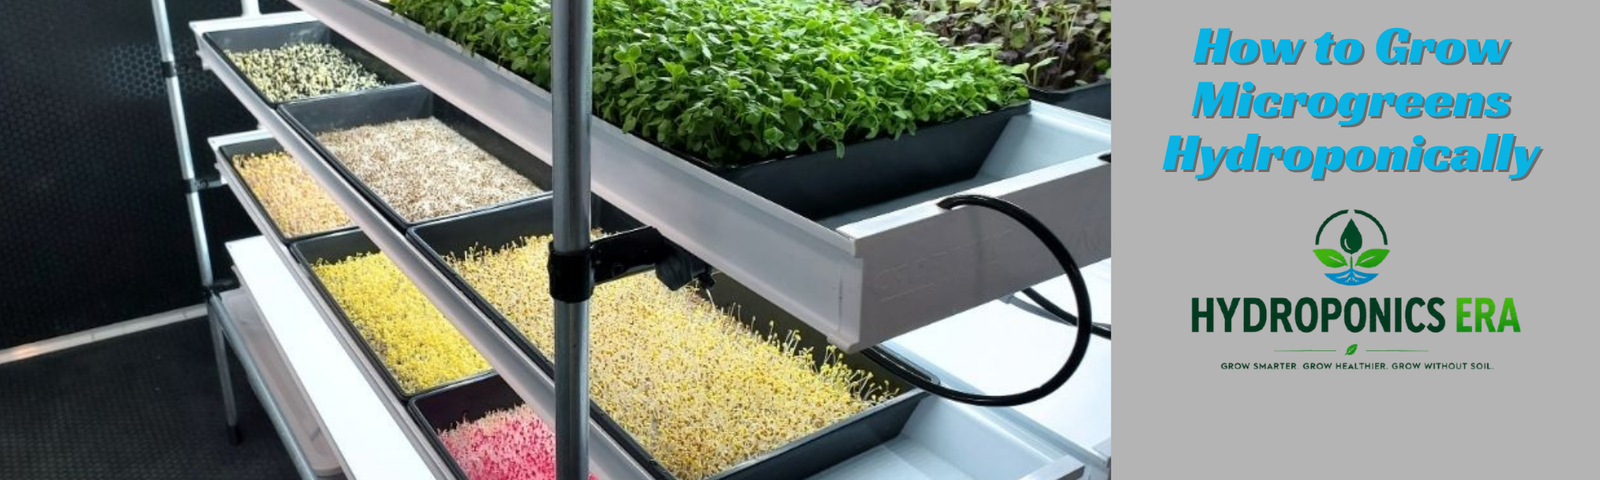
If you want to grow microgreens hydroponically, you are choosing one of the quickest and simplest ways to produce fresh food indoors. Microgreens do not need a large garden, expensive equipment, or months of patience. Many varieties can go from seed to harvest in about one to two weeks when they receive the right moisture, temperature, light, and airflow.
That quick growing cycle is one of the main reasons growing microgreens hydroponically has become popular with home gardeners, chefs, health-conscious families, and small-scale growers. You can grow several trays on a small shelf and enjoy fresh greens throughout the year.
Another advantage is that hydroponic microgreens can be produced without traditional garden soil. Instead, the seeds are supported by a clean growing medium such as a hemp mat, coco coir, rockwool, or another suitable hydroponic medium. Water and, when necessary, a small amount of nutrients are supplied directly to the root zone.
If you are wondering how to grow microgreens hydroponically, the basic process is straightforward: choose suitable seeds, prepare your growing tray, sow the seeds evenly, maintain moisture during germination, provide adequate light after sprouting, and harvest when the plants reach the right stage.
This guide explains the entire process from choosing varieties and preparing your system to watering, lighting, harvesting, troubleshooting, and scaling your production.
What Are Microgreens?
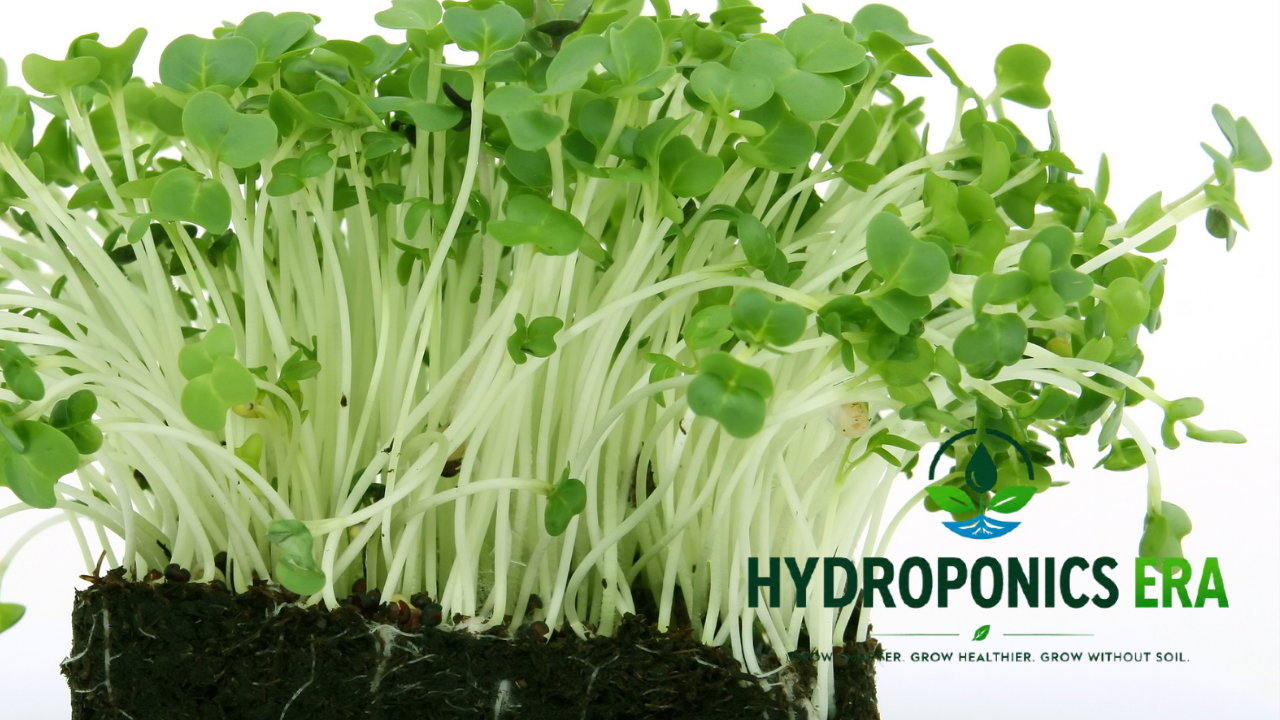
Microgreens are young edible plants harvested shortly after germination. They are more developed than sprouts but much younger than mature vegetables and herbs.
Most microgreens are harvested when their cotyledons are fully open and the first true leaves are beginning to appear. Depending on the variety and growing conditions, this can happen within approximately 7 to 14 days.
Popular microgreen varieties include:
-
Radish
-
Broccoli
-
Peas
-
Sunflower
-
Mustard
-
Arugula
-
Cabbage
-
Kale
-
Cilantro
-
Basil
-
Lettuce
One reason growers choose microgreens is variety. Different plants provide different colors, textures, aromas, and flavors. Radish microgreens can have a spicy taste, pea shoots are usually sweet and fresh, while broccoli microgreens have a mild flavor.
When you grow microgreens hydroponically, you can produce many of these varieties in a relatively small space.
Microgreens vs. Sprouts: What Is the Difference?
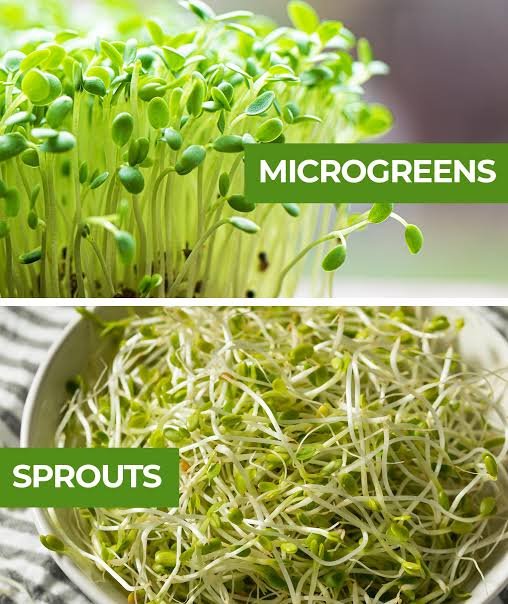
Microgreens and sprouts are sometimes treated as the same thing, but they are grown and harvested differently.
Microgreens
Microgreens are usually grown in a growing medium and are allowed to develop stems and leaves before harvesting. The roots normally remain in the medium while the edible shoots are cut above it.
Sprouts
Sprouts are harvested much earlier. The seed germinates and the entire young plant, including the root, is commonly consumed.
The growing period for sprouts may be only a few days, while microgreens generally need longer to develop.
For this reason, growing microgreens hydroponically is closer to growing a very young vegetable crop than producing sprouts.
Best Microgreens for Hydroponics
If you are learning how to grow microgreens hydroponically, start with varieties that germinate quickly and tolerate small mistakes.
1. Radish
Radish is one of the easiest choices for beginners. The seeds germinate quickly, the plants grow vigorously, and the stems usually develop a noticeable pink or purple color.
Harvest often takes around 7 to 10 days.
2. Peas
Pea microgreens produce thick stems and have a mild, sweet flavor. The seeds are larger than many other microgreen seeds, making them easy to handle.
They usually need around 10 to 14 days.
3. Sunflower
Sunflower microgreens are popular because they produce substantial stems and large leaves. Their flavor is mild and slightly nutty.
They generally take about 10 to 12 days.
4. Broccoli
Broccoli microgreens are relatively easy to grow and have a mild flavor. They are also popular among people looking for nutrient-rich greens.
5. Mustard
Mustard produces fast-growing microgreens with a stronger, peppery flavor. It can be a good choice if you want something with more flavor than mild greens.
6. Arugula
Arugula microgreens have a distinctive peppery flavor and can be ready in roughly 10 to 12 days under suitable conditions.
Best choice for beginners
For your first attempt, radish, broccoli, or peas are good options. Once you become comfortable with moisture, lighting, and airflow, you can experiment with slower varieties such as basil or cilantro.
How to Grow Microgreens Hydroponically
The easiest way to learn how to grow microgreens hydroponically is to start with a simple tray rather than building a complicated commercial system.
You do not need pumps, complicated plumbing, or a large reservoir for your first crop.
A basic setup can include:
-
10 × 20-inch growing trays
-
A suitable hydroponic growing mat or medium
-
High-quality microgreen seeds
-
Clean water
-
A humidity dome
-
Spray bottle
-
Small fan
-
Clean scissors
-
Measuring equipment if nutrients are used
A shallow tray with drainage holes can be placed above another tray or reservoir. The growing medium holds the seeds while providing a surface for the roots to develop.
The goal is simple: provide enough moisture for germination without creating conditions where the roots remain excessively wet and poorly oxygenated.
Choosing a Growing Medium
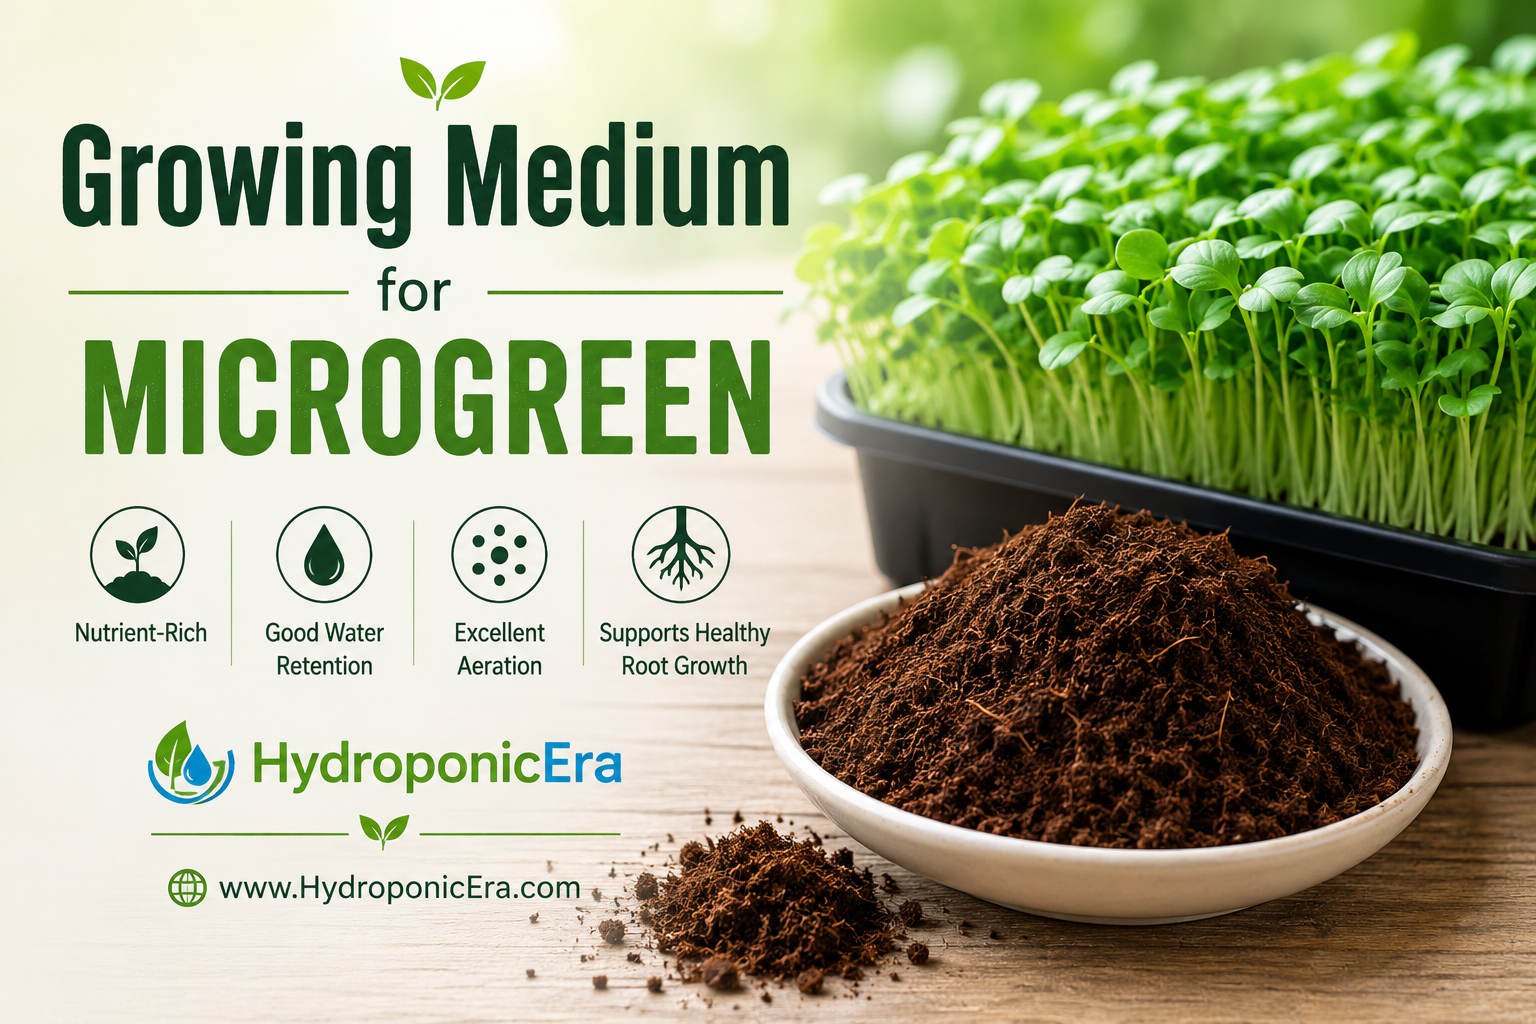
The growing medium provides physical support for the plants and holds moisture around the roots.
Common options include:
Coco coir
Coco coir is lightweight and holds moisture well. It is widely available and can work well for beginners.
Rockwool
Rockwool retains water and provides good root support. It is commonly used in hydroponic growing systems, although some growers prefer more environmentally friendly alternatives.
Hemp or fiber mats
Specialized microgreen mats are convenient because they are designed specifically for tray production. They can also make harvesting relatively clean.
Peat-based media
Some growers use peat-based mixes, although these are closer to conventional soilless growing than a completely water-based system.
There is no single perfect medium. When you grow microgreens hydroponically, choose a medium that holds enough moisture without remaining saturated.
Preparing Your Seeds
Seed quality has a major effect on the final crop.
Use fresh, high-quality seeds from a reliable supplier. Avoid seeds that have been treated with chemicals that are not intended for edible sprout or microgreen production.
Some large seeds benefit from soaking before planting.
Peas and sunflower seeds, for example, can often be soaked for several hours before sowing. Smaller seeds such as broccoli or radish generally do not require long soaking.
If you are unsure, follow the seed supplier’s instructions.
Good seed preparation can produce faster and more uniform germination, which makes growing microgreens hydroponically much easier.
Step-by-Step: How to Grow Microgreens Hydroponically
Step 1: Clean Your Equipment
Before starting, clean your trays, scissors, growing area, and any reusable equipment.
Microgreens grow quickly, but that does not mean sanitation can be ignored. Old roots, plant debris, stagnant water, and dirty trays can create problems for the next crop.
Allow cleaned equipment to dry before use.
Step 2: Prepare the Growing Medium
Place your chosen growing medium inside the tray.
Moisten it evenly with clean water. The medium should be damp throughout but not dripping excessively.
This is particularly important when you grow microgreens hydroponically because the young roots are extremely small during the first few days.
Step 3: Spread the Seeds
Distribute the seeds evenly across the surface.
Microgreens are normally planted much more densely than mature vegetables because they are harvested while young.
Avoid creating large piles of seeds. If seeds overlap heavily, moisture and airflow can become uneven, increasing the chance of mold.
After spreading the seeds, gently press them against the growing medium.
Step 4: Cover the Tray
Place a humidity dome or another suitable cover over the tray.
The purpose is to maintain a humid environment while the seeds germinate.
Keep the tray in a warm location away from direct sunlight during the initial germination stage.
Most varieties germinate well in a moderate indoor temperature range.
Step 5: Maintain Moisture
During germination, check the tray regularly.
The growing medium should remain moist but should not be flooded.
One of the most common mistakes beginners make when they grow microgreens hydroponically is adding too much water because they believe wetter conditions will produce faster growth.
Usually, the opposite can happen. Excess moisture can reduce oxygen around the roots and create favorable conditions for mold.
Step 6: Remove the Cover After Sprouting
Once the seedlings have emerged and are growing upward, remove the humidity dome.
This allows fresh air to reach the plants and helps reduce excessive humidity.
At this stage, good airflow becomes increasingly important.
Microgreens Light Requirements
Light is essential once the seedlings emerge.
The microgreens light requirements are not difficult to manage indoors. A good LED grow light can provide consistent lighting without depending on the weather or the amount of sunlight coming through a window.
A general starting point is around 12 to 16 hours of light per day.
The exact distance between the light and the plants depends on the fixture’s strength. Instead of following a fixed distance for every LED, observe the plants.
If seedlings become tall, thin, and stretched, they may need more light.
If the leaves become bleached or show signs of stress, the light may be too intense or too close.
A timer can make lighting easier because the plants receive a consistent schedule every day.
Watering Hydroponic Microgreens
Water management is one of the most important parts of learning how to grow microgreens hydroponically.
During germination, the growing medium should remain consistently moist.
After the seedlings emerge, you can reduce surface misting and use bottom watering when your tray design allows it.
Bottom watering can help keep the foliage drier, which may reduce the risk of fungal problems.
Always avoid standing water around the stems.
A good rule is to think about balance:
Enough water for healthy roots, but enough air around those roots for oxygen.
Do Hydroponic Microgreens Need Nutrients?
One of the interesting things about hydroponic microgreens nutrients is that young plants do not necessarily require a heavy nutrient program.
The seed itself contains stored nutrients that support early development.
For many short-cycle microgreen crops, clean water and a suitable growing medium can be enough to produce a harvestable crop.
Some growers use a very mild nutrient solution, particularly in systems where the plants remain in production longer.
If you decide to use nutrients, use a product designed for hydroponic crops and follow the manufacturer’s directions. Avoid assuming that more fertilizer means faster growth.
Overfeeding young plants can create unnecessary problems.
For beginners, keeping the system simple is often the better approach.
Temperature and Airflow
Microgreens generally perform well in a comfortable indoor environment.
Extremely high temperatures can increase water loss and encourage problems with humidity and plant stress.
Airflow is equally important.
A small fan can create gentle movement around the plants. You do not need to point a powerful fan directly at the seedlings.
Good airflow helps:
-
Reduce stagnant air
-
Strengthen stems
-
Keep foliage drier
-
Improve environmental consistency
-
Reduce the conditions that favor some fungal problems
When you grow microgreens hydroponically, airflow should be considered part of the growing system rather than an optional extra.
Common Problems When Growing Microgreens Hydroponically
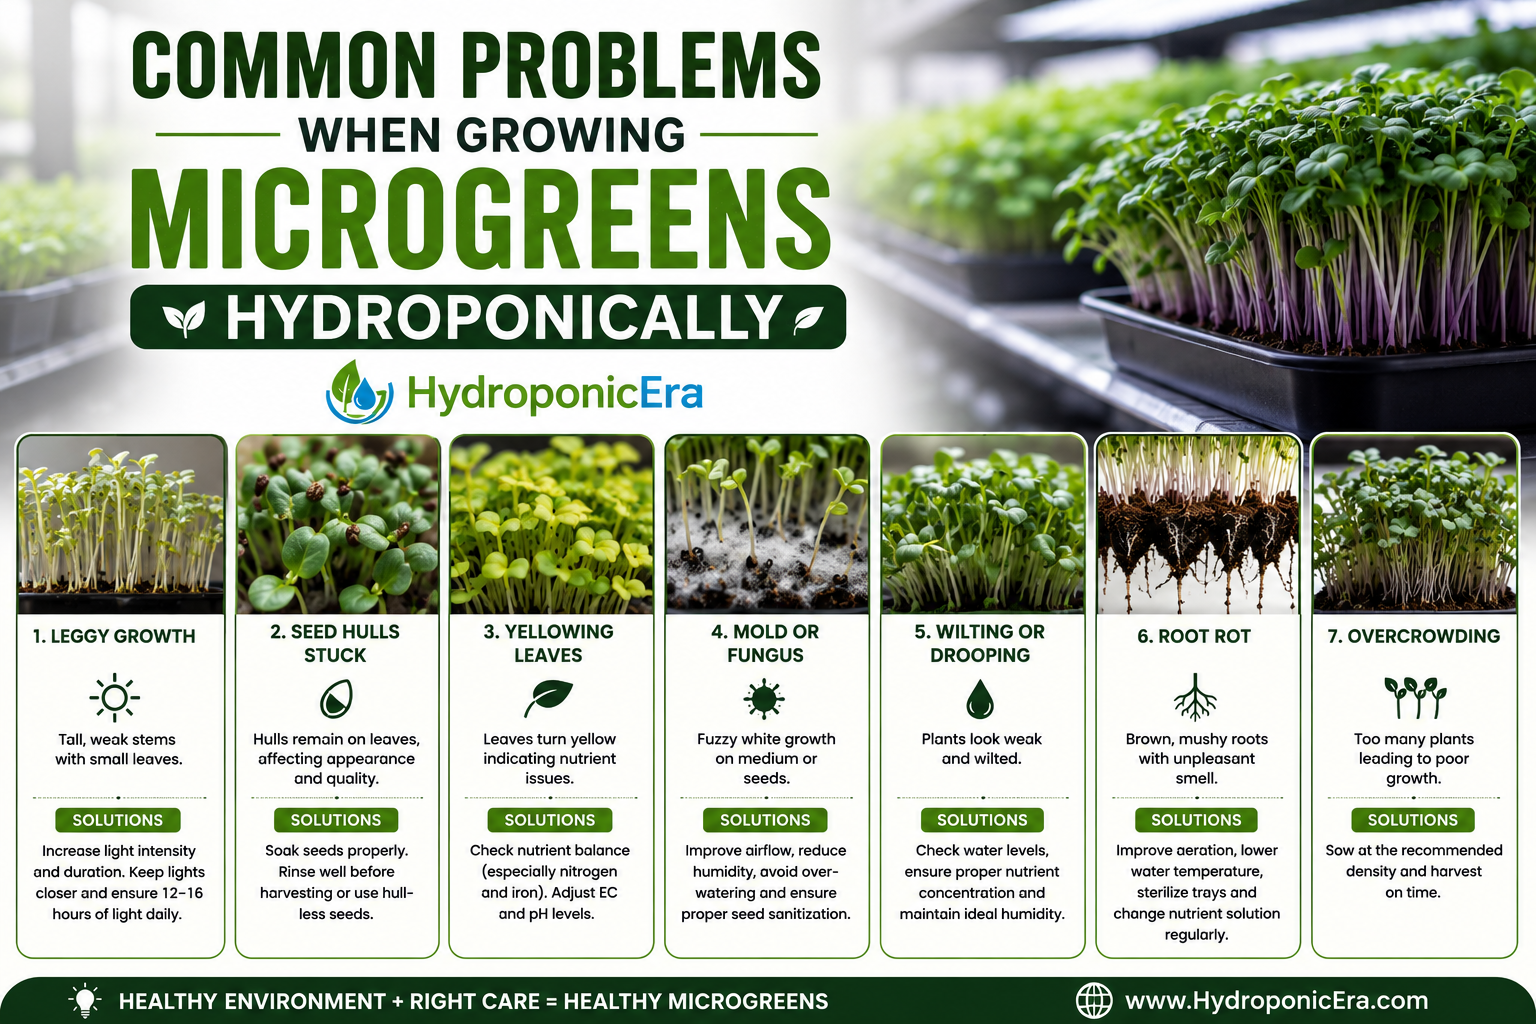
Even though microgreens are easy to grow, beginners can encounter a few problems.
Mold
Mold is one of the most common complaints.
Possible causes include:
-
Excessive moisture
-
Poor airflow
-
Overcrowded seeds
-
Dirty trays
-
Excessive humidity
-
Poor drainage
Improve ventilation, reduce unnecessary watering, and clean equipment between crops.
If a tray has significant contamination, it is safer to discard the affected crop rather than trying to rescue it for consumption.
Leggy Microgreens
If your seedlings are tall, thin, and leaning toward the light, insufficient light is a common reason.
Move the light closer if appropriate for your fixture or use a stronger light.
Also make sure the plants are not competing with each other because of excessive crowding.
Uneven Germination
Uneven germination can happen when seeds are distributed unevenly or when some parts of the growing medium are much wetter than others.
Spread seeds consistently and moisten the entire growing surface evenly.
Seed quality can also make a significant difference.
Slow Growth
Slow growth may be related to:
-
Insufficient light
-
Low temperatures
-
Poor seed quality
-
Incorrect moisture
-
Excessive crowding
-
Poor airflow
Check the basics before changing several things at once.
When to Harvest Hydroponic Microgreens
One of the biggest attractions of microgreens is how quickly they can be harvested.
If you are wondering how long do microgreens take to grow hydroponically, the answer depends on the variety.
Many crops are ready within approximately 7 to 14 days.
Typical ranges include:
| Variety | Approximate harvest time |
|---|---|
| Radish | 7–10 days |
| Mustard | 8–12 days |
| Broccoli | 8–14 days |
| Arugula | 10–14 days |
| Sunflower | 10–14 days |
| Peas | 10–14 days |
| Cilantro | 12–20 days |
These are general ranges rather than guaranteed harvest dates. Temperature, lighting, seed quality, growing medium, and growing conditions can all affect development.
How to Harvest Hydroponic Microgreens
Learning how to harvest hydroponic microgreens correctly is just as important as growing them.
Use clean scissors or a clean harvesting knife.
Cut the stems slightly above the growing medium.
Try not to crush the leaves or stems during harvesting.
Harvest when the plants have reached the stage you prefer. Many growers harvest when the cotyledons are fully open and the first true leaves are beginning to develop.
For the best quality, harvest carefully and handle the greens as little as possible.
After harvesting, remove damaged material and store the microgreens in a clean container in the refrigerator.
How to Get Better Yields
Once you understand how to grow microgreens hydroponically, you can increase production without needing a huge growing area.
Vertical shelving is particularly useful.
Instead of placing trays across a large floor area, you can use multiple shelves with a grow light above each level.
For example, a shelving unit can hold several 10 × 20-inch trays while using relatively little floor space.
The key is to maintain enough distance between shelves for the plants and lighting equipment.
Do not sacrifice airflow simply to fit more trays into a small area.
Creating a Continuous Harvest
You do not have to plant every tray on the same day.
Instead, create a simple rotation.
For example:
Monday: Sow two trays.
Wednesday: Sow two trays.
Friday: Sow two trays.
The following week, repeat the schedule.
Once the system is running smoothly, you can have trays at different stages simultaneously.
This approach is particularly useful for people who want a continuous supply of fresh greens or are considering a small microgreen business.
Can You Make Money Growing Microgreens?
Microgreens can have business potential because they have a short production cycle and do not require large amounts of growing space.
Potential customers can include:
-
Restaurants
-
Cafes
-
Farmers markets
-
Grocery stores
-
Health-conscious consumers
-
Home cooks
-
Local food businesses
However, growing microgreens for personal use and running a business are two different things.
A commercial grower needs to consider local food regulations, sanitation requirements, packaging, labeling, production consistency, delivery, customer demand, and operating costs.
Before investing heavily, test your local market.
Grow a small number of trays first and determine which varieties customers actually want.
The most profitable variety is not necessarily the one that grows fastest. It is the one you can produce consistently and sell reliably at a price that covers your costs.
Tips for Beginners
If you are just learning how to grow microgreens hydroponically, keep your first setup simple.
Start with one or two varieties.
Radish and broccoli are good options for learning because they generally germinate quickly.
Do not immediately buy expensive automation equipment.
Learn how moisture, light, temperature, and airflow affect your plants.
Keep notes.
Write down:
-
Variety
-
Seed quantity
-
Sowing date
-
Germination date
-
Light schedule
-
Harvest date
-
Problems
-
Final yield
After several growing cycles, your notes will become extremely useful.
You will start to understand exactly how your own growing environment behaves.
Frequently Asked Questions
How long do microgreens take to grow hydroponically?
Most common microgreens can be harvested in about 7 to 14 days, although some varieties take longer. Radish is usually one of the fastest, while crops such as cilantro may require additional time.
What is the best hydroponic system for microgreens?
For beginners, a simple tray-and-mat or wicking setup is often easier than a complicated recirculating system. Commercial growers may use more automated systems when production volume increases.
The best hydroponic system for microgreens is ultimately the one that provides consistent moisture, good airflow, easy cleaning, and reliable production.
Do hydroponic microgreens need fertilizer?
Not always. Many microgreens can develop using nutrients stored inside their seeds. If you use nutrients, keep the concentration appropriate for young plants and follow the fertilizer manufacturer’s instructions.
Can I grow microgreens indoors?
Yes. Indoor production is one of the major advantages of microgreens. With suitable LED lighting, airflow, temperature, and sanitation, you can grow them throughout the year.
Can I grow microgreens without sunlight?
Yes. Artificial LED grow lights can provide the light needed for indoor production. A timer can also maintain a consistent daily schedule.
What are the best microgreens for hydroponics?
Radish, broccoli, peas, sunflower, mustard, and arugula are popular choices. Beginners should generally start with fast-growing varieties before moving to more demanding crops.
Why are my microgreens turning yellow?
Yellowing can have several causes, including insufficient light, excessive moisture, poor root conditions, nutrient issues, or natural development depending on the stage of growth.
Check the growing environment before assuming the plants need more fertilizer.
Why are my microgreens falling over?
Weak, falling seedlings are often associated with inadequate light, poor airflow, overcrowding, or excessive moisture.
Improve the environmental conditions rather than immediately adding nutrients.
How often should I water microgreens?
There is no universal watering schedule because evaporation varies with temperature, airflow, growing medium, and tray design.
Check the growing medium regularly. Keep it moist without keeping it saturated.
How do I prevent mold when growing microgreens hydroponically?
Start with clean equipment, avoid excessive moisture, provide gentle airflow, distribute seeds evenly, and avoid keeping the growing environment excessively humid.
Good sanitation should be part of every production cycle.
Final Thoughts
Learning how to grow microgreens hydroponically does not require a complicated farming system. The basic process is surprisingly simple: choose good seeds, use a clean growing medium, provide consistent moisture, give the plants adequate light, maintain airflow, and harvest at the right stage.
The biggest advantage is speed. Instead of waiting months for a mature vegetable, you can produce a fresh crop in roughly one to two weeks.
If you are a beginner, start small. A couple of trays are enough to learn the fundamentals of growing microgreens hydroponically. Once you understand how your seeds, lighting, growing medium, and watering routine behave, you can gradually increase production.
For home growers, microgreens can add fresh flavor and variety to salads, sandwiches, wraps, smoothies, soups, and grain bowls. For entrepreneurs, they can provide an opportunity to test a small local food business without needing a large farm.
The secret is not complicated equipment. It is consistency.
When you grow microgreens hydroponically, pay attention to the small details. Keep your trays clean, avoid overwatering, provide enough light, maintain good airflow, and record what happens during every crop.
Those simple habits will help you produce healthier, more uniform microgreens and give you the foundation needed to move from a few home-grown trays to a much larger hydroponic growing operation.
Internal Links
Why Are Hydroponic Leaves Turning Yellow? 7 Common Problems and Easy Solutions
How to Grow Peppers Hydroponically: Complete Guide to Fruiting, Pollination & High Yields
How to Grow Strawberries Hydroponically: 10 Easy Steps for Beginners
Related reading
Very informative highly recommended