
A dutch bucket is a drip-fed pot of inert media with a drain that sends leftover solution back to a shared tank. For a beginner who has already grown greens in a basic kit, Dutch bucket hydroponics is the calm next step toward tomatoes and cucumbers.
This home-scale guide covers parts, a short-row setup, media and drain habits, and the pH and EC ranges that keep fruiting plants steady.
You do not need a warehouse bench. Four or six buckets, one opaque reservoir, and a quiet pump teach the whole loop before you add another plant. A spare bedroom corner, a bright porch, or a small indoor tent can hold a first dutch bucket row if you can reach the tank and wipe spills.
If you liked the idea of roots hanging in open air instead of media, that is a different method. See aeroponics for beginners for misted roots. A dutch bucket is the simpler fruiting path when you want a visible drip, a drain you can check, and a pot you can lift.
Table of contents
- What a Dutch Bucket Is
- Why Use Dutch Bucket Hydroponics
- What You Need for a Dutch Bucket System
- How to Set Up Dutch Buckets at Home
- Media, Drip, and Drain in a Dutch Bucket
- Nutrients, pH, and EC for Dutch Bucket Crops
- Best Plants and Common Dutch Bucket Mistakes
- Frequently Asked Questions
- Final Thoughts
What a Dutch Bucket Is
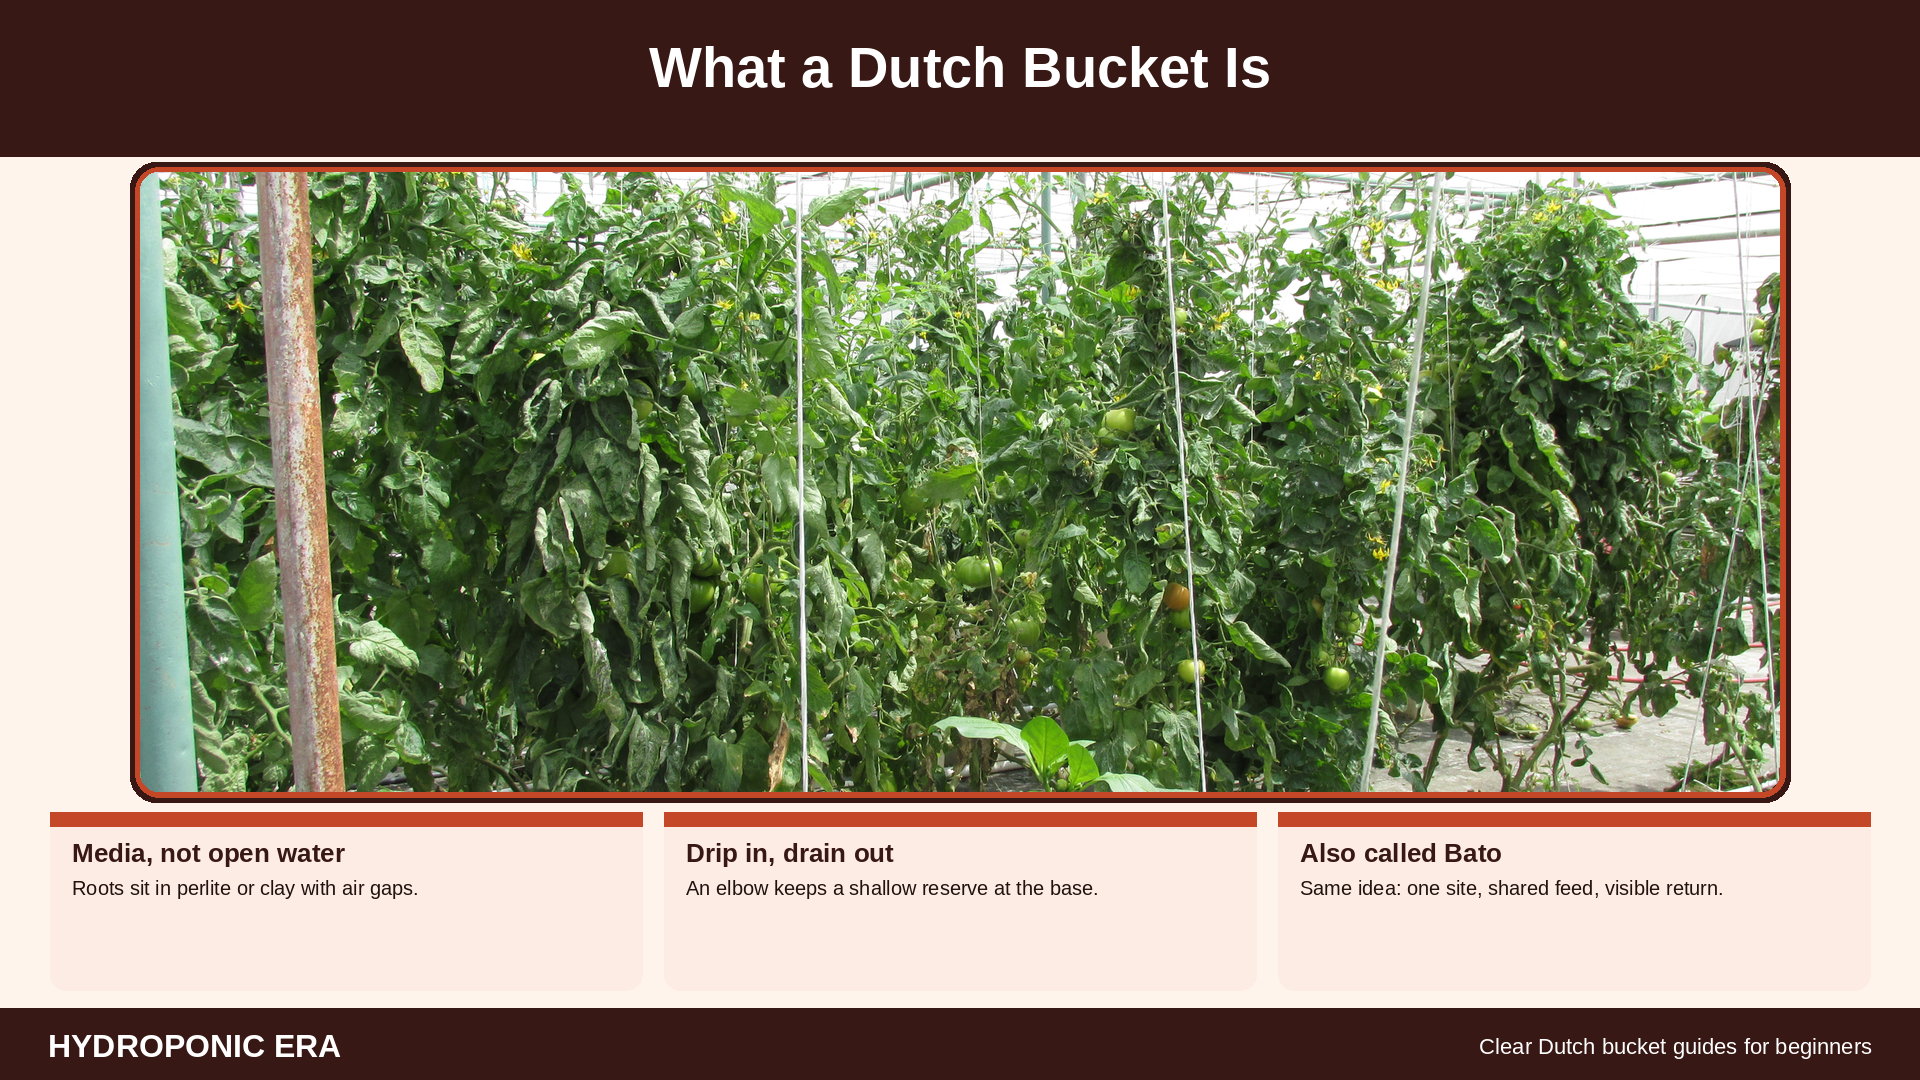
A dutch bucket (also called a Bato bucket) is one plant site: a bucket filled with perlite, clay pebbles, or a similar inert mix. A drip line feeds the top. An elbow or standpipe at the base holds a shallow reserve and sends extra solution back to the tank.
Virginia Tech’s hydroponic crop comparisons used perlite-filled buckets for tomatoes and peppers, with drip irrigation and leachate collection. The home version is the same idea: one plant, one pot, and a shared feed line.
Unlike a deep-water pot where roots hang in open solution, this method keeps roots in moist media with air spaces. That extra root volume suits vining crops better than a shallow channel.
A typical home pot is 2.5 to 5 gallons (10 to 19 L). The reserve at the bottom is only a couple of inches. The plant does not sit in a full tank. It drinks from wet media, and extra solution leaves through the elbow. That is why a power pause is less of an emergency than in a system with no media buffer.
If you already keep a hydroponic garden without soil, this is still soilless growing. The difference is drip, media, and a drain you can watch. A hardware-store pot works if you add a drain fitting and keep the plastic opaque.
Why Use Dutch Bucket Hydroponics
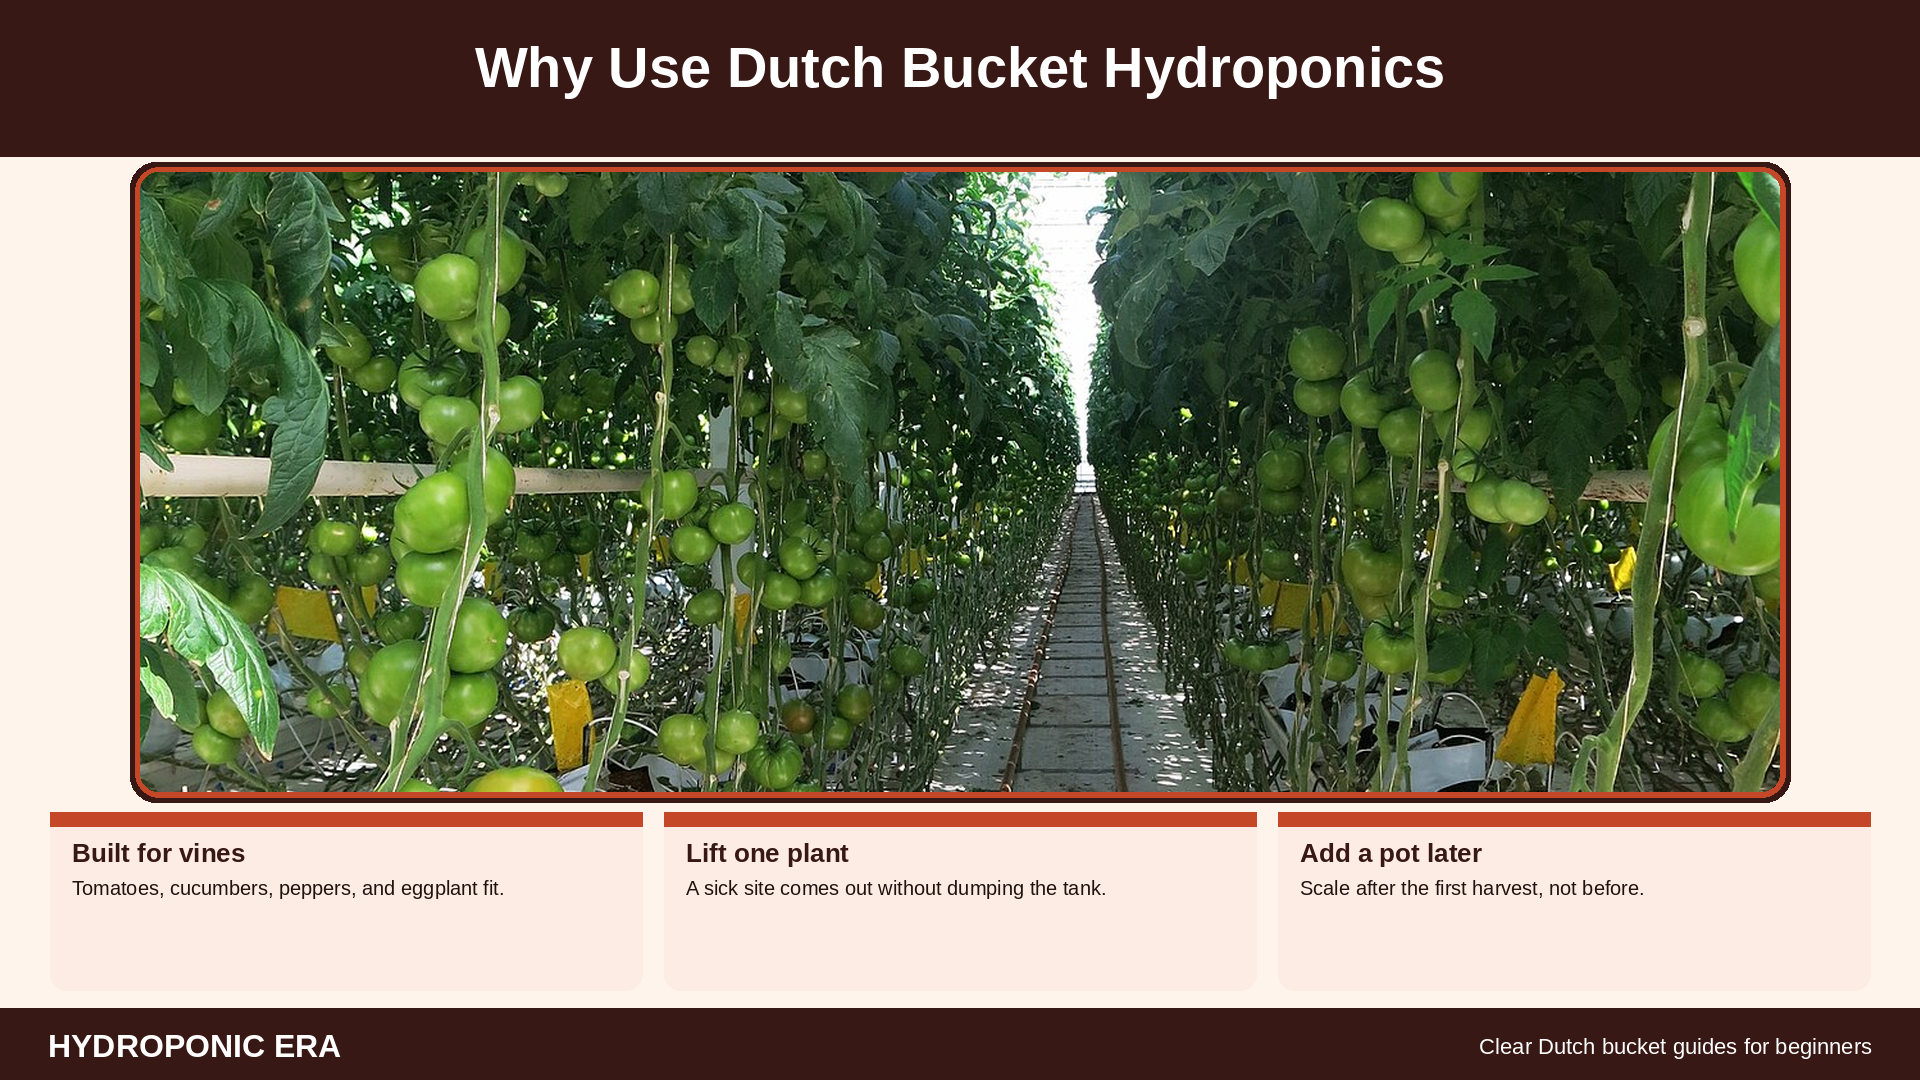
Use Dutch bucket hydroponics when the plant is large, long-lived, and thirsty. Tomatoes, cucumbers, peppers, and eggplant fit this method. Leafy greens finish faster in other systems; a walkthrough of how to grow lettuce hydroponically is the better first path if salad is still your main crop.
Oklahoma State University’s hydroponics fact sheet reminds growers that closed liquid systems need active nutrient management. A recirculating row is a closed loop. You mix a tank, drip it through the pots, and read meters instead of guessing from leaf color.
Each plant has its own root volume and can be lifted out if one site fails. A small reserve in the pot buys time if a pump pauses. You can add one site after the first harvest instead of rebuilding a bench. Clogs show up as a dry pot or a puddle, not a mystery wilt.
Skip this method if you only want a few heads of lettuce. The plumbing is extra work for a crop that finishes in a shallow channel. Skip it also if you cannot spare floor space for a row and a string line. Fruiting vines want height more than they want a compact tower.
A hydroponic tower garden can pack greens in a small footprint. Fruiting vines usually want floor space and a string to climb. Indoor habits from the indoor hydroponic garden beginner guide still apply: even light, airflow, and a notebook.
What You Need for a Dutch Bucket System

Keep the shopping list short. A working dutch bucket row needs reliable parts, not a wall of gadgets.
- Buckets: opaque 2.5 to 5 gallon (10 to 19 L) pots, or purpose-made hydroponic buckets with drain elbows
- Media: coarse perlite, clay pebbles, or a rinsed inert mix (no garden soil)
- Reservoir: an opaque tank with a lid, large enough for at least a day’s drip
- Feed: submersible pump, main line, 1/4 inch tubing, and two drippers per site
- Drain: a return pipe or trough with a slight slope back to the tank
- Support: trellis string or stakes for tomatoes and cucumbers
- Solution tools: a complete hydroponic formula, pH up and pH down, plus pH and EC meters
- Light: a bright window, or a lamp sized to the canopy
Size the tank to the row. A rough home starting point is 2 to 3 gallons (8 to 11 L) of working solution per fruiting plant, plus extra so the pump stays covered. A four-site row is easier to manage in a 15 to 20 gallon (57 to 76 L) reservoir than in a tiny tote you refill twice a day.
Leave walking space. Tomatoes need about 18 to 24 inches (45 to 60 cm) between stems so air can move and you can reach drippers. Measure the room before you buy a tenth pot.
Optional later: a spare pump and a mesh screen on each drain. Skip clear jars and soil fertilizer. If the room is dim, match lamp height with the best grow lights for hydroponics guide. Fruiting crops need more light than lettuce.
How to Set Up Dutch Buckets at Home

1. Place the tank lower than the pots. Gravity should carry drain water home. Set the reservoir where you can lift the lid without climbing over plants.
2. Line up the buckets. Leave a walking aisle. Two to four sites are enough for a first trial.
3. Fit the drain. Each pot needs an elbow or standpipe that leaves about 1 to 2 inches (2.5 to 5 cm) of reserve in the bottom. Screen the outlet so media cannot wash into the return.
4. Rinse and fill media. Dusty perlite clouds the tank. Rinse, then fill so the transplant sits high and the stem collar stays dry.
5. Run the feed line. Lay the main hose along the row. Use two drippers per site so one dry corner does not strand half the roots. Test with plain water until every bucket wets evenly and every drain returns.
6. Transplant and power. Move a sturdy seedling from a plug or rockwool cube. Water in with the first-week nutrient strength. Tie a string above tomatoes and cucumbers on day one. Plug the pump into a grounded outlet, keep cords above splash height, and set even light over the whole row.
7. Run a ten-minute leak test. Watch the first and last pot. Confirm both emitters drip, the media darkens across the top, and the return falls into the tank instead of onto the floor. Fix drips now. Salt crust later is harder to read if the floor is already wet.
8. Write the starting numbers. Note mix date, pH, EC, pot count, and crop. That one line is the baseline you will compare next week.
That is the skeleton of a beginner dutch bucket system. The rest of success is drip checks and meter notes, not more hardware.
Media, Drip, and Drain in a Dutch Bucket
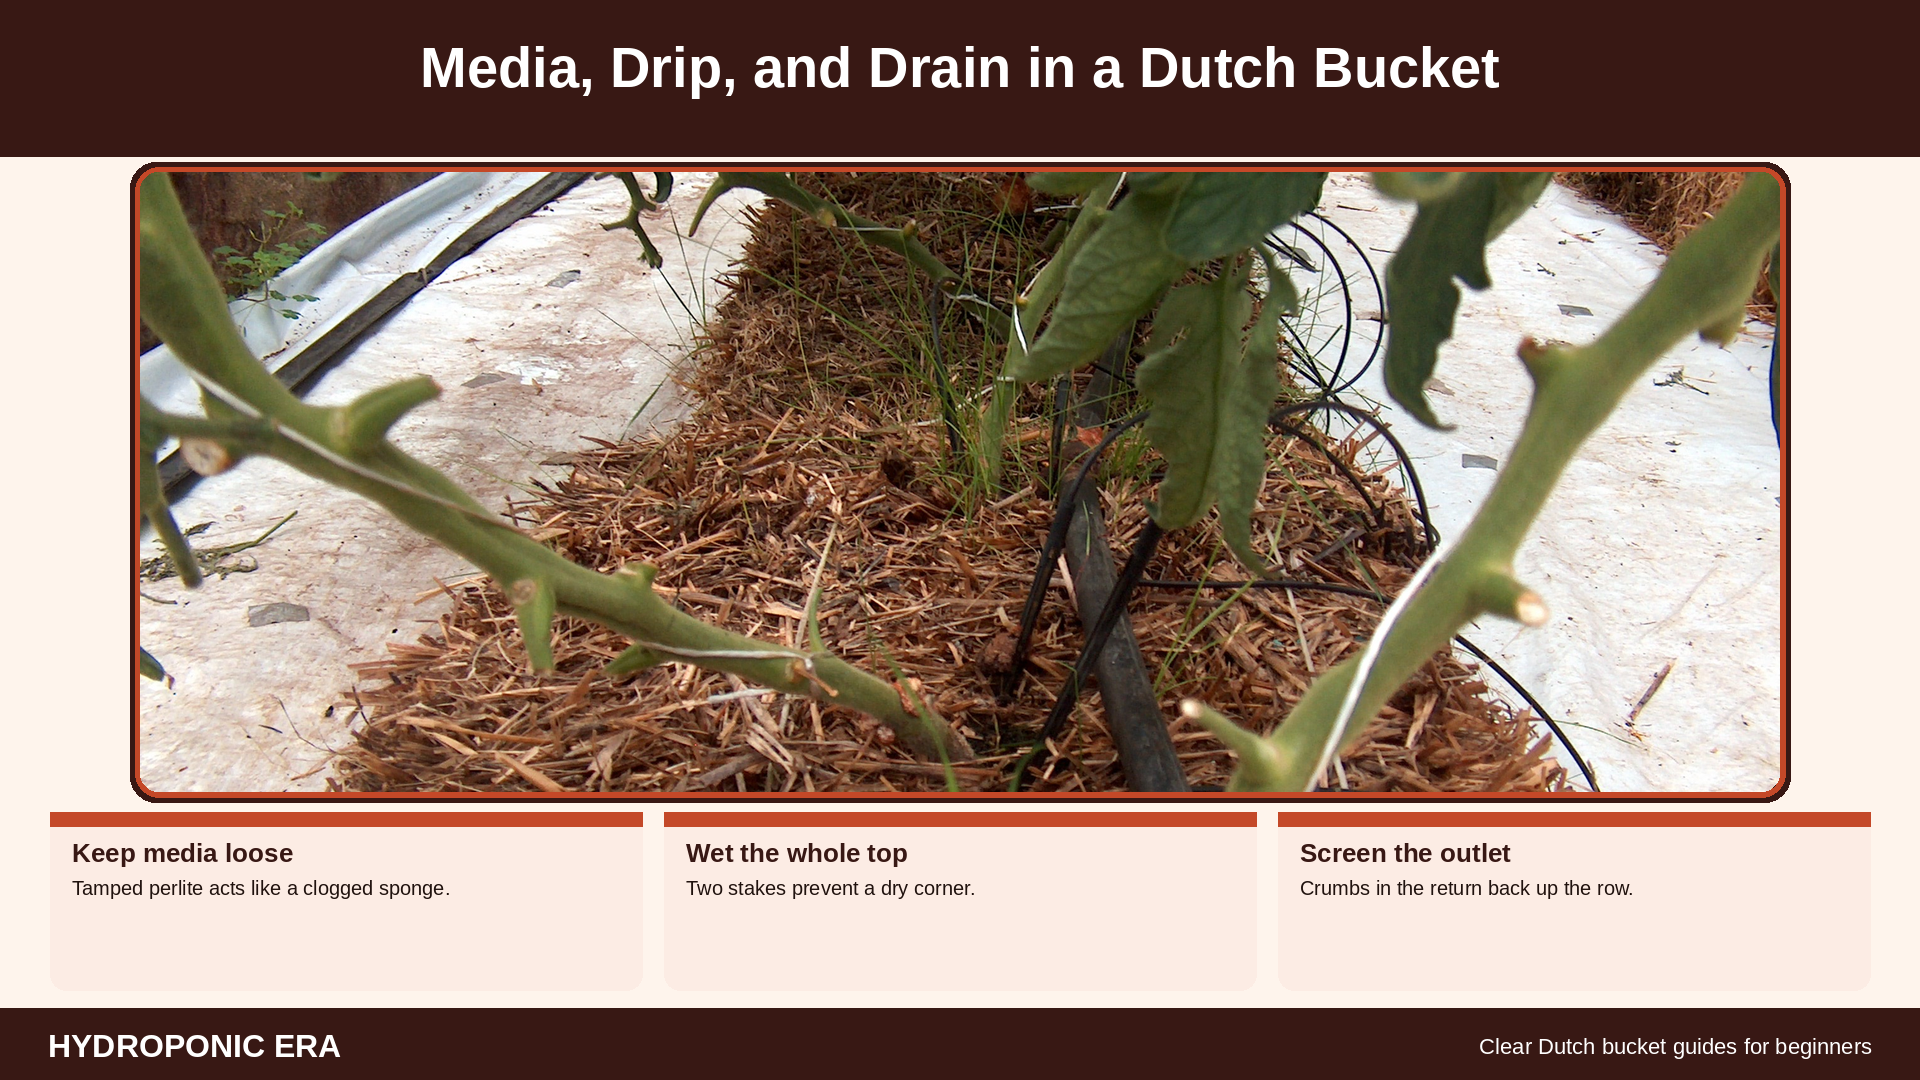
Media holds the plant and the air. Coarse perlite drains fast and is easy to re-wet after a dry spell. Clay pebbles are reusable if you wash them between crops. Do not pack media like potting soil. Roots need gaps.
Drip should wet the whole top surface. Two emitters per pot is the usual home pattern. Virginia Tech trials on fruiting crops used two drip stakes per pot. If one emitter clogs, the second still wets part of the root zone while you notice the dry patch.
Drain must stay open. A raised elbow keeps a small puddle so roots do not dry if the pump stops. The overflow should fall freely into the return. If media crumbs reach the pipe, the whole row can back up. Check the first and last pot whenever you check the tank.
Once a week, pinch each emitter for a second and watch the stream. A weak drip is easier to clear than a fully blocked line. If white crust builds on the media surface, run a short plain-water flush through the row, then return to your normal strength. Do not scrape crust into the drain.
Most home growers recirculate to save water. Watch EC as plants drink. Top up with water when volume drops, then correct feed strength. For a fuller refresh routine, use how often to change hydroponic water.
Nutrients, pH, and EC for Dutch Bucket Crops

Nutrients, pH, and EC are the operating system of Dutch bucket hydroponics. The media does not feed the plant. The tank does.
Use a complete hydroponic fertilizer, not a general garden feed. Ohio State University’s hydroponic nutrient fact sheet for tomato production (Ohioline HYG-1437) makes the beginner lesson clear: every essential element must come from the solution, and a written recipe beats scooping by eye.
Fruiting crops in a dutch bucket often sit near pH 5.5 to 6.5. EC starts modest for seedlings and usually rises as flowers and fruit develop. Check twice a week at first, or more often if the tank is small and the room is warm.
A short morning look is enough. Is the pump running and are both drippers wet? Is drain water returning to the tank? Any wilt, pale new leaves, or dry media on one side? Twice a week, record pH, EC, and a one-line note.
Once a week, do a slightly longer pass. Calibrate the pH meter if the reading looks stuck. Wipe algae from the tank lid. Confirm the drain screens are not packed with perlite. If EC has climbed while volume fell, you probably need water more than extra fertilizer.
Top up with water first when volume drops. Then adjust nutrients if EC has drifted. For meter technique, use how to control pH in hydroponics for beginners. Cornell’s Controlled Environment Agriculture program treats pH and EC as regular checks on small operations. Measure, write, correct a little, then wait a day.
Best Plants and Common Dutch Bucket Mistakes

The best first crops for a dutch bucket are indeterminate tomatoes, slicing or snack cucumbers, peppers, and eggplant. They have long seasons, heavy roots, and a clear need for trellis support. When you are ready for bloom and fruit set on peppers, use the pepper hydroponic guide rather than guessing at pollination.
Start with one crop type on one tank. Lettuce and a heavy tomato fight over the same EC. Keep salad in its own system.
Train tomatoes and cucumbers from the first week. One main stem and a string is enough at home. Twist or clip the stem as it grows. Remove lower leaves that sit on wet media so the collar stays dry. Tap flowering tomato trusses or give peppers a gentle shake if you grow indoors without bees.
Cucumbers also need a clear landing for fruit. Let vines climb, and keep fruit off wet media. If a fruit rests on a drip-soaked pot, it can scar or rot at the skin. A simple clip and a tidy aisle prevent most of that.
Between crops, empty the pots, rinse media, and scrub the tank and drain elbows. A clean restart of each dutch bucket is faster than chasing slime from the last plant. Dry the parts, then mix a fresh batch instead of topping up old solution.
One dripper on a large plant. A single emitter leaves a dry wedge. Use two, and watch for salt crust on the dry side.
Clogged drains and light leaks. Media in the return line floods pots. Clear lids grow algae in the tank. Opaque covers and a cheap screen prevent both.
Soil fertilizer and skipped meters. Garden feed is the wrong chemistry. Leaf color is a late sensor. Calibration solution is cheaper than a lost vine.
No trellis, weak light, or too many pots. Fruiting stems need a string on day one. A dim lamp makes spindly plants. Four working sites teach more than twenty dry ones. Do not share one tank across mismatched crops.
Frequently Asked Questions
Is a dutch bucket good for beginners?
Yes, after a simple kit. The plumbing is a little more than a single jar, but each plant is easy to see and move.
How many plants can share one tank?
Start with two to six. Size the reservoir so you are not mixing tiny batches every day.
Do I need special Bato buckets?
No. A sturdy opaque pot plus a drain elbow can work. Purpose-made buckets save measuring.
What media should I use first?
Coarse perlite or rinsed clay pebbles. Both drain well and are simple to re-wet.
Can I grow lettuce in this system?
You can, but it is extra hardware for a crop that prefers a shallower method. Save the row for fruiting plants.
How often should I run the pump?
Many home rows drip whenever the pump is on. If media stays soggy, shorten the on-time. Roots need air as well as water.
How is this different from aeroponics?
Aeroponics mists bare roots. A dutch bucket holds roots in media and uses drip and drain. The media buffer is why many beginners start here for tomatoes.
Will a short power cut ruin the crop?
A reserve in the pot helps for a brief outage. Keep a spare pump if a tall tomato is your only crop. Check drippers as soon as power returns.
When should I refresh the whole tank?
When EC or smell goes off, or on a set weekly or biweekly day you can keep. Write the date. Guessing leads to stacked corrections.
Related reading
- Why Hydroponic Roots Turn Brown
- Why Hydroponic Leaves Turn Yellow
- How to Grow Mint Hydroponically
- How to Grow Microgreens Hydroponically
- How to Grow Strawberries Hydroponically
Final Thoughts

A dutch bucket rewards quiet repetition more than extra fittings. Choose one fruiting crop, two to four pots, and a tank you can lift the lid on every morning. Keep pH and EC in a notebook, keep drippers wet on both sides of the media, and keep the drain clear.
When the first tomato or cucumber harvest looks ordinary—not heroic—you will know the loop. Then you can add one more pot, a second string line, or a pepper trial without guessing. That is a fair, calm way to move from a basic kit into Dutch bucket hydroponics at home. Keep the first row until that harvest repeats once. A second row is easier after the notebook already makes sense.
External reading for deeper detail: Oklahoma State University’s hydroponics fact sheet on closed-loop nutrient care, Virginia Tech’s hydroponic system and crop comparisons (SPES-466) including this method for tomatoes and peppers, Ohio State University’s hydroponic nutrient solution fact sheet (HYG-1437) for tomato nutrition, and Cornell Controlled Environment Agriculture for small-operation meter habits.
13 thoughts on “Dutch Bucket Hydroponics for Beginners”