
Quick Answer: cleaning sterilizing hydroponic system
cleaning sterilizing hydroponic system means: remove plants and debris, scrub biofilms with detergent and mechanical action, rinse, then apply a sanitizer at a labeled rate and contact time, rinse again if the product requires it, air-dry, inspect parts, and only then refill with fresh nutrient solution. Sanitizer cannot replace scrubbing. Between-crop sanitation protects the next planting from root disease carryover, algae slime, and food-contact contamination risks in edible systems.
Related ops: water changes, algae control (draft sibling), brown roots, and seedlings and transplanting (draft sibling).
Key Takeaways
- Virginia Tech’s hydroponic edible-crop food safety publication (SPES-467) states cleaning and sanitizing should occur between each rotation for channels, containers, and related surfaces, with proper storage afterward.
- University of Vermont produce-safety materials for hydroponic/aquaponic operations emphasize identifying food-contact vs non-food-contact surfaces and building SOPs—not ad-hoc “bleach vibes.”
- UMass Extension greenhouse sanitation guidelines stress that sanitation is a system: debris removal, cleaning, then disinfecting—order matters.
- UF/IFAS hydroponic media guidance (EP623) notes some media can be reused only with proper sterilization approaches; others should not be reused because they cannot be cleaned reliably.
- Opaque, smooth, accessible plumbing is easier to sanitize than scratched, opaque-crusted, unreachable hose runs.
- Never mix sanitizers. Follow label PPE, concentration, and rinse instructions.
Related HydroponicEra guides
- Hydroponic supplies for beginners
- Deep water culture for beginners
- NFT hydroponics for beginners
- Dissolved oxygen and root health (draft sibling)
- Growing media for hydroponics (draft sibling)
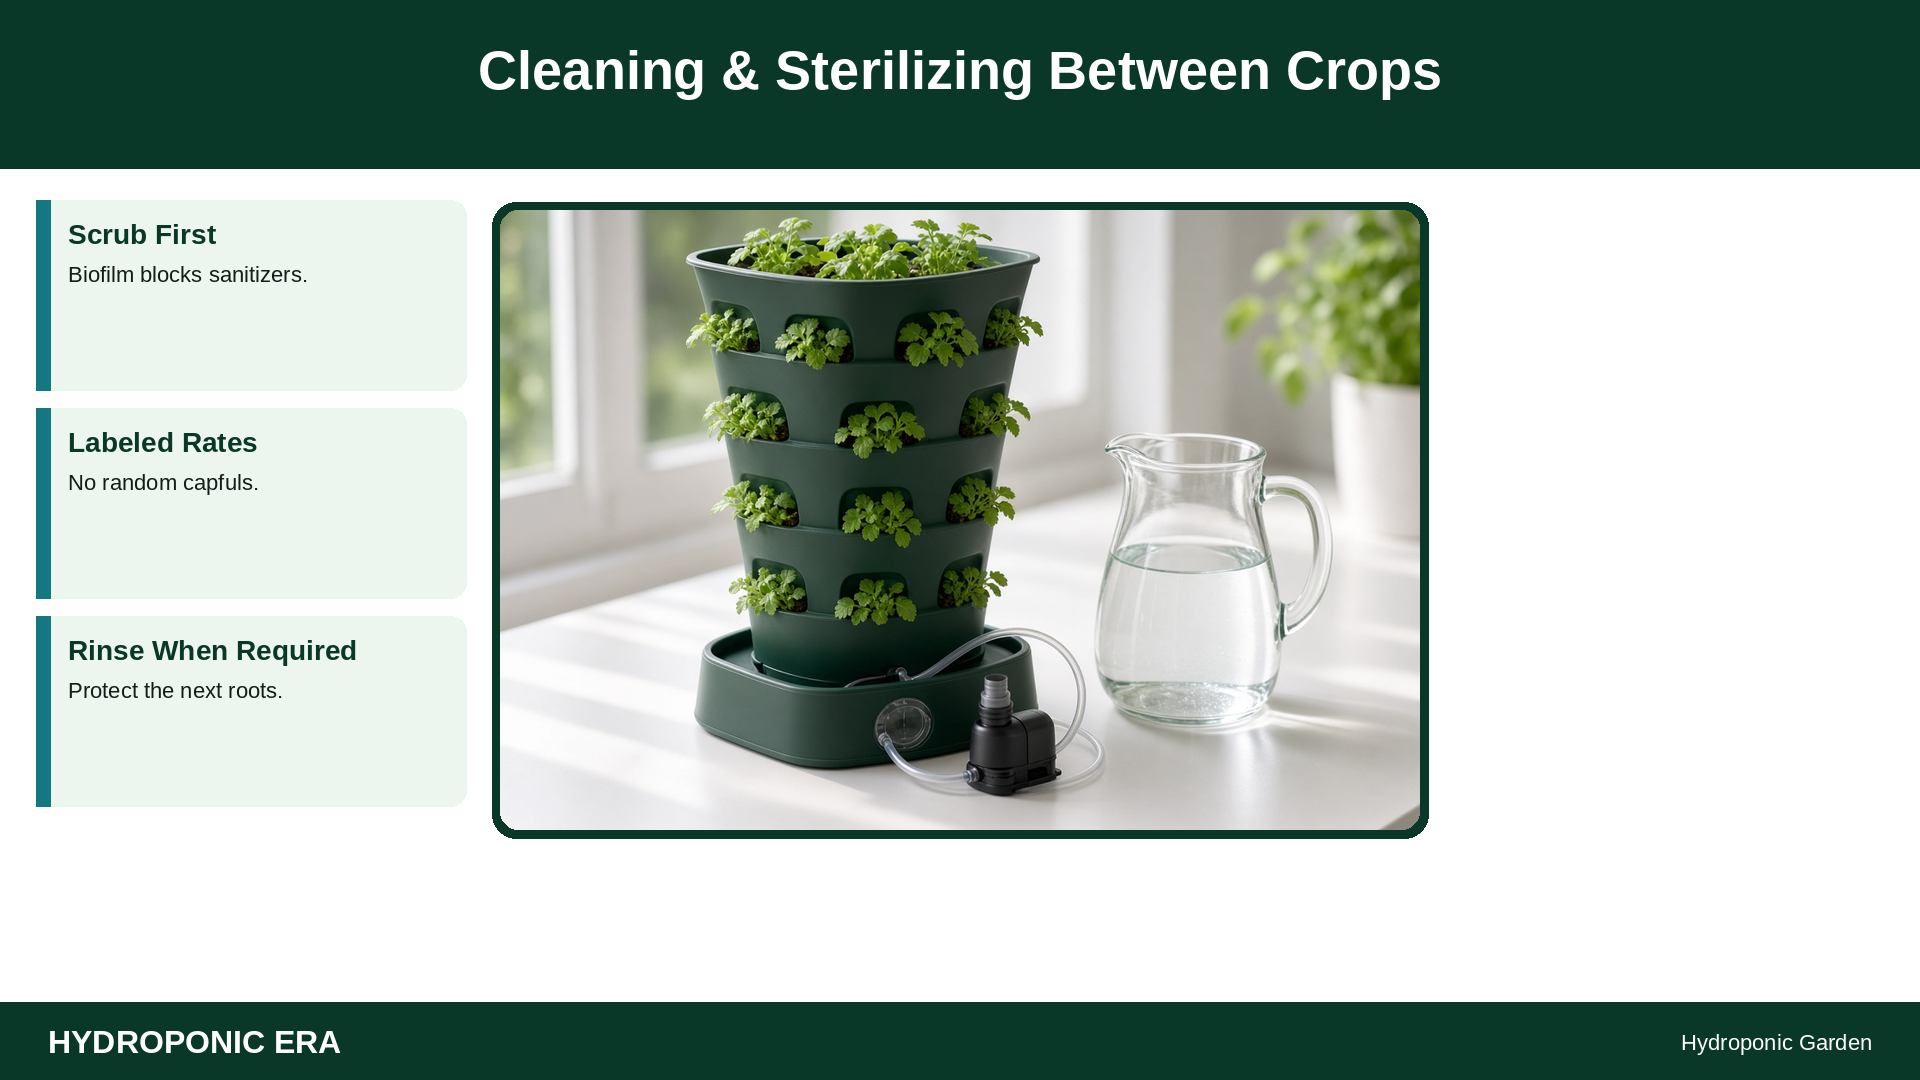
Cleaning sterilizing hydroponic system: clean vs sanitize
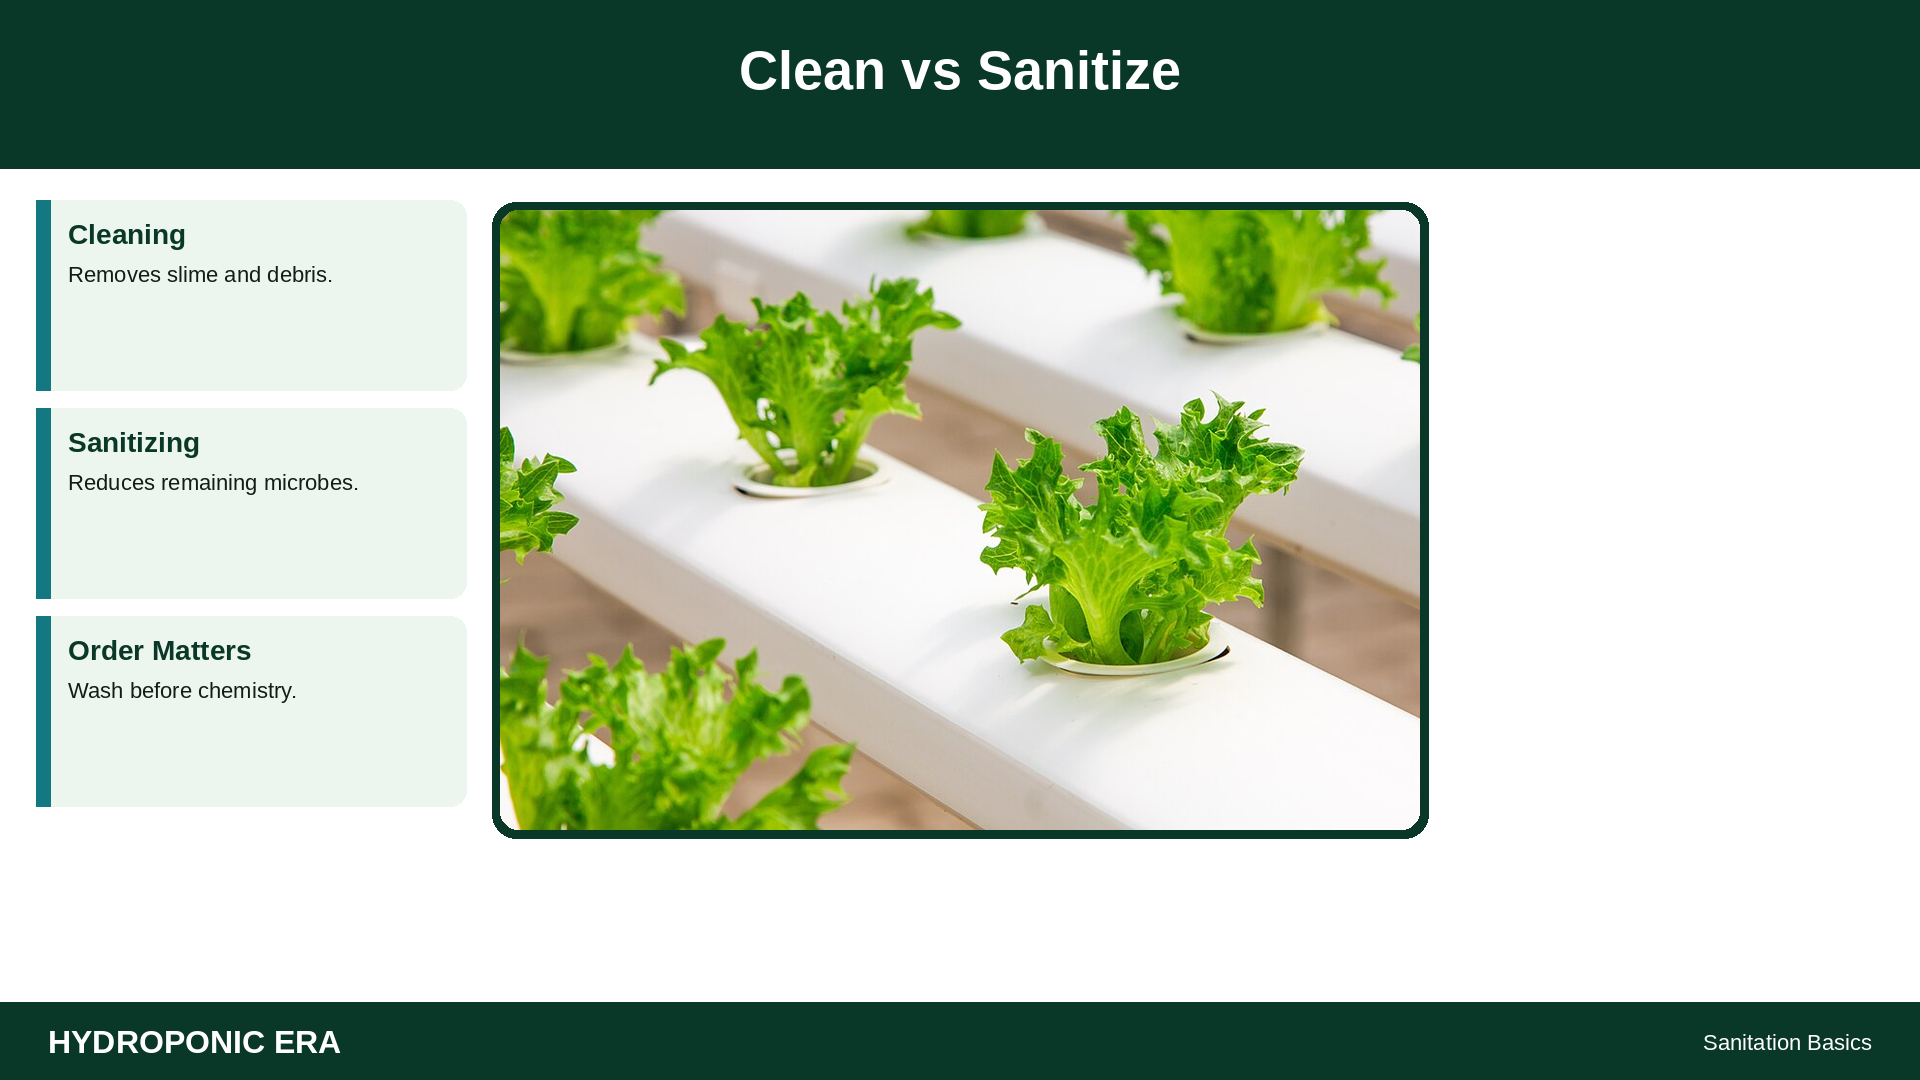
Cleaning removes organic films, algae, root debris, and mineral crust so a sanitizer can touch the surface. Sanitizing/disinfecting reduces remaining microbes using a product at an effective concentration and contact time. UMass greenhouse sanitation guidance and VT SPES-467 both treat this as a sequence. Pouring bleach into a slimy tank without scrubbing wastes chemistry and leaves protected pockets of biofilm.
For edible crops, VT’s food-safety framing asks growers to know which surfaces touch harvestable portions and to use sanitizers labeled for the intended surface class. Hobby growers should still scrub and sanitize between crops even if they are not packing for retail—the next planting shares the same pipes.
Between-Crop Workflow (Step-by-Step)
- Shut down and disconnect power to pumps and heaters safely.
- Remove plants, roots, and loose media. Bag and dispose; do not rinse heavy debris back into floor drains carelessly if local rules restrict it.
- Drain nutrient solution. Follow local disposal guidance; do not dump concentrated nutrients into sensitive waterways.
- Pre-rinse to remove remaining sludge.
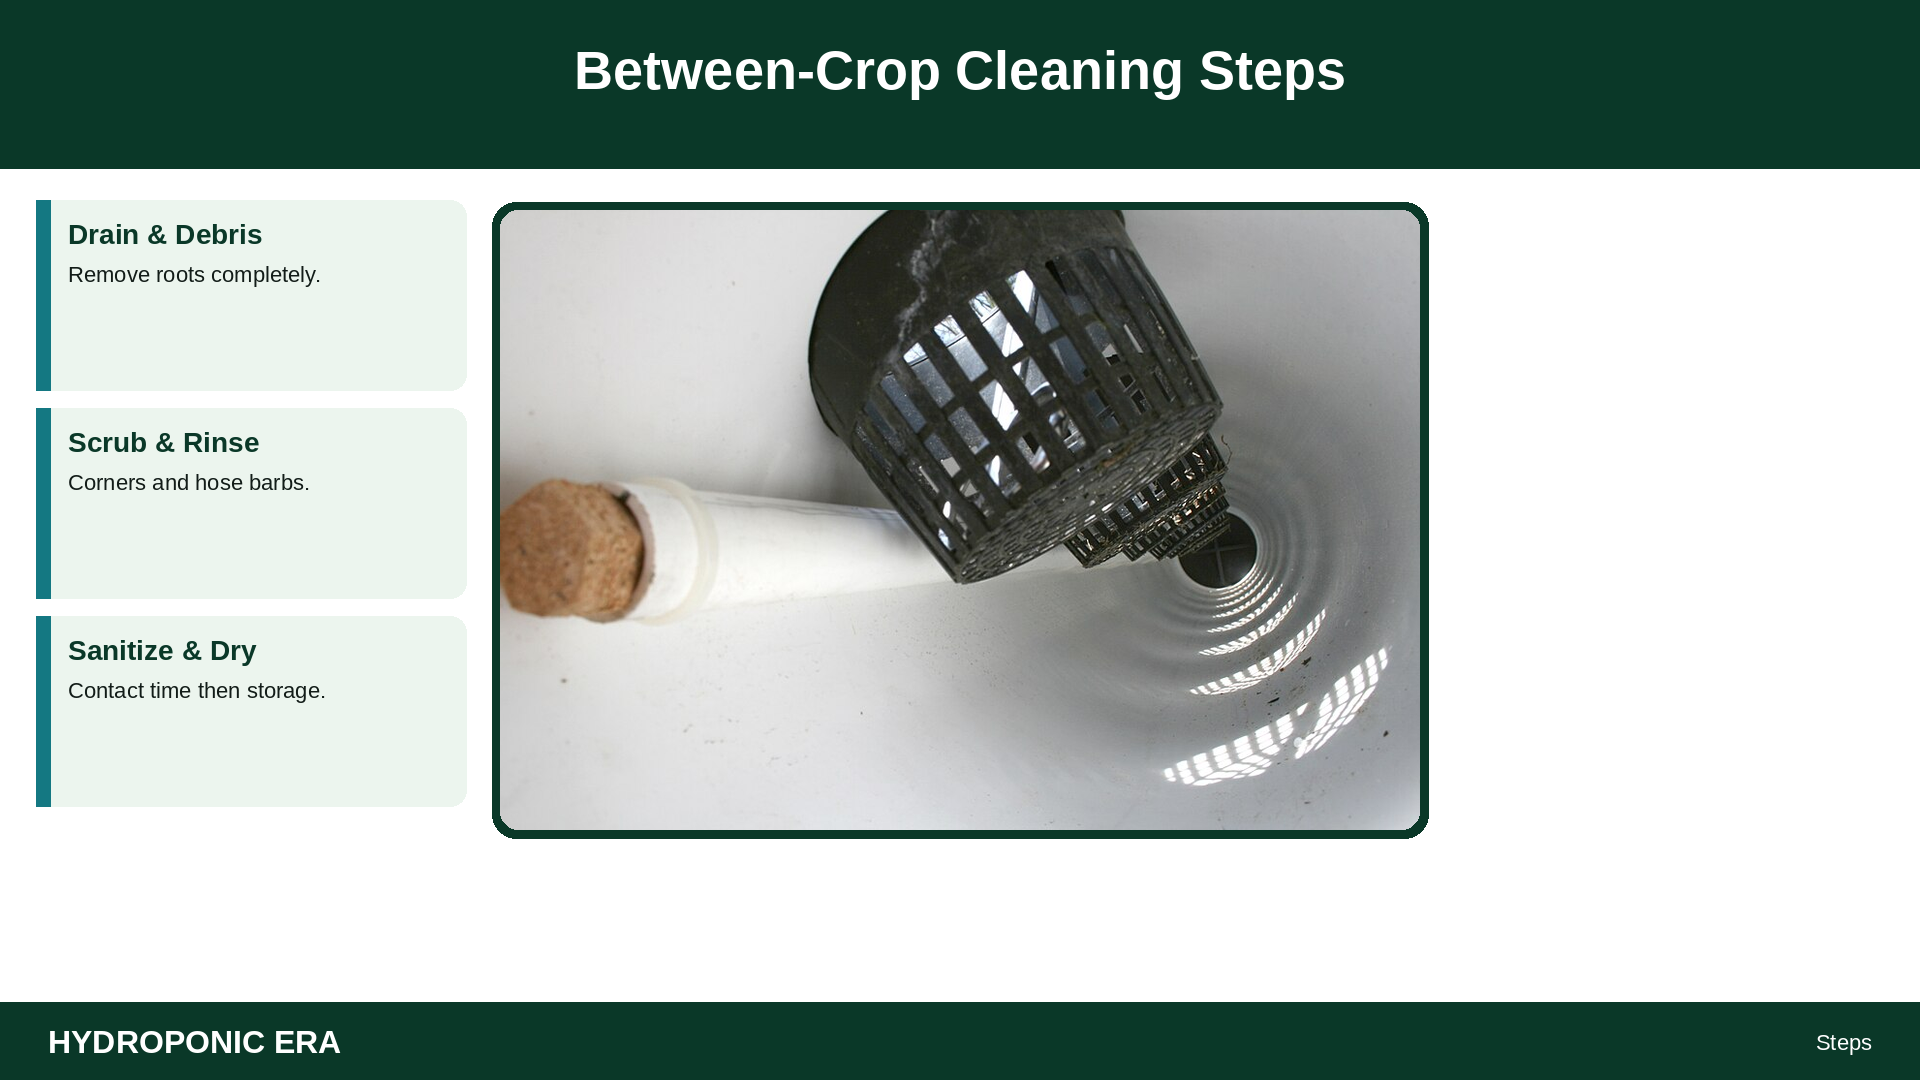
- Scrub reservoirs, lids, rafts, channels, net pots, and tool surfaces with detergent and brushes sized for corners and hose barbs.
- Rinse thoroughly until detergent residue is gone.
- Sanitize using a product labeled for your surface/use case. Maintain wet contact time. VT figures show growers using soak troughs and careful channel handling—adapt to your scale.
- Rinse again if required by the sanitizer label (many chlorine approaches need a potable-water flush).
- Clean pumps and filters separately: debris removal → scrub → rinse → include in sanitizing loop when safe for the pump type.
- Air-dry on clean racks. VT emphasizes storing sanitized channels to minimize recontamination.
- Inspect for cracks, opaque biofilm in clear tubing, failed gaskets, and clogged emitters.
- Reassemble, flush with clean water, verify flow, then mix fresh nutrients and confirm pH/EC before transplanting.
System-Specific Notes
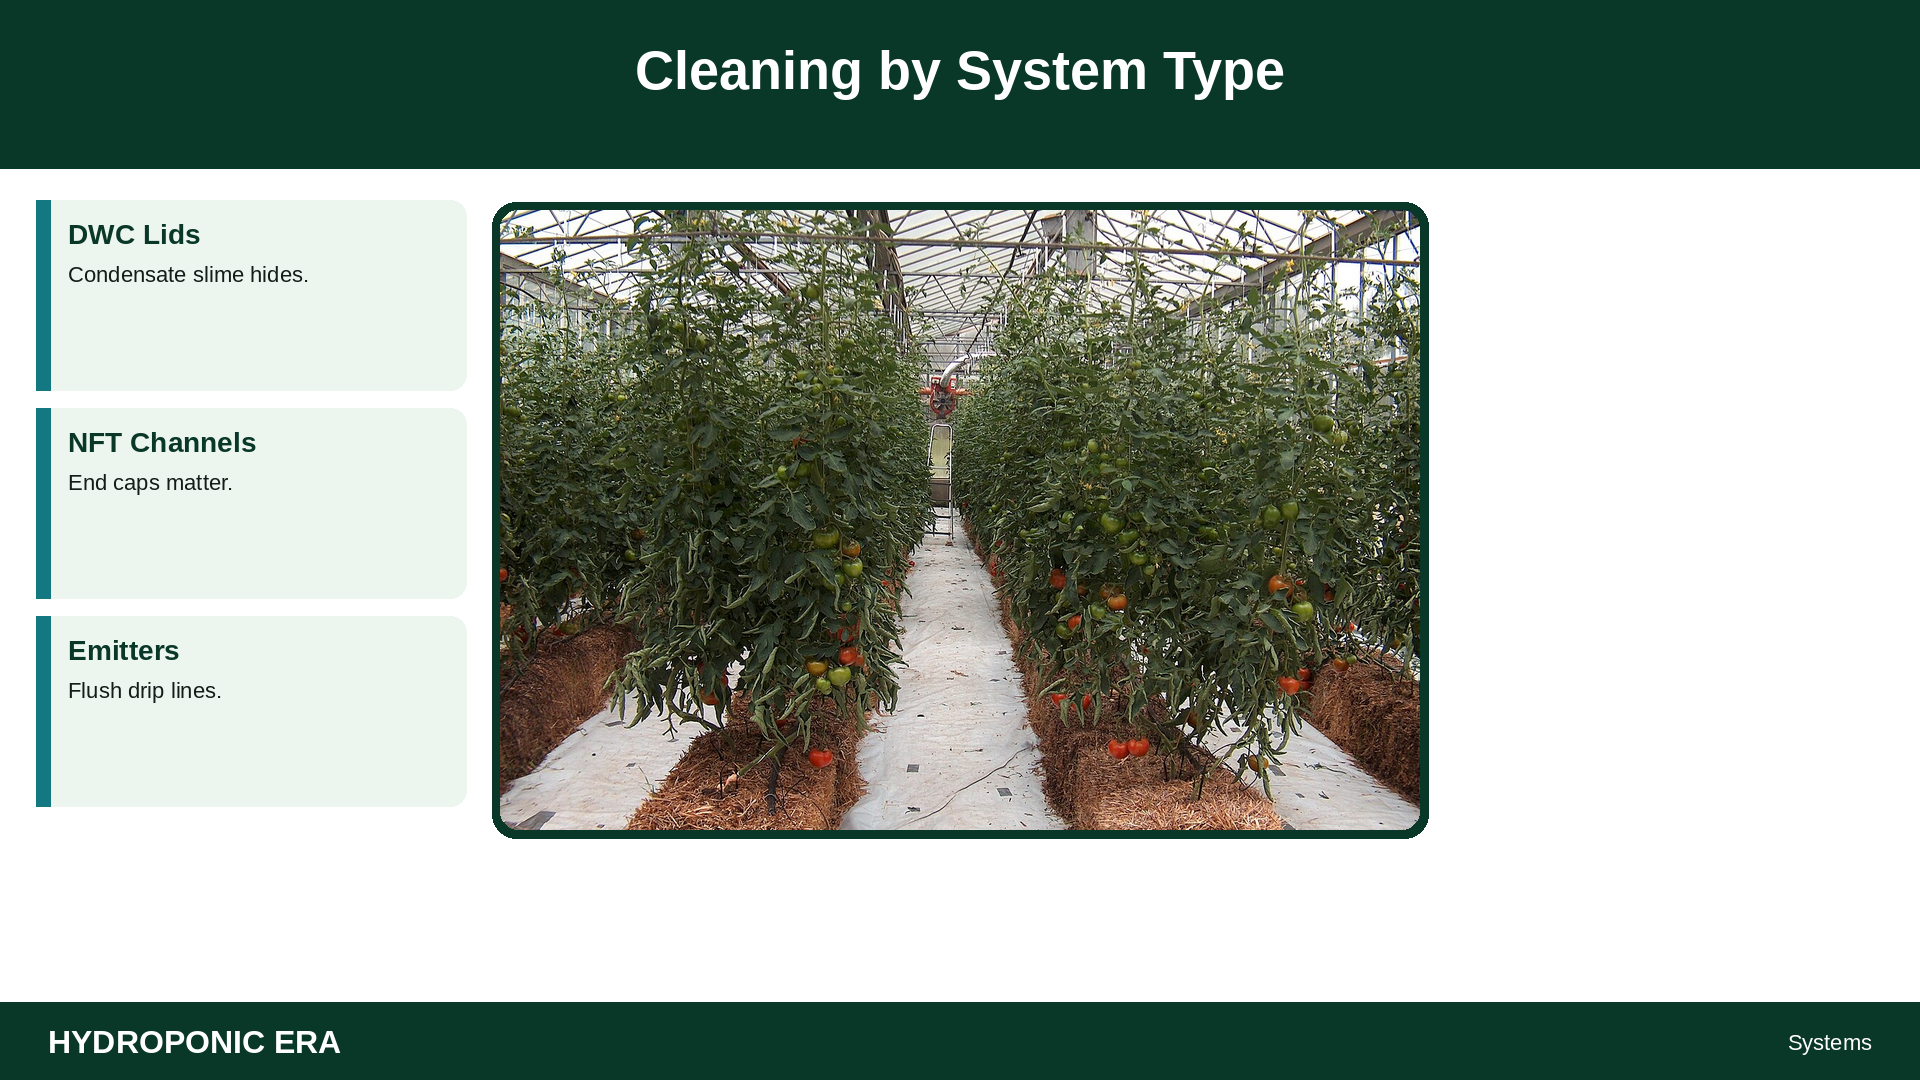
| System | High-risk zones | Extra tips |
|---|---|---|
| DWC / raft | Raft holes, lid undersides, air stones | Replace crumbling stones; scrub lid condensate slime |
| NFT | Channel floors, end caps, return lines | Biofilm loves low-flow corners; verify slope after reassembly |
| Dutch bucket | Emitters, drippers, media pots | Flush lines; decide media reuse vs replace |
| Tower | Internal drip paths, pocket cups | Disassemble enough to reach hidden slime |
| Nursery trays | Plug cells, humidity domes | Treat as food-contact adjacent surfaces in edible ops (VT) |
Sanitizer Choices: Principles, Not Brand Ads
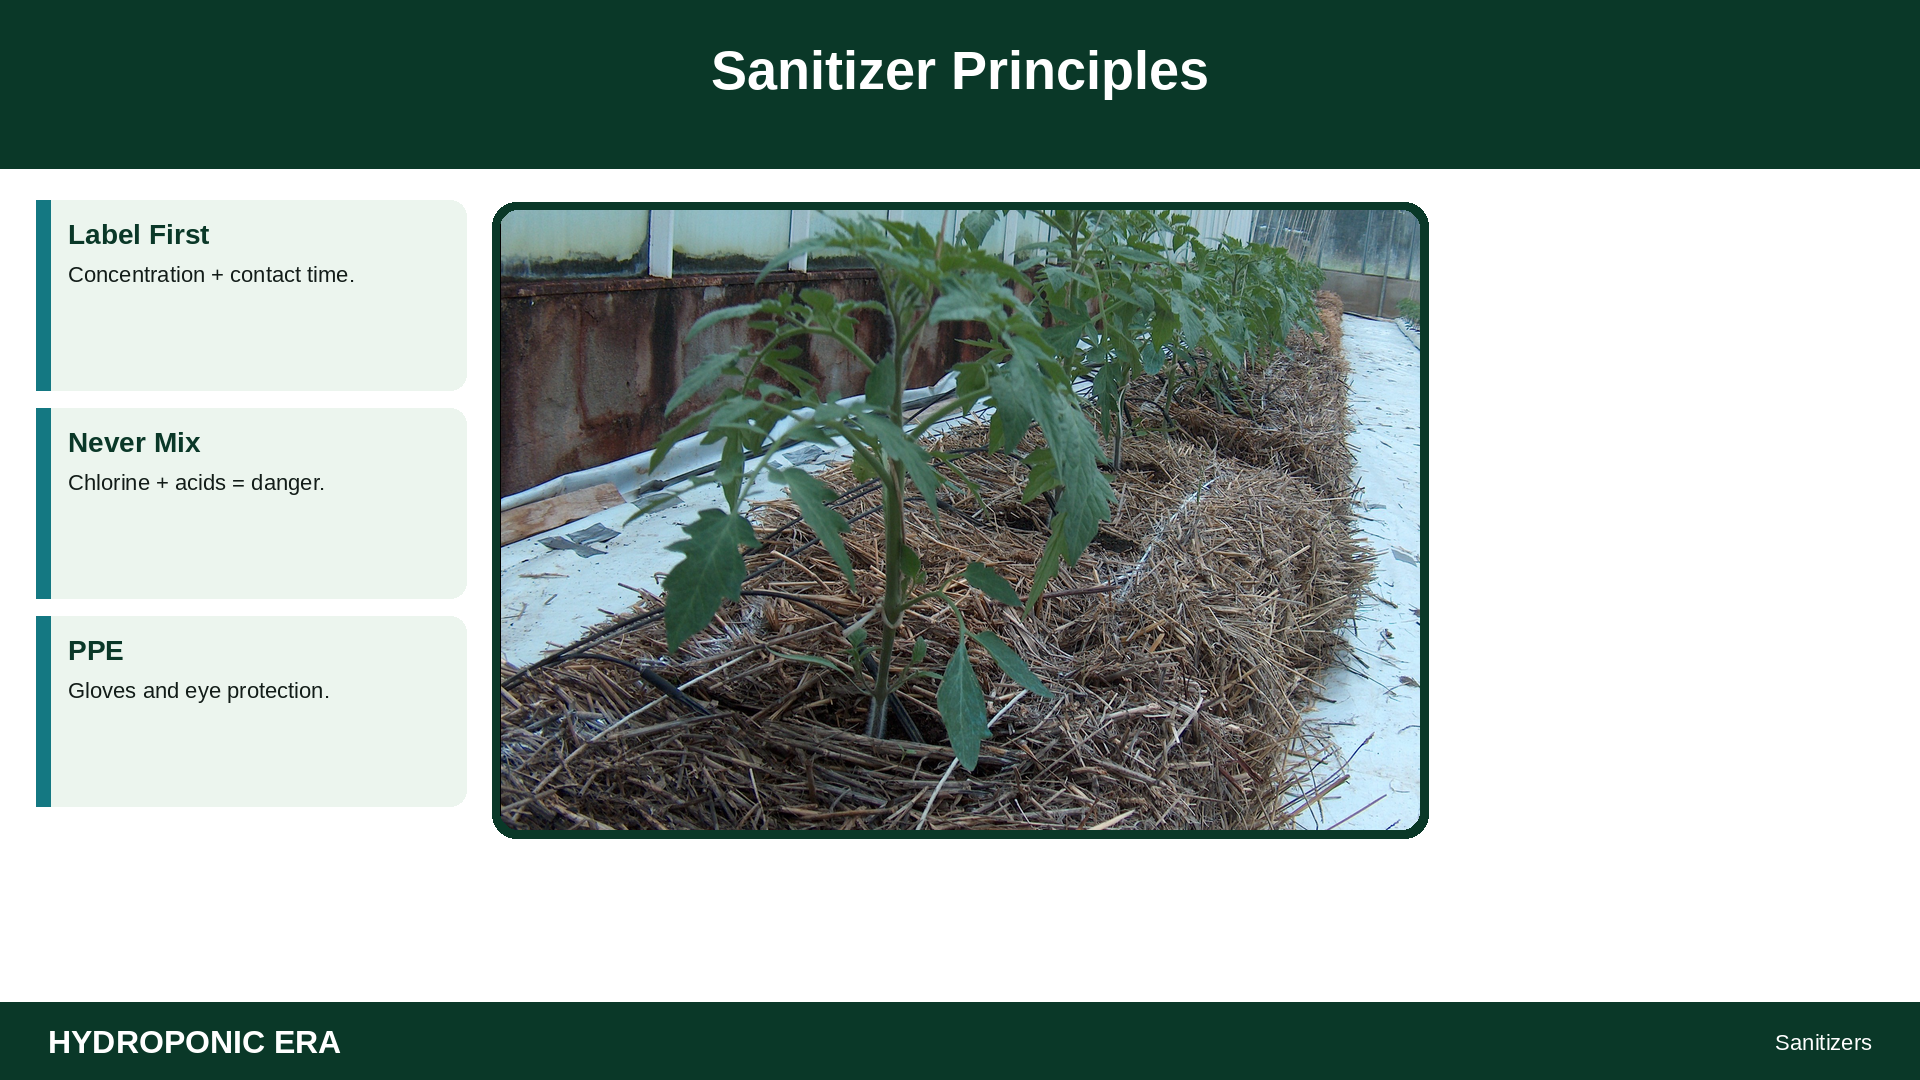
Common approaches hobbyists discuss include diluted household bleach solutions and hydrogen peroxide products. What matters legally and practically:
- Use concentrations and contact times from a label or a university SOP matched to your surface—not a social-media “capful.”
- UVM and VT materials frame sanitizing within produce-safety thinking for operations that sell food.
- Never mix chlorine with ammonia or acids.
- Protect skin and eyes; ventilate.
- Rinse when required so residual sanitizer does not damage the next crop’s roots.
If you are unsure whether a product is appropriate for food-contact surfaces, choose a different labeled product or get guidance from your local extension office—do not invent chemistry.
Media Reuse Decisions
UF/IFAS EP623 notes that some inert media (for example certain mineral aggregates) may be reusable if properly sterilized, while organic or degrading media often should not be reused because they cannot be reliably cleaned. Practical beginner rule:
- Single-use plugs: discard after one crop
- Expanded clay: wash thoroughly; sanitize only with methods safe for that media and your setup; discard if foul or crusted beyond cleaning
- Coco/organic blends: usually replace
- Grow bags: VT advises against reusing bags that cannot be cleaned/sanitized
See growing media draft.
How Often Beyond “Between Crops”?
Between full crop cycles is the minimum deep clean. Also schedule:
- Filter and screen checks during a crop
- Spot-cleaning algae on lids when it appears
- Pump intake inspection whenever flow drops
- Reservoir changes per plant demand (water-change guide)
In-crop bleach “shock” treatments while plants are in the system are a different, riskier topic—this article focuses on empty-system turnovers.
Common Mistakes
- Sanitizing before scrubbing
- Skipping hose interiors and end caps
- Reassembling wet, dirty gaskets “because they still seal”
- Mixing chemicals
- No rinse after chlorine when a rinse is required
- Storing clean channels on a dirty floor
- Replanting into a system that still smells like the last crop’s roots
Troubleshooting After a “Clean” That Failed
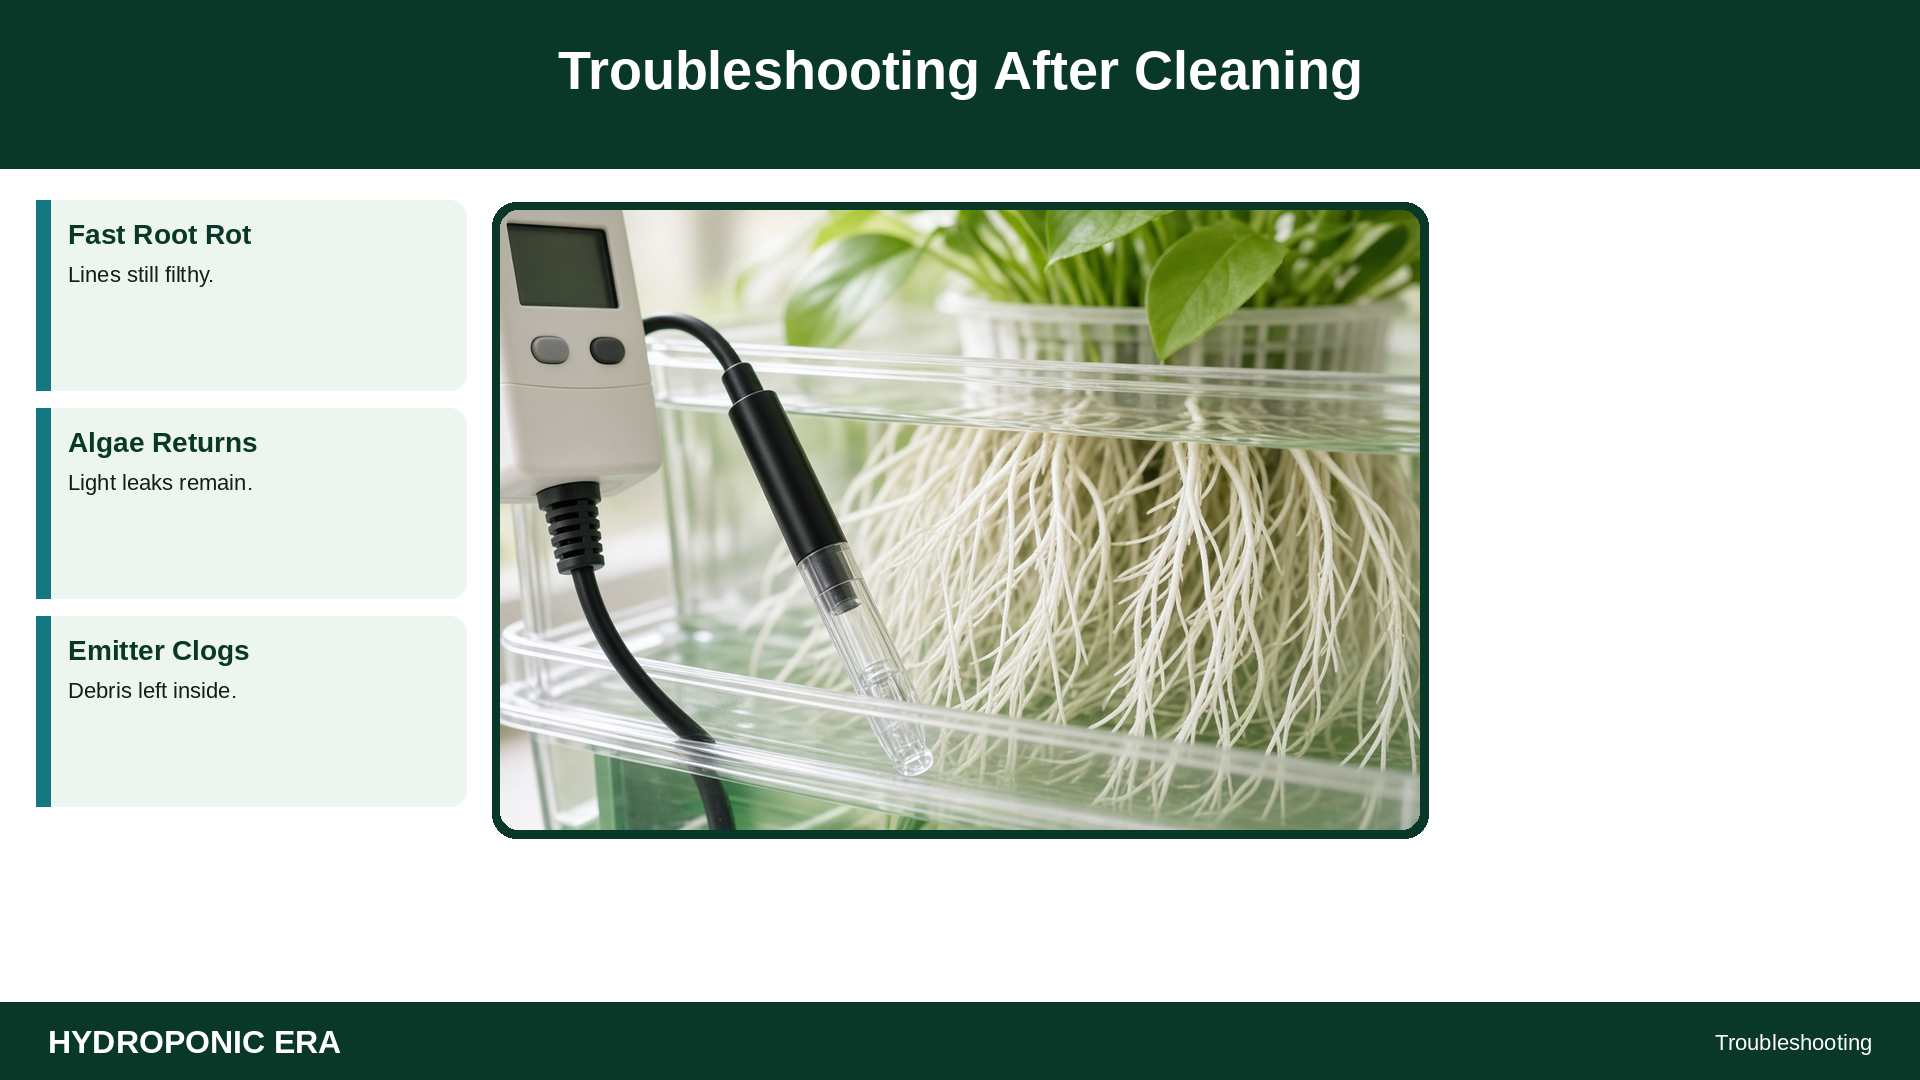
| Symptom next crop | Likely gap | Fix |
|---|---|---|
| Rapid root browning | Biofilm left in lines / low oxygen | Re-clean plumbing; verify aeration |
| Algae returns in days | Light leaks + incomplete scrub | Opaque covers; scrub lids; algae draft |
| Emitters clog immediately | Debris left in lines | Flush; add filtration; replace tubing if scarred |
| Plants burn after refill | Sanitizer residue or mixing error | Extra flush; remeasure EC/pH |
| Fungus gnats boom | Wet organic debris left in media | Replace media; dry surfaces; pests draft |
What to Check on Your Own Turnaround Day
- Is every wetted surface reachable for scrubbing?
- Did you scrub before sanitizing?
- Did you follow labeled contact time?
- Did you rinse when required?
- Are pumps and air stones actually clean, not just “rinsed once”?
- Is storage clean before reassembly?
- Did a water-only flush confirm flow before nutrients?
SOP Template (Copy and Adapt)
- Date / system ID / crop removed
- Parts list cleaned (reservoir, lid, channels, net pots, pump, tubing, tools)
- Detergent used / scrub time
- Sanitizer product name / rate / contact time / rinse (yes/no)
- Parts replaced (air stone, tubing, emitters)
- Media reused or discarded
- Water flush verification (flow OK)
- Fresh batch mixed: EC, pH, initials
This is operations documentation—not a claim of certification.
Food Safety Thinking for Home vs Seller
If you only feed your household, deep cleaning between crops still protects plant health. If you sell produce, VT SPES-467 and UVM produce-safety materials push you further: map food-contact surfaces, use appropriate sanitizers, document procedures, and treat water as a potential contamination vector. Selling food is a compliance decision, not just a bigger hobby. See the hobby vs small commercial decision guide (draft sibling) before you scale cleaning into a packing operation.
Water used for cleaning and final rinses should be potable-quality. VT emphasizes testing and corrective actions when water quality fails microbial standards in production contexts.
Tools and Consumables Worth Keeping Stocked
- Dedicated stiff and soft brushes (channels vs delicate parts)
- Food-safe detergent appropriate for scrubbing
- Labeled sanitizer + measuring tools (not eyeballing)
- PPE: gloves, eye protection
- Clean drying racks / shelving
- Spare tubing, gaskets, air stones, emitter filters
- Notebook or SOP sheet for each turnaround
Supplies overview: hydroponic supplies.
Biofilm Reality Check
Biofilm is a living layer that shelters microbes from casual rinses. If your finger rubs a “clean-looking” channel and comes away slimy, you are not done. Mechanical disruption matters. Clear tubing that has yellowed or developed a film may need replacement when scrubbing no longer restores a smooth interior.
Algae is not the same as bacterial biofilm, but both indicate light + nutrients + wet surfaces. Block light on reservoirs and revisit algae prevention.
After Sanitizing: Restart Without Recontamination
- Wash hands before handling cleaned parts.
- Do not place sanitized channels on the same dirty cart used for plant removal without lining/cleaning it.
- Flush with clean water and confirm pumps prime correctly.
- Mix nutrients in a clean vessel; calibrate meters.
- Introduce only healthy transplants from clean plugs.
A perfect clean failed by dirty hands or a filthy transplant tray is still a failed clean.
Scaling the SOP From Tent to Greenhouse Bay
A single DWC tote can be cleaned in an afternoon. A bay of NFT channels needs carts, soak troughs, drying racks, and labor scheduling—exactly the practical setups VT SPES-467 illustrates. If you are crossing into sales, budget turnaround labor as part of crop planning, not an afterthought between harvest and replant.
Commercial-leaning growers should separate dirty and clean zones so plant removal debris does not rain onto sanitized channels. Hobby growers can approximate this with two folding tables labeled dirty/clean.
What About UV, Ozone, and Other Gadgets?
Some operations explore UV or ozone for water treatment. Those tools are not substitutes for scrubbing biofilms out of channels and lids. If you research them, rely on manufacturer engineering data and food-safety guidance—not forum folklore—and keep mechanical cleaning as the foundation.
Case Walkthrough: DWC Tote Turnaround
Harvest plants and remove net pots. Drain tote. Pre-rinse. Scrub walls, corners, lid underside, and air-stone dish. Rinse detergent clear. Mix sanitizer at measured rate; wet all surfaces for full contact time; circulate through the pump if the product and pump allow. Rinse with potable water if required. Replace the air stone if crumbly. Dry lid ajar. Refill, measure EC/pH, run aeration overnight empty of plants if you want a final confidence check, then transplant clean plugs only.
Between-crop timer: cleaning sterilizing hydroponic system
Run this timer mindset for cleaning sterilizing hydroponic system work so you do not skip the rinse.
- Remove plants and loose debris.
- Scrub biofilm with detergent + mechanical action.
- Rinse thoroughly.
- Apply sanitizer at labeled rate and contact time.
- Rinse again if the label requires it; air dry; inspect; only then refill.
| Zone | Don’t forget |
|---|---|
| Reservoir walls / lids | Waterline film |
| Pumps / filters | Impellers and strainers |
| Channels / buckets | Corners and emitter barbs |
| Airlines / stones | Gunk inside porous stones |
Cleaning sterilizing hydroponic system routines protect the next crop more than any “secret additive.”
cleaning sterilizing hydroponic system: practical review sheet
Use this review sheet to keep cleaning sterilizing hydroponic system actionable after you finish the main guide.
- What did you measure today related to cleaning sterilizing hydroponic system?
- What did you change with your hands (not just what you bought)?
- What will you re-check in 24–48 hours about cleaning sterilizing hydroponic system?
- Which linked HydroponicEra guide should you reread next?
- What cleaning or logging step did you skip last cycle?
| Item | Today | Next check |
|---|---|---|
| Environment | ||
| Solution (pH/EC) | ||
| Roots / pests / biofilm | ||
| Plant response |
Print or duplicate this table in your notes app. The goal is not paperwork—it is fewer repeated mistakes around cleaning sterilizing hydroponic system.
When results are unclear, slow down and restate the problem in one sentence that includes cleaning sterilizing hydroponic system, then list the last three changes you made. Most home-system failures come from stacked changes without logs. Keep cleaning sterilizing hydroponic system paired with basic hygiene: clean reservoirs, honest meter calibration, and root inspection. If you cannot explain your last adjustment, do not add another product. Re-read the troubleshooting section and apply one change at a time while you watch how cleaning sterilizing hydroponic system interacts with pH, temperature, and oxygen.
cleaning sterilizing hydroponic system: habits that compound
These habits keep cleaning sterilizing hydroponic system practical between deep cleans and big changes.
- Keep notes when you work on cleaning sterilizing hydroponic system so small changes stay visible across weeks.
- Revisit cleaning sterilizing hydroponic system after any reservoir reset, media change, or heat wave.
- Teach one other person your cleaning sterilizing hydroponic system checklist—explaining it catches gaps.
- Photograph the system when cleaning sterilizing hydroponic system looks correct; compare when it does not.
- Do not chase products until the basic cleaning sterilizing hydroponic system habits are consistent.
- If results stall, re-read the troubleshooting section with cleaning sterilizing hydroponic system in mind.
- Pair cleaning sterilizing hydroponic system with pH/EC logs rather than memory alone.
cleaning sterilizing hydroponic system FAQs
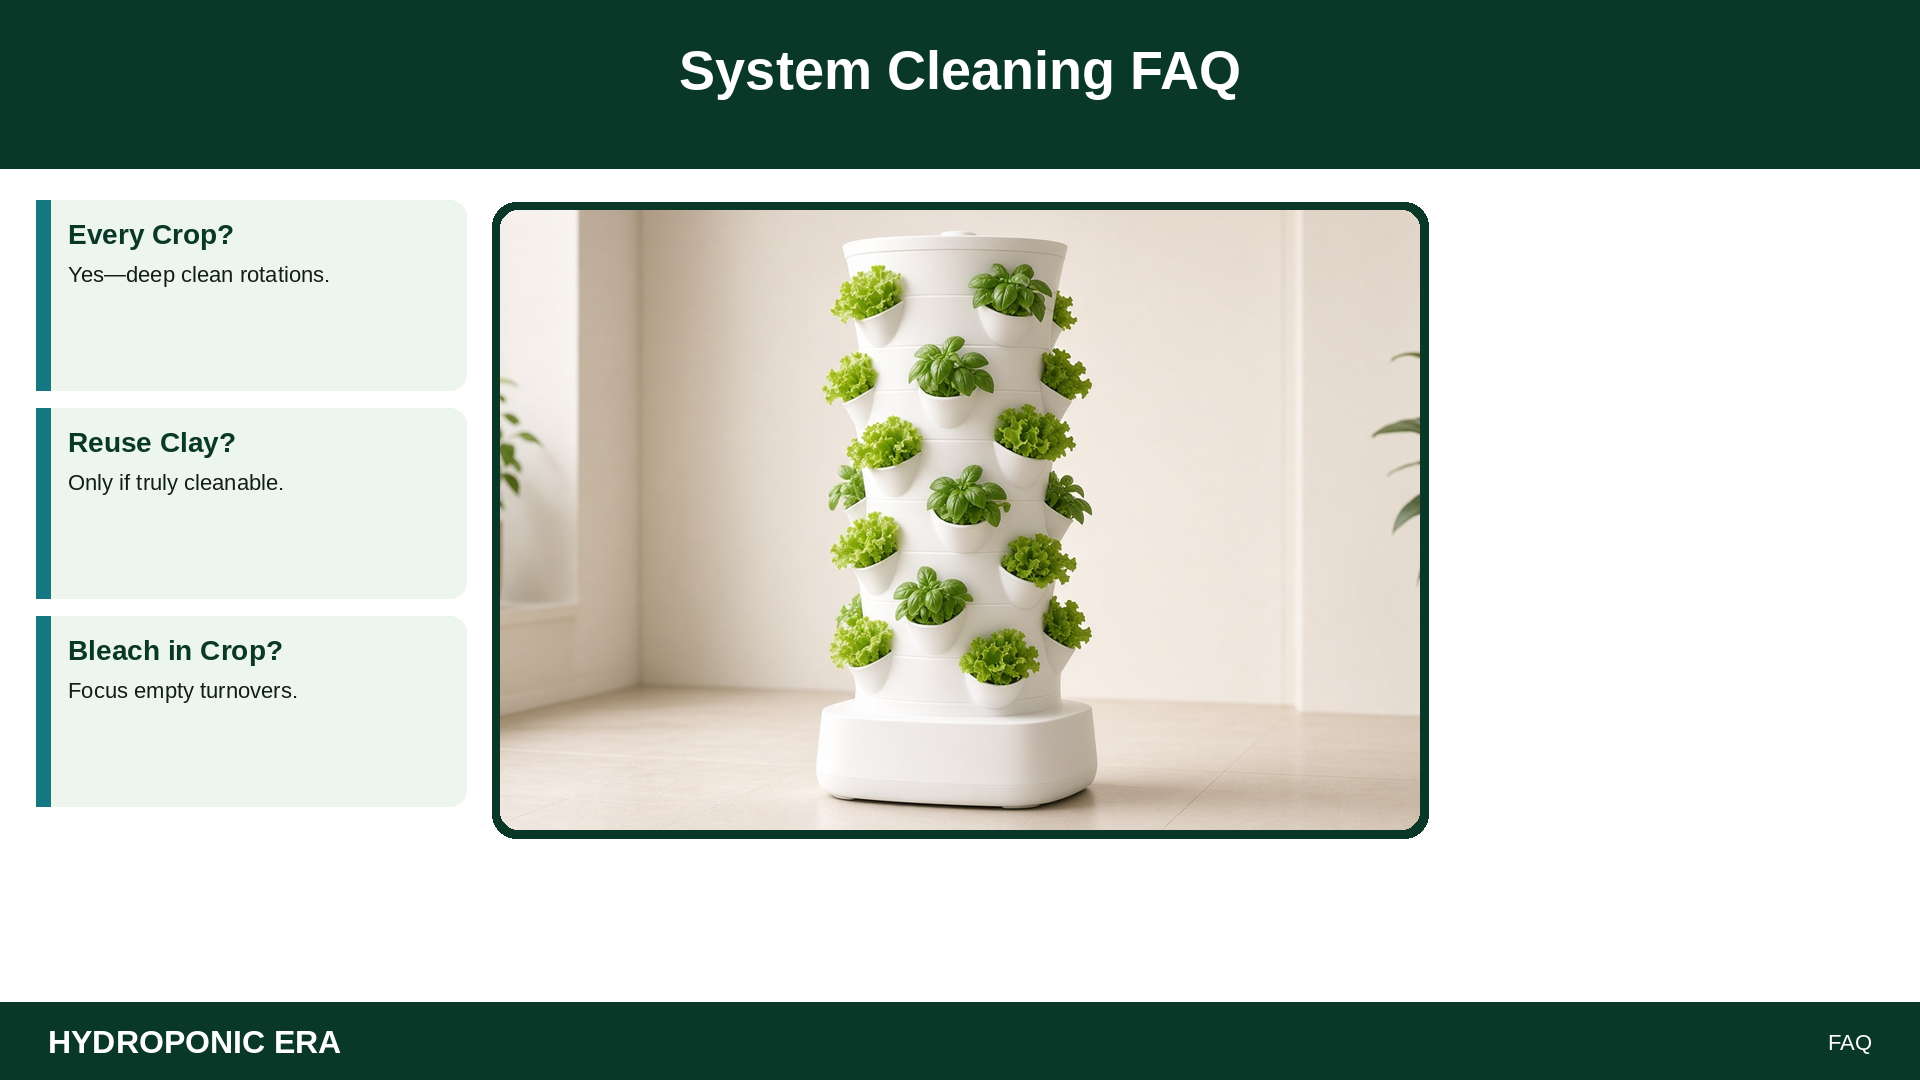
Do I need to sanitize between every hydroponic crop?
Yes for deep cleaning between rotations—VT SPES-467 frames between-rotation cleaning/sanitizing as standard for channels and containers in edible hydroponic production thinking.
Can I just run bleach through while plants are growing?
This article covers empty-system turnovers. In-crop treatments are product- and crop-specific and easy to get wrong. Prefer empty-system sanitation between crops.
Is hydrogen peroxide better than bleach?
Neither is “universally better.” Choose labeled rates, compatibility with materials, and rinse requirements. Do not mix products.
How do I clean NFT channels?
Remove end caps, scrub interiors, sanitize with adequate contact, rinse if required, dry, and store clean—VT illustrates practical channel washing setups.
Can I reuse clay pebbles forever?
No. Wash and evaluate each cycle; discard media you cannot clean. EP623 discusses sterilization/reuse limits by media type.
Why clean if my plants looked healthy?
Biofilm and inoculum can transfer without dramatic symptoms—until the next crop hits a stress window.
Sources
- Virginia Cooperative Extension — Hydroponic Production of Edible Crops: Food Safety Considerations (SPES-467)
- University of Vermont — Cleaning and Sanitizing for Hydroponic/Aquaponic Produce Safety (PDF)
- UMass Extension — Sanitation Guidelines for Management of Pests and Pathogens
- UF/IFAS EDIS — Common Media Used in Hydroponics (EP623)
- Oklahoma State University Extension — Hydroponics
- UMass Extension — Hydroponic Systems
10 thoughts on “Cleaning and Sterilizing a Hydroponic System Between Crops”