
Quick Answer
farmers market booth layout hydroponic greens means arranging cold-keeping display, height, sampling, and cash-flow sightlines so leafy greens and herbs stay crisp and sales stay honest—without fabricated “booth conversion” stats. Pair with market pricing, packaging, food safety, SKU design, waste plan, and listing photos.
Key takeaways for farmers market booth layout hydroponic greens
- farmers market booth layout hydroponic greens is a practical home-hydro workflow—not filler.
- Cold chain starts before the canopy shade.
- Eye-level herbs sell clearer than floor tubs.
- Sampling needs a hygiene plan.
- Prefer university/extension sources over forum myths.
- Layout should reduce handling damage.
- Original ops card keeps farmers market booth layout hydroponic greens decisions consistent.
- farmers market booth layout hydroponic greens fails when growers skip the boring checks.
Related HydroponicEra guides

Why This Matters
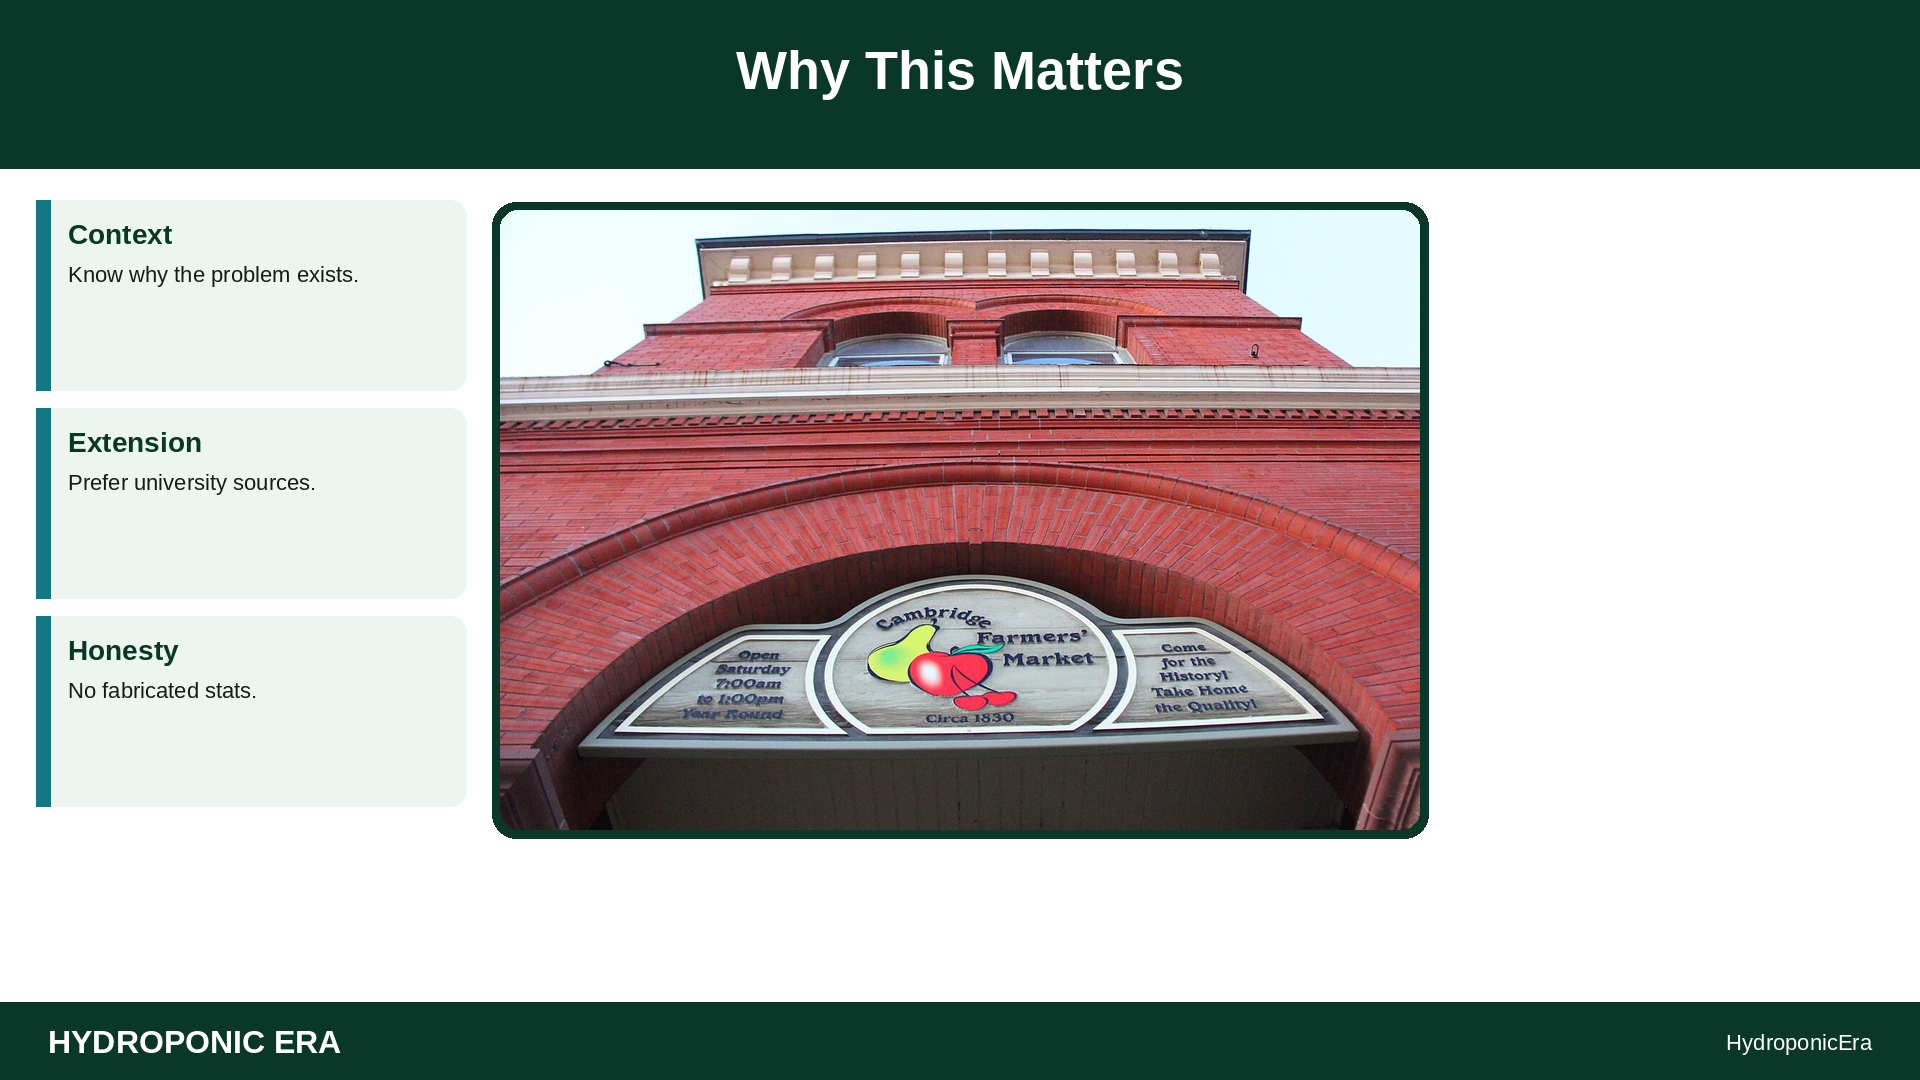
farmers market booth layout hydroponic greens and greens is merchandising plus food safety. Ohio State farm-market direct-marketing materials discuss presentation and customer flow; produce food-safety extension pages stress temperature control and clean surfaces. A pretty booth that cooks lettuce in the sun is a waste plan waiting to happen.
Comparison / Decision Table

| Zone | Purpose | Watch-out |
|---|---|---|
| Cold core | Coolers / ice packs for greens | Melt water sanitation |
| Display shelf | Eye-level SKUs | Sun/heat exposure |
| Sample station | Taste with hygiene | Cross-contact; local rules |
| Pack/cash | Clean handoff | Dirty money vs clean produce flow |
Step-by-Step Workflow
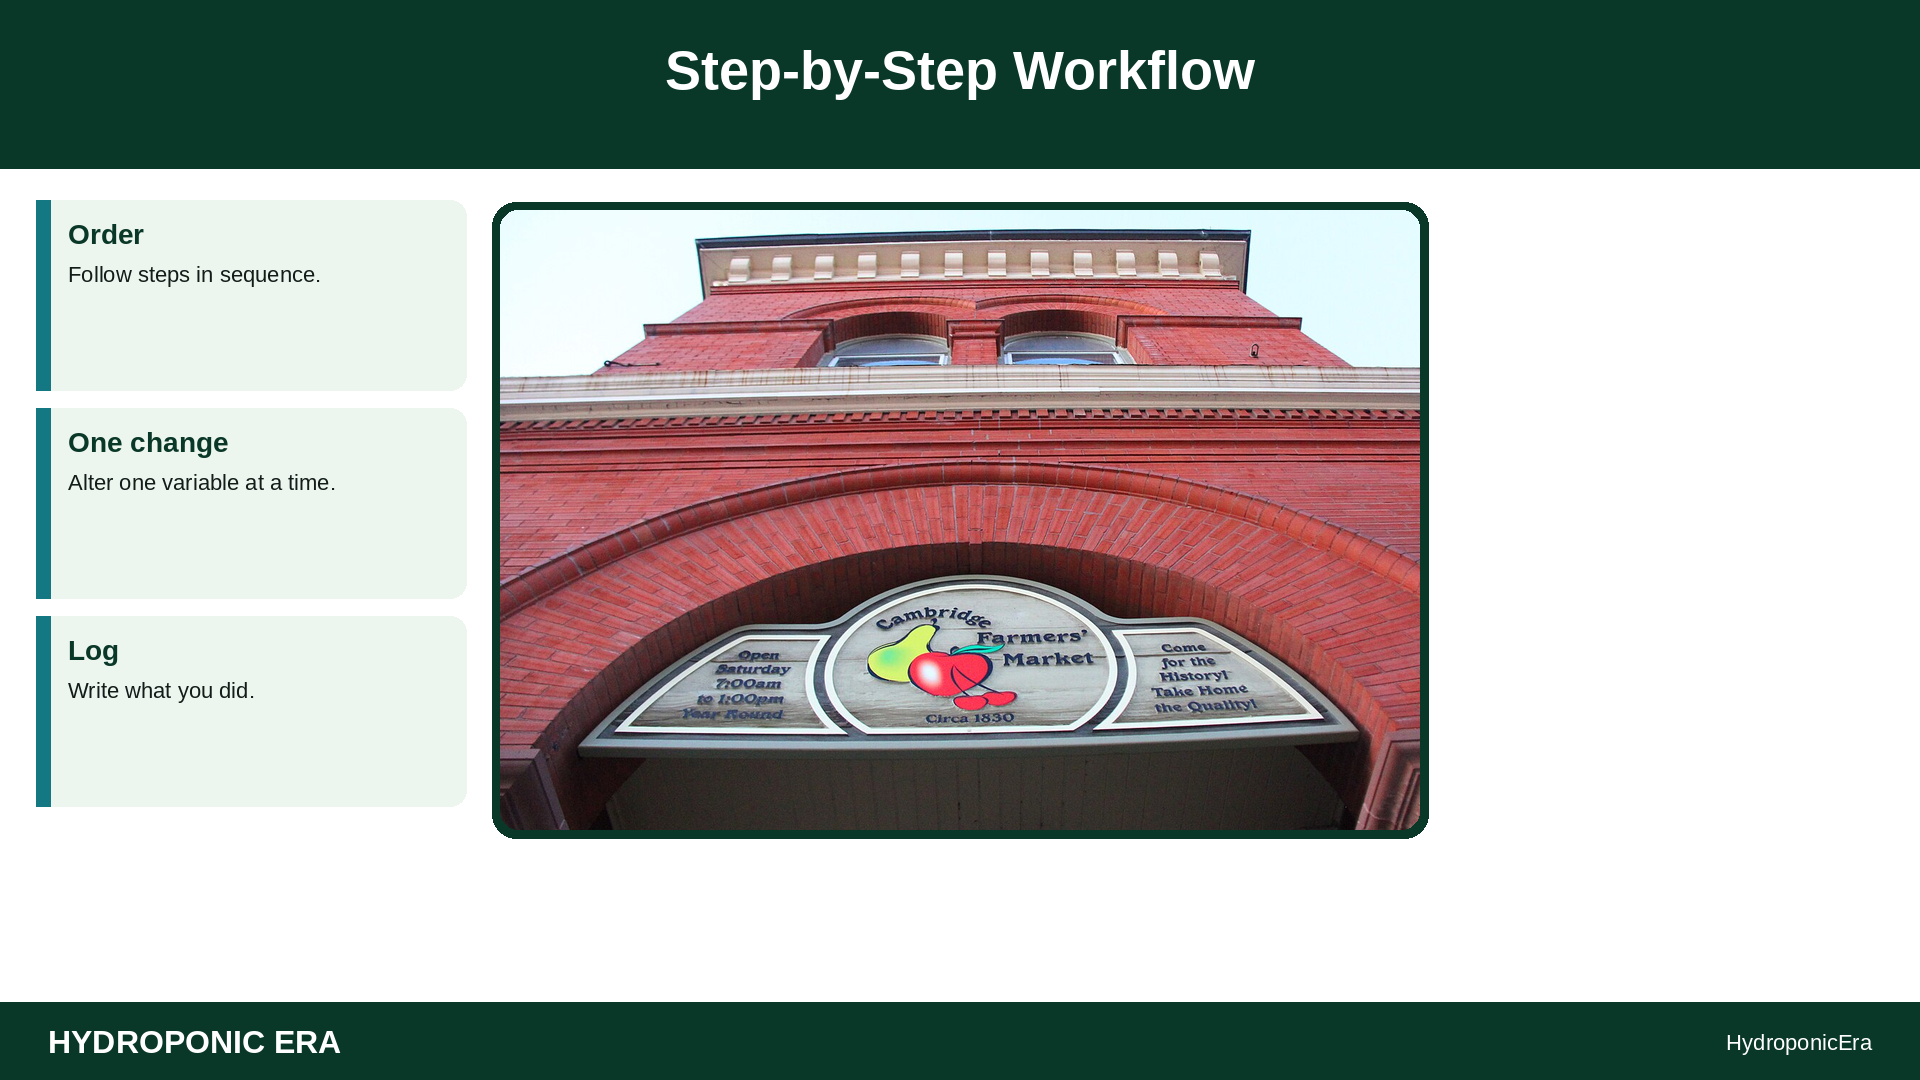
- Sketch booth footprint and sun path for your market hours.
- Plan cooler capacity for peak inventory—not average.
- Place delicate greens in cold core; rotate small display amounts.
- Set herbs at eye level in labeled containers matching SKUs.
- Keep a clean sample protocol (tools, refuse, hand hygiene).
- Separate payment handling from produce touching when practical.
- Bring shade, weights for wind, and a drip-catch plan for ice melt.
- Pre-price visibly to reduce handling of packs.
- Mid-market: refresh display from coolers; remove wilt.
- Breakdown: chill leftovers fast; feed waste plan.
Key Variables

| Variable | Effect | Link |
|---|---|---|
| Heat / sun | Wilt speed | pack, waste |
| SKU clarity | Buyer speed | SKU, pricing |
| Sample hygiene | Risk + trust | food safety, liability |
| Labor at booth | True retail cost | labor, price floor |
Common mistakes with farmers market booth layout hydroponic greens
- Displaying all inventory in the sun “for abundance”
- Samples with communal bare-hand dipping
- Illegible prices causing endless rewriting
- Blocking walkways with coolers
- Ignoring melt-water pooling
Troubleshooting
| Signal | Action |
|---|---|
| Greens wilting by hour two | Shrink display; boost cold core |
| Long price questions | Bigger signs; fewer SKUs |
| Sample congestion | Move station; clarify hygiene |
| High leftovers | Harvest less next week; waste plan |
Practical Framework

Booth card: Sun map | Cold core sized | Eye-level SKUs | Sample hygiene | Refresh plan.
Closing practice for farmers market booth layout hydroponic greens: sell cold, labeled product—not a salad bar left in August glare.
What to Check Before Market Morning Setup
- Sun path sketched?
- Cooler capacity planned?
- Display rotation set?
- Sample protocol written?
- Price signs ready?
- End-of-market chill plan?
Cold Core Beats Fake Abundance
farmers market booth layout hydroponic greens and greens should keep most inventory chilled and only a small amount on display in the sun path you sketched. Refresh from the cold core (packaging, food safety). Eye-level labeled SKUs reduce handling (SKU, pricing).
Samples need a hygiene plan. Separate payment hands from produce hands when practical (liability). Mid-market, pull wilt into your waste plan. Count booth labor minutes in retail floors (labor, price floor).
End-of-Market Chill
Breakdown is part of layout: cool leftovers fast, log unsold packs, and tune next week’s harvest (harvest planning).
How We Evaluate Claims on This Topic
For farmers market booth layout hydroponic greens, HydroponicEra favors checklists you can run at home over marketing adjectives. We look for: (1) a measurable starting point, (2) one change at a time, (3) a stop rule, and (4) an extension or university reference when a scientific claim appears. We do not invent farm trials, ROI percentages, or chef conversion rates. If a vendor promises guaranteed results from a barrel, cartridge, rail, or price tactic, treat it as advertising until your own meters and logs agree.
Beginner mistakes usually come from stacking fixes—new cart plus new nutrients plus new SKU on the same day—so this article’s workflow keeps order intentional. When in doubt, return to the ops card and the linked cluster guides rather than opening five marketplace tabs.
Variables That Change the Answer
Apartment constraints, water chemistry, crop class, and sales channel change how you apply farmers market booth layout hydroponic greens. A stock tank in a garage is not a drum in a third-floor walkup. RO water in a hard-water city is not the same as soft municipal water. Restaurant standing orders are not farmers-market walk-up. Re-read the comparison table whenever your constraint set changes, and update your written caps, floors, or maps.
Keep records ugly but dated: photos of barrel marks, permeate EC, PPFD edges, RH nights, caster ratings, sample sheets, SKU cards, stopwatch totals, price floors, standing-order caps, agent answers, booth sketches, COGS rows, decline logs, and leftover counts. Those artifacts are the expertise signal search and answer engines can trust—because they are real procedures, not fabricated testimonials.
Finally, schedule a monthly review: which checkbox failed, which link you actually needed, and which purchase you avoided. That review loop is how topical authority compounds across Equipment and Business clusters on HydroponicEra without mass-publishing hollow pages.
Practice & Field Notes
Keep the farmers market booth layout hydroponic greens ops card visible for 30 days. Check off each item once per week. When something fails, note which checkbox was fiction. That log is original operational value—no fabricated yield charts required.
Share the card with anyone who helps harvest or sell so the rules do not live only in your head. Re-open linked HydroponicEra guides when a checkbox depends on another cluster (water, equipment, business).
Scenario Walkthrough
August sun cooks your display. You shrink front inventory, refresh from coolers every 30 minutes, move samples to shade with clean tongs, and end with far less compost. Next week’s harvest forecast drops 15% because leftovers were logged.
FAQs about farmers market booth layout hydroponic greens
How much on display?
Small amounts, refresh often.
Umbrellas enough?
Helpful; still need cold core for greens.
Can I sample everything?
Only with a hygiene plan and local permission awareness.
Vertical racks?
Good for herbs; watch tip-over and sun.
Cash vs card placement?
Keep dirty-hand / clean-hand flow in mind.
Extension basis?
Farm market direct marketing + produce food safety.
Extended Home-Grower Walkthrough
Use this extended walkthrough as a second pass after the Quick Answer. Walk the system with a notebook: write the date, crop, EC, pH, reservoir temperature, and one observation about roots or leaves. Change only one control at a time when a problem appears. If last week’s fix did not show in new growth, revert and try the next smallest lever. Keep university and extension principles in mind—oxygen, sanitation, and measured nutrition beat product stacking.
Photograph the canopy and the reservoir surface weekly. Dated photos settle arguments about algae, tip burn, or stretch faster than memory. When a helper waters for you, leave a one-page card with do-not-touch items and the exact top-off rule. Store calibration sachets next to the meters so “I will calibrate later” stops being the default. Review timers after any power event. Confirm air stones still roar. Confirm drains still drain.
At the end of the week, score the cycle 1–5 for ease and plant quality. Low scores should trigger a sanitation or climate review before you buy new hardware. Link neighboring HydroponicEra guides when the symptom matches a cluster page. Prefer labeled procedures over improvisation under stress. Healthy boring routines are the real upgrade path for home hydroponics.
Keep farmers market booth layout hydroponic greens on your ops card so helpers follow one standard.
Keep farmers market booth layout hydroponic greens on your ops card so helpers follow one standard.
Keep farmers market booth layout hydroponic greens on your ops card so helpers follow one standard.
Keep farmers market booth layout hydroponic greens on your ops card so helpers follow one standard.
Sources
- Ohio State University Extension — ANR-61 Direct Marketing / farm markets context
- Ohio State University Extension — ANR-25 Direct Marketing
- University of Florida IFAS — FS233: Food safety publication
- Ohio State University Extension — HYG-1132 Food safety / produce handling
- USDA Agricultural Marketing Service — Local and regional food systems resources
- University of Minnesota Extension — Selling at farmers markets / local food marketing context
1 thought on “Farmers Market Booth Layout for Leafy Greens and Herbs”