
Hydroponic starter sponges are small plugs of foam, peat-based composite, or rockwool that hold a seed, keep it moist and aerated while it germinates, and then slide straight into a net cup with the seedling’s roots intact.
To use them, soak the plugs in plain water or a weak nutrient solution, squeeze out excess so they’re moist but not dripping, drop one or two seeds into each hole, and keep them warm and humid until sprouts appear. University of Kentucky Extension recommends bonded 1-inch plugs for water-based systems like DWC and NFT because they hold together when submerged, and suggests pre-charging rockwool with a solution at EC 1.0 mS/cm and pH 5.5–6.0.
Key takeaway: Choose bonded starter sponges, pre-soak them, keep them moist but airy, and transplant when 3–4 true leaves and roots show.
| Plug type | Pros | Watch for |
|---|---|---|
| Bonded peat or coir composite | Holds shape, natural, good air | Can stay too wet if oversoaked |
| Rockwool cubes | Uniform, widely used commercially | High pH at first; pre-soak and condition |
| Polyurethane or phenolic foam | Cheap, clean, fits AeroGarden-style pods | Dries fast; some foams crumble |
| Loose media (perlite, coco) | Cheap | Falls apart in water systems |

Why Use Starter Sponges?
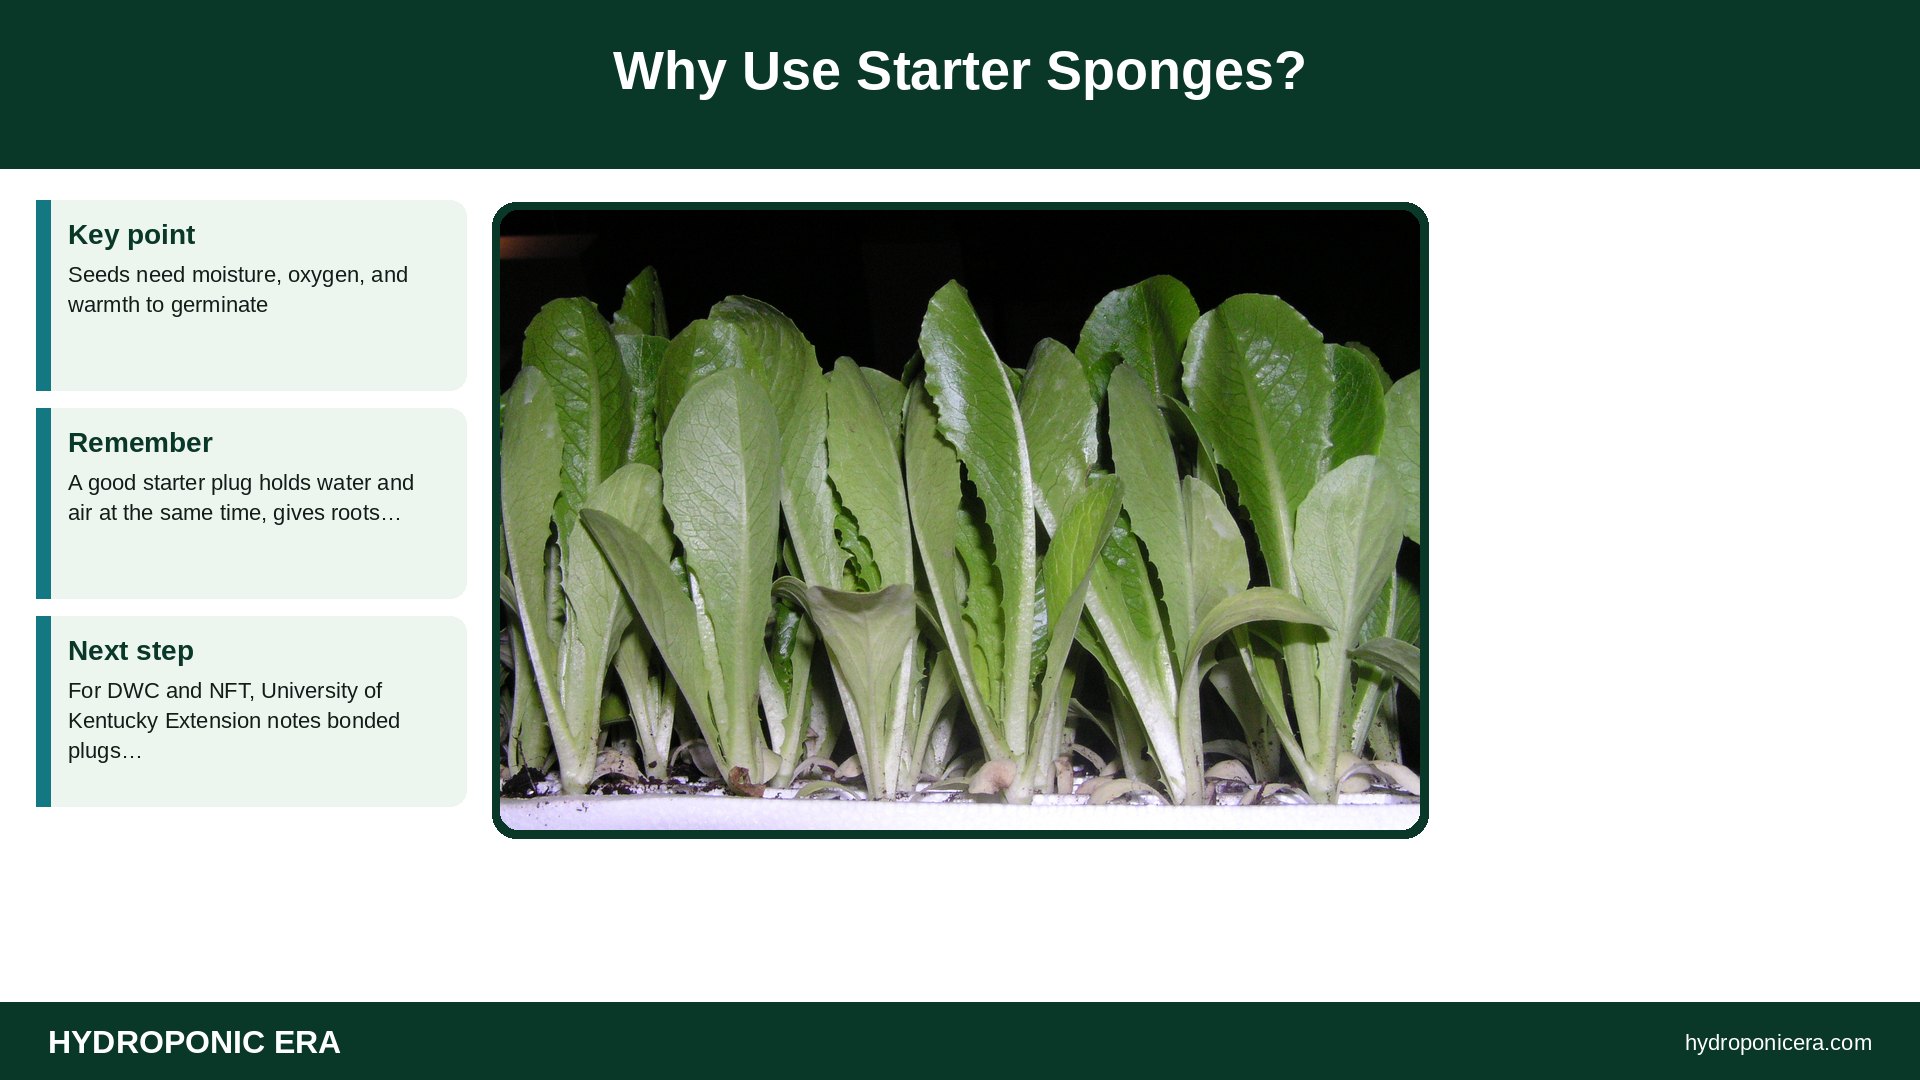
Seeds need moisture, oxygen, and warmth to germinate. A good starter plug holds water and air at the same time, gives roots something to grip, and moves into the system without transplant shock because you never disturb the roots. For DWC and NFT, University of Kentucky Extension notes bonded plugs retain their structure and moisture when submerged, which makes transplanting easier. See deep water culture for beginners.
How to Use Starter Sponges Step by Step
- Soak: wet the plugs in water or a dilute nutrient solution. UK Extension suggests pre-charging rockwool at EC 1.0 mS/cm and pH 5.5–6.0.
- Drain: let them drip or gently squeeze so they’re damp, not soggy.
- Seed: UK Extension recommends one seed per plug for lettuce. Some growers sow two and thin to the strongest.
- Cover: use a humidity dome. Lettuce germinates best around 68°F with relative humidity above 88%, per UK Extension.
- Warmth: use a heat mat if your room is cool.
- Remove the dome: about two days after seedlings emerge, as UK Extension advises, to prevent damping off.
- Light: start low and increase as seedlings grow.
Watering Starter Sponges

The most common mistake is keeping plugs too wet. Waterlogged plugs lose air, and seeds rot or seedlings damp off. Water from below by adding a little solution to the tray, and let plugs lighten slightly between waterings. UK Extension recommends watering seedlings at least once a day with a balanced nutrient solution at EC 1.0 mS/cm and pH 5.5–6.0, adjusted for plant size and conditions. See seed starting shelf with grow lights.
Light for Seedlings in Starter Sponges
UK Extension notes lettuce needs only minimal light, around 50 µmol/m²/s, to germinate, then 200–300 µmol/m²/s as seedlings develop. Too little light after emergence causes tall, weak, stretched seedlings. Lower the light or move the tray closer once sprouts appear. See light distance by stage.
When to Transplant From Starter Sponges
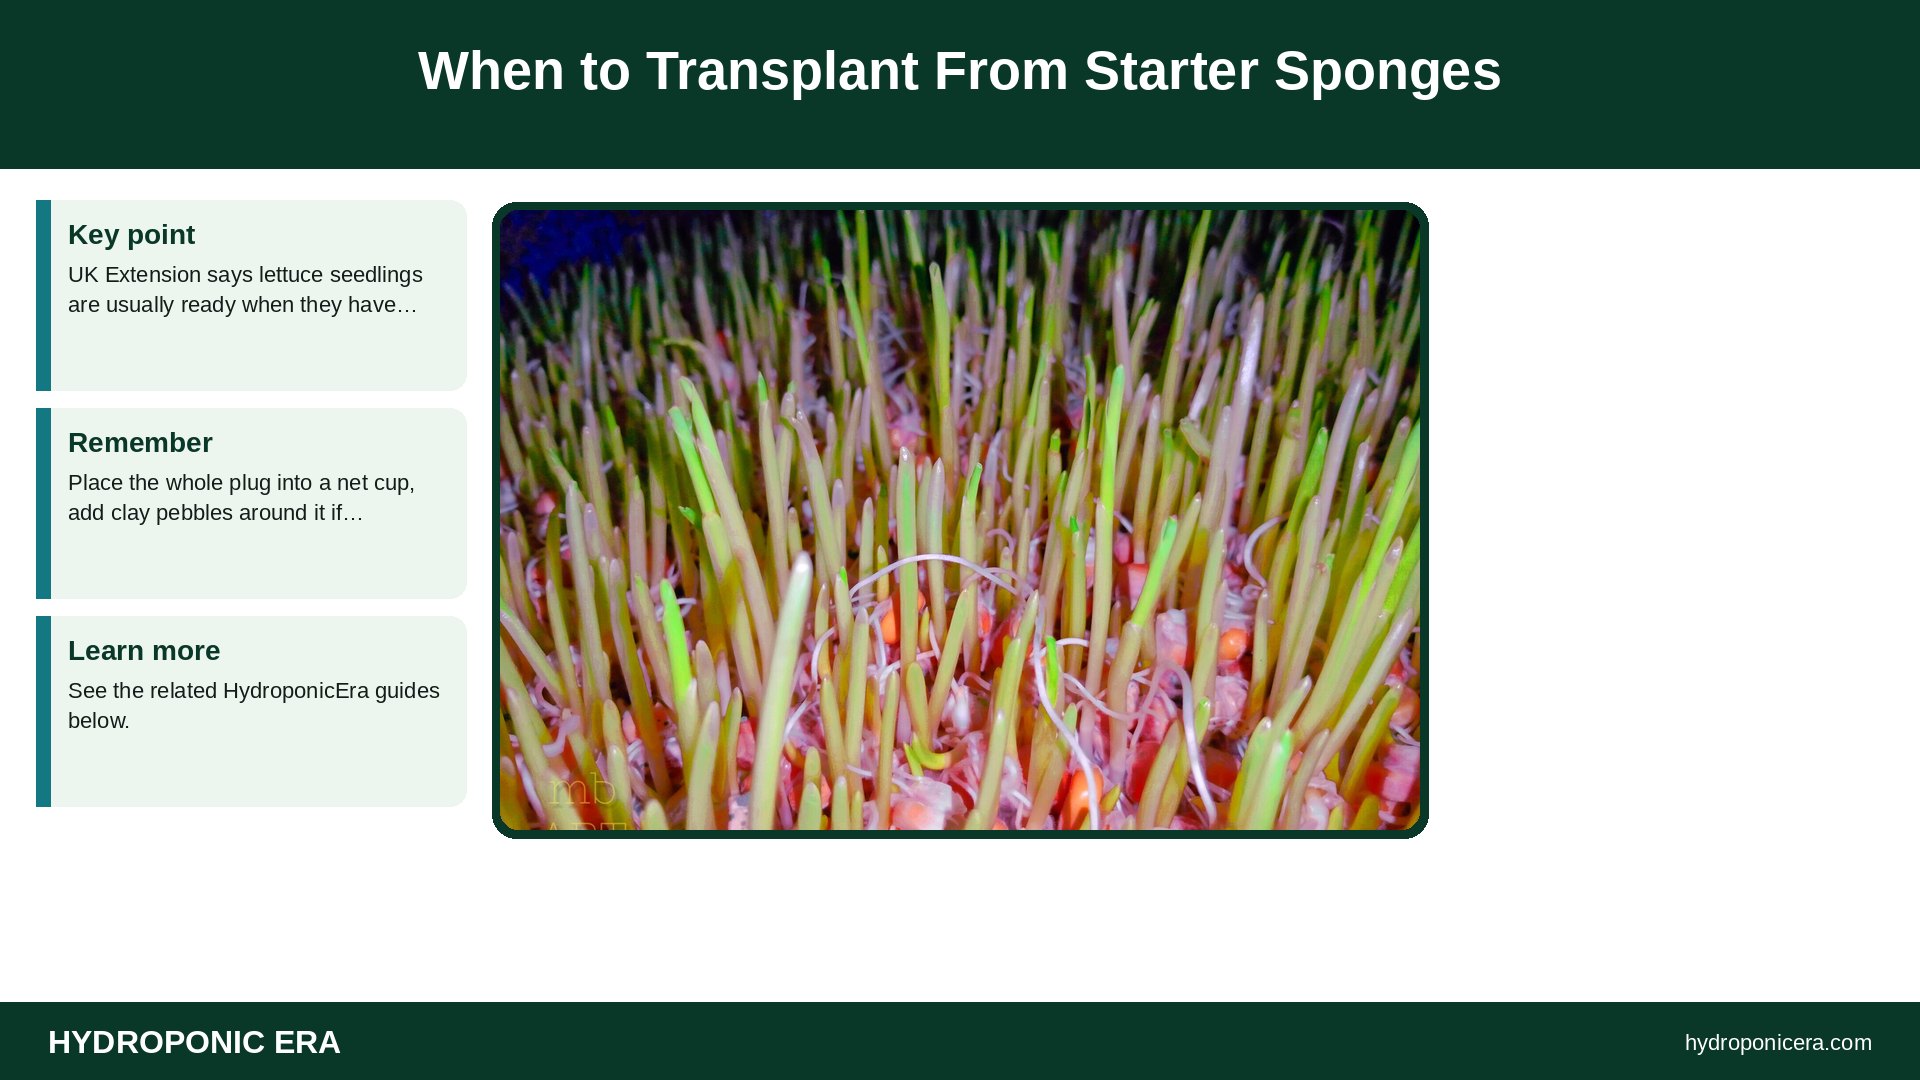
UK Extension says lettuce seedlings are usually ready when they have 3–4 true leaves and roots are visibly growing out of the bottom of the plug. Place the whole plug into a net cup, add clay pebbles around it if needed for support, and make sure the bottom touches or sits just above the solution.
Starter Sponges for Different Crops
- Lettuce and greens: fast and easy; one seed per plug.
- Basil and herbs: sow a few seeds for a bushier start.
- Tomatoes and peppers: germinate warm; transplant at a larger size.
- Cuttings: plugs also work for rooting herb cuttings. See Oasis cubes for propagation.
Common Starter Sponges Problems

- No germination: too cold, too dry, or old seed.
- Mold on the surface: too wet and too little airflow; remove the dome sooner.
- Damping off: seedlings collapse at the base; improve airflow and avoid overwatering.
- Green algae on plugs: light on wet surfaces; cover plugs once transplanted.
- Plugs falling apart: use bonded plugs for water systems.
See rockwool mold.
Rockwool vs Foam vs Peat Starter Sponges
Rockwool is uniform and holds a lot of water, but it’s made from spun mineral fibers, so wear gloves and condition it before use. Peat and coir plugs are natural and hold air well. Foam plugs are clean and cheap, and suit pod-style countertop gardens. See rockwool for hydroponics and rockwool alternatives.
Using Starter Sponges Well
Handle starter sponges gently. Soak them in pH-adjusted water before sowing, squeeze out the excess so they’re moist but not dripping, and keep them under a humidity dome until seeds sprout. Too much water in the plug is a common cause of damping off and slow germination.
Once roots poke out of the bottom, the seedling is ready to move into a net pot. Set the plug in the cup and fill around it with clay pebbles or perlite so it stays upright, then lower the water level so roots reach it without soaking the stem.
Weekly Routine for Starter Sponges
- Check pH and EC, and record them.
- Top off the reservoir with plain, pH-adjusted water.
- Look at roots for color and smell.
- Check leaves, especially undersides, for pests.
- Clean filters, emitters, and pump intakes.
- Change the nutrient fully every two to three weeks, or sooner if EC drifts.
Beginner Mistakes With Starter Sponges
The most common mistakes are skipping pH testing, using nutrient that’s too strong, letting light reach the water, and ignoring water temperature. Each one is easy to fix once you know to check for it. Start with fewer plants than you think you need, learn the routine, and expand once the system runs smoothly.
Starter Sponges vs Rockwool and Peat Plugs
Starter sponges are usually made from foam or bound peat and come pre-shaped to fit standard net cups. Rockwool cubes hold a lot of water and need pre-soaking to bring pH down, while peat or coco plugs are biodegradable but can break apart in flowing systems. Foam sponges are clean, light, and easy to handle, which suits DWC and NFT. See growing media for hydroponics for a wider look at media.
Reusing Starter Sponges
Most growers treat starter sponges as single-use, because old roots stay tangled in them and can carry disease into the next crop. If you do reuse foam, remove all old roots, soak and rinse it well, and let it dry fully. For bound peat plugs, compost them after harvest.
FAQs: Starter Sponges
Do I soak starter sponges before planting?
Yes. Soak, then drain until damp, not dripping.
How many seeds per sponge?
One for lettuce, per UK Extension; a few for herbs.
How long until transplant?
When there are 3–4 true leaves and roots show at the bottom.
Can I reuse starter sponges?
Generally no; reusing risks disease.
What temperature for germination?
About 68°F for lettuce, with high humidity.
Can starter sponges dry out?
Yes. A dry plug can kill a just-sprouted seedling, so check moisture daily until roots reach the water.
How deep should seeds go?
Follow the seed packet; most small seeds go just under the surface of the plug’s hole.
Sources
- University of Kentucky — Hydroponic Lettuce Production in Controlled Environments
- Photo credits (Wikimedia Commons, edited with titles): Fleece lined greenhouse potting tray and seed pots – Flickr – peganum by peganum from Small Dole, England (CC BY-SA 2.0); Lettuce Plugs by Apapac at English Wikipedia (Public domain); Rockwool cubes-inlay PNr°0091 by D-Kuru (CC BY-SA 3.0 at); Maize seed germination 3 by TheMbgold (MBart) (CC BY-SA 4.0); Dahlias started indoors by F. D. Richards from Clinton, MI (CC BY-SA 2.0)