
Here is how to harvest microgreens: wait until the seed leaves (cotyledons) are fully open, usually 7–14 days after sowing depending on the crop, stop watering 8–12 hours before cutting so leaves are dry, then hold a handful and cut straight across about 1/4 to 1/2 inch above the medium with clean, sharp scissors or a knife. Collect the greens in a clean container, cool them right away, and store them at 35–40°F in a sealed container lined with a paper towel. Most microgreens keep 5–10 days.
Key takeaway: Harvest at the cotyledon or first true leaf stage, cut dry, cut clean, and get the greens cold fast.
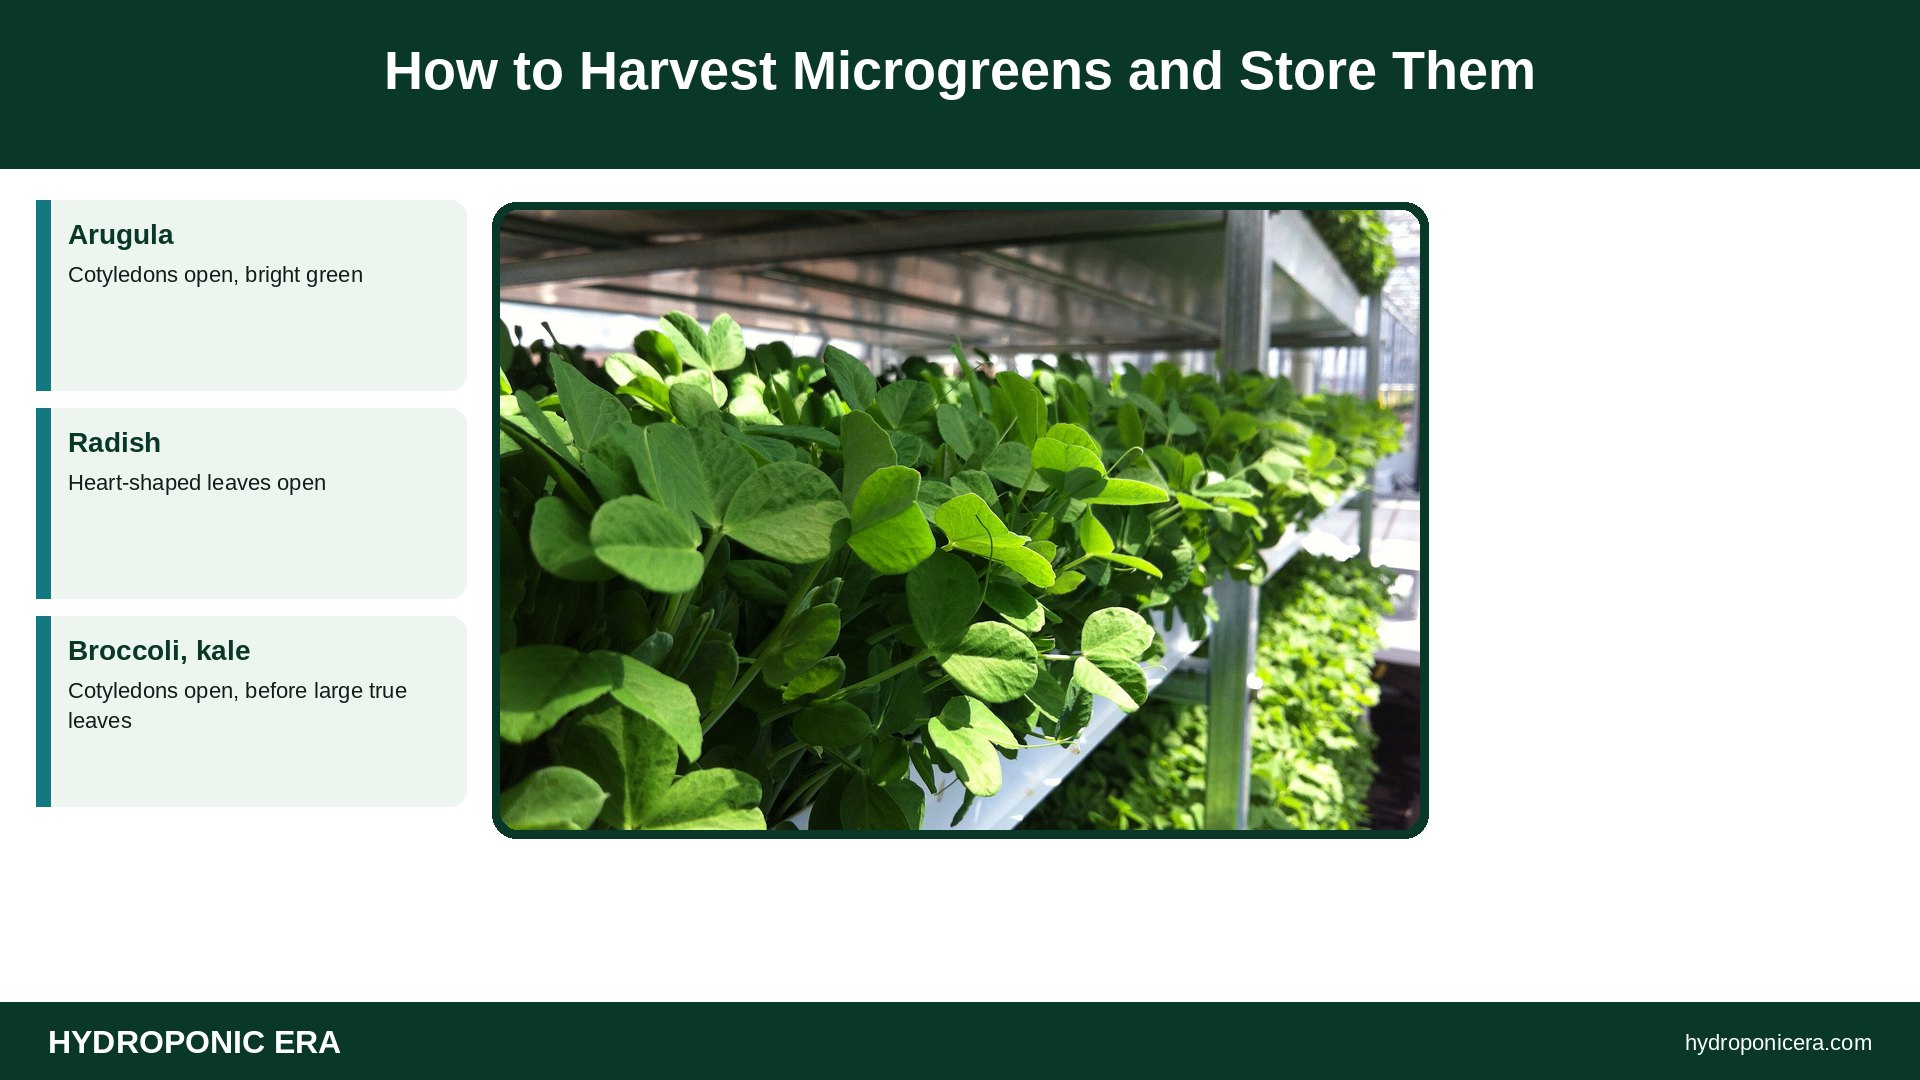
When to Harvest Microgreens by Crop
| Crop | Days to harvest | Signs it’s ready |
|---|---|---|
| Arugula | 6–8 | Cotyledons open, bright green |
| Radish | 8–12 | Heart-shaped leaves open |
| Broccoli, kale | 8–12 | Cotyledons open, before large true leaves |
| Pea shoots | 8–14 | 3–6 inches tall, tendrils starting |
| Sunflower | 9–10 | Cotyledons open, hulls off |
| Basil | 12–16 | Cotyledons open; first true leaves for stronger flavor |
| Cilantro | 21–28 | First true leaves |
Days are from Utah State University Extension’s home guidelines and vary with temperature and light.
How to Harvest Microgreens at the Right Time
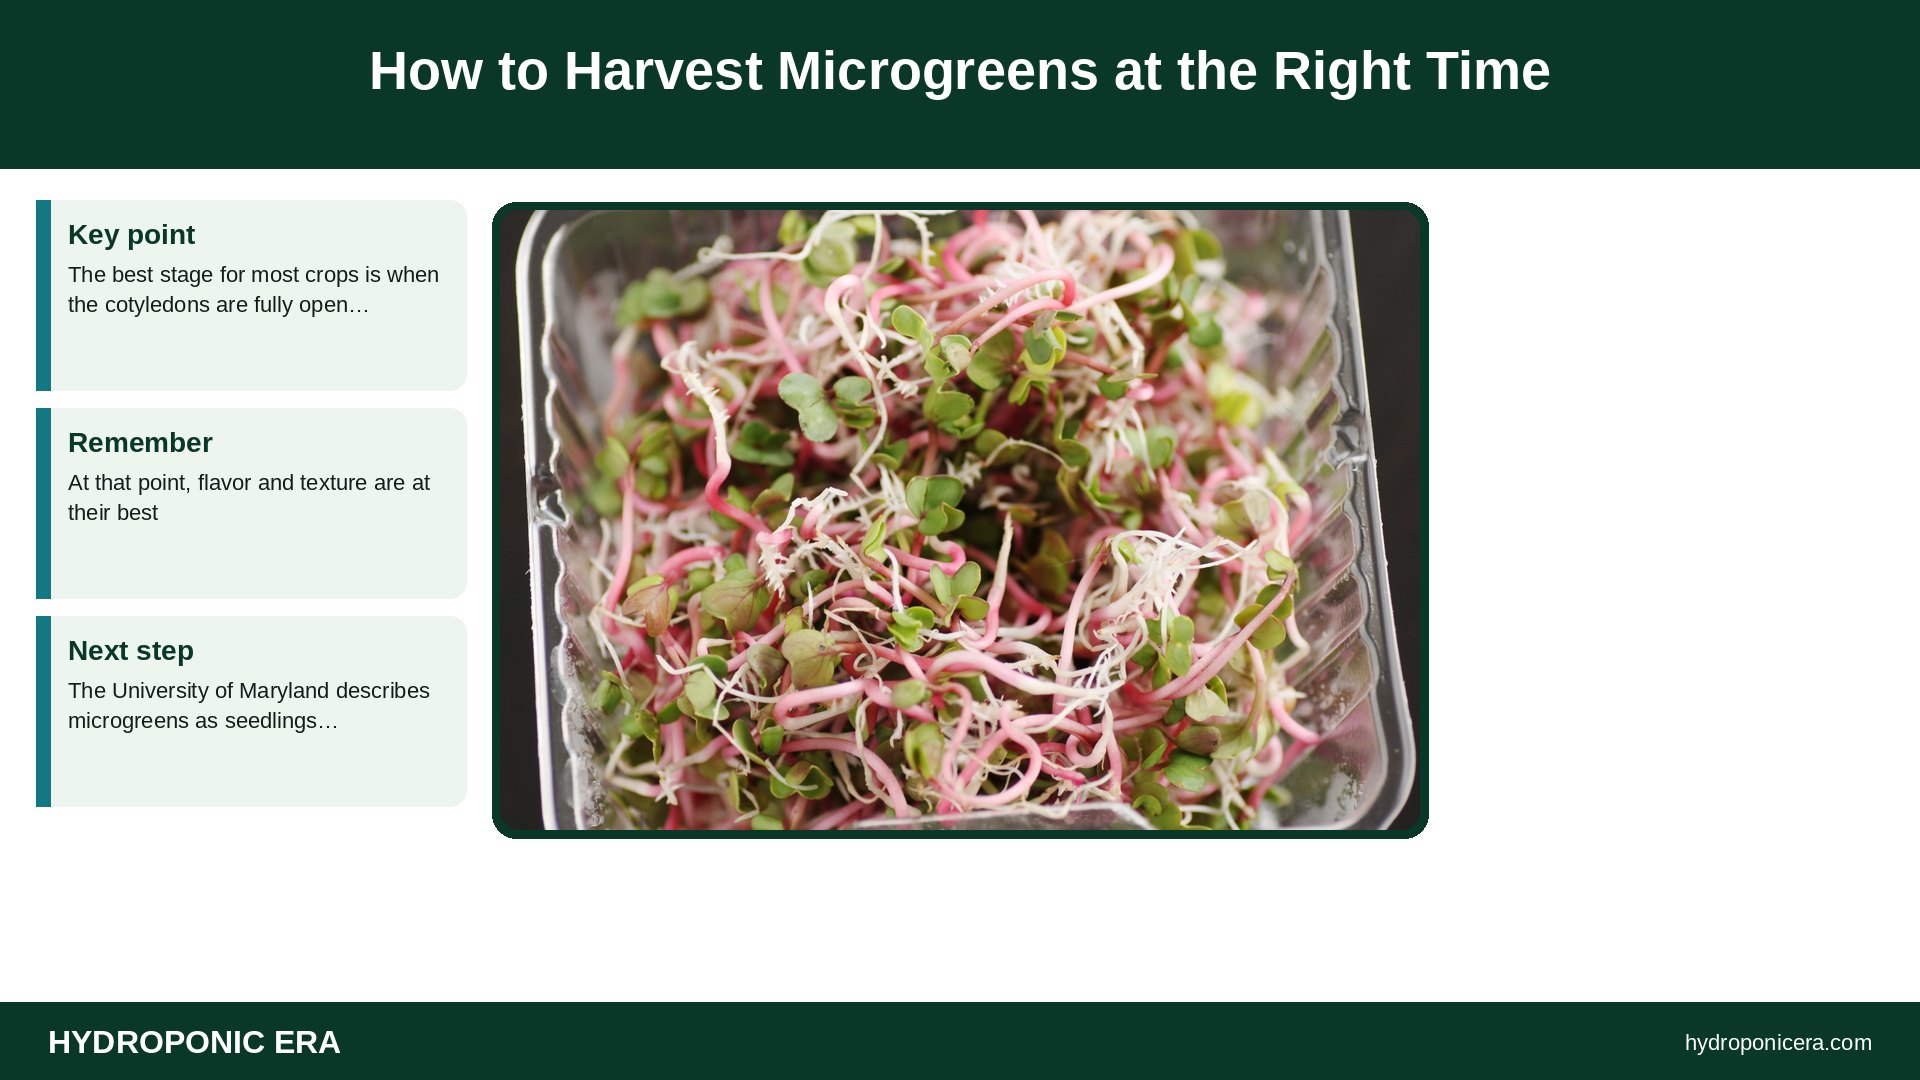
The best stage for most crops is when the cotyledons are fully open and green and the first true leaves are just starting to show. At that point, flavor and texture are at their best. The University of Maryland describes microgreens as seedlings harvested at the true leaf stage, and Perennia notes most are ready at about 2 inches of growth with the first true leaf.
Waiting too long makes most microgreens tougher and sometimes bitter. Harvesting too early gives lower yields and less flavor. Taste a few stems each day as the tray approaches harvest to learn the sweet spot.
How to Harvest Microgreens: Tools You Need
- Sharp scissors or kitchen shears for small trays.
- A sharp chef’s knife or serrated bread knife for full 1020 trays.
- An electric knife or harvesting tool for frequent or commercial harvests.
- A clean bowl or tray to catch greens.
- A salad spinner if you rinse.
- Clean containers and paper towels for storage.
Clean and sanitize tools before each harvest, as Perennia recommends, to avoid spreading disease and contamination.
How to Harvest Microgreens Step by Step
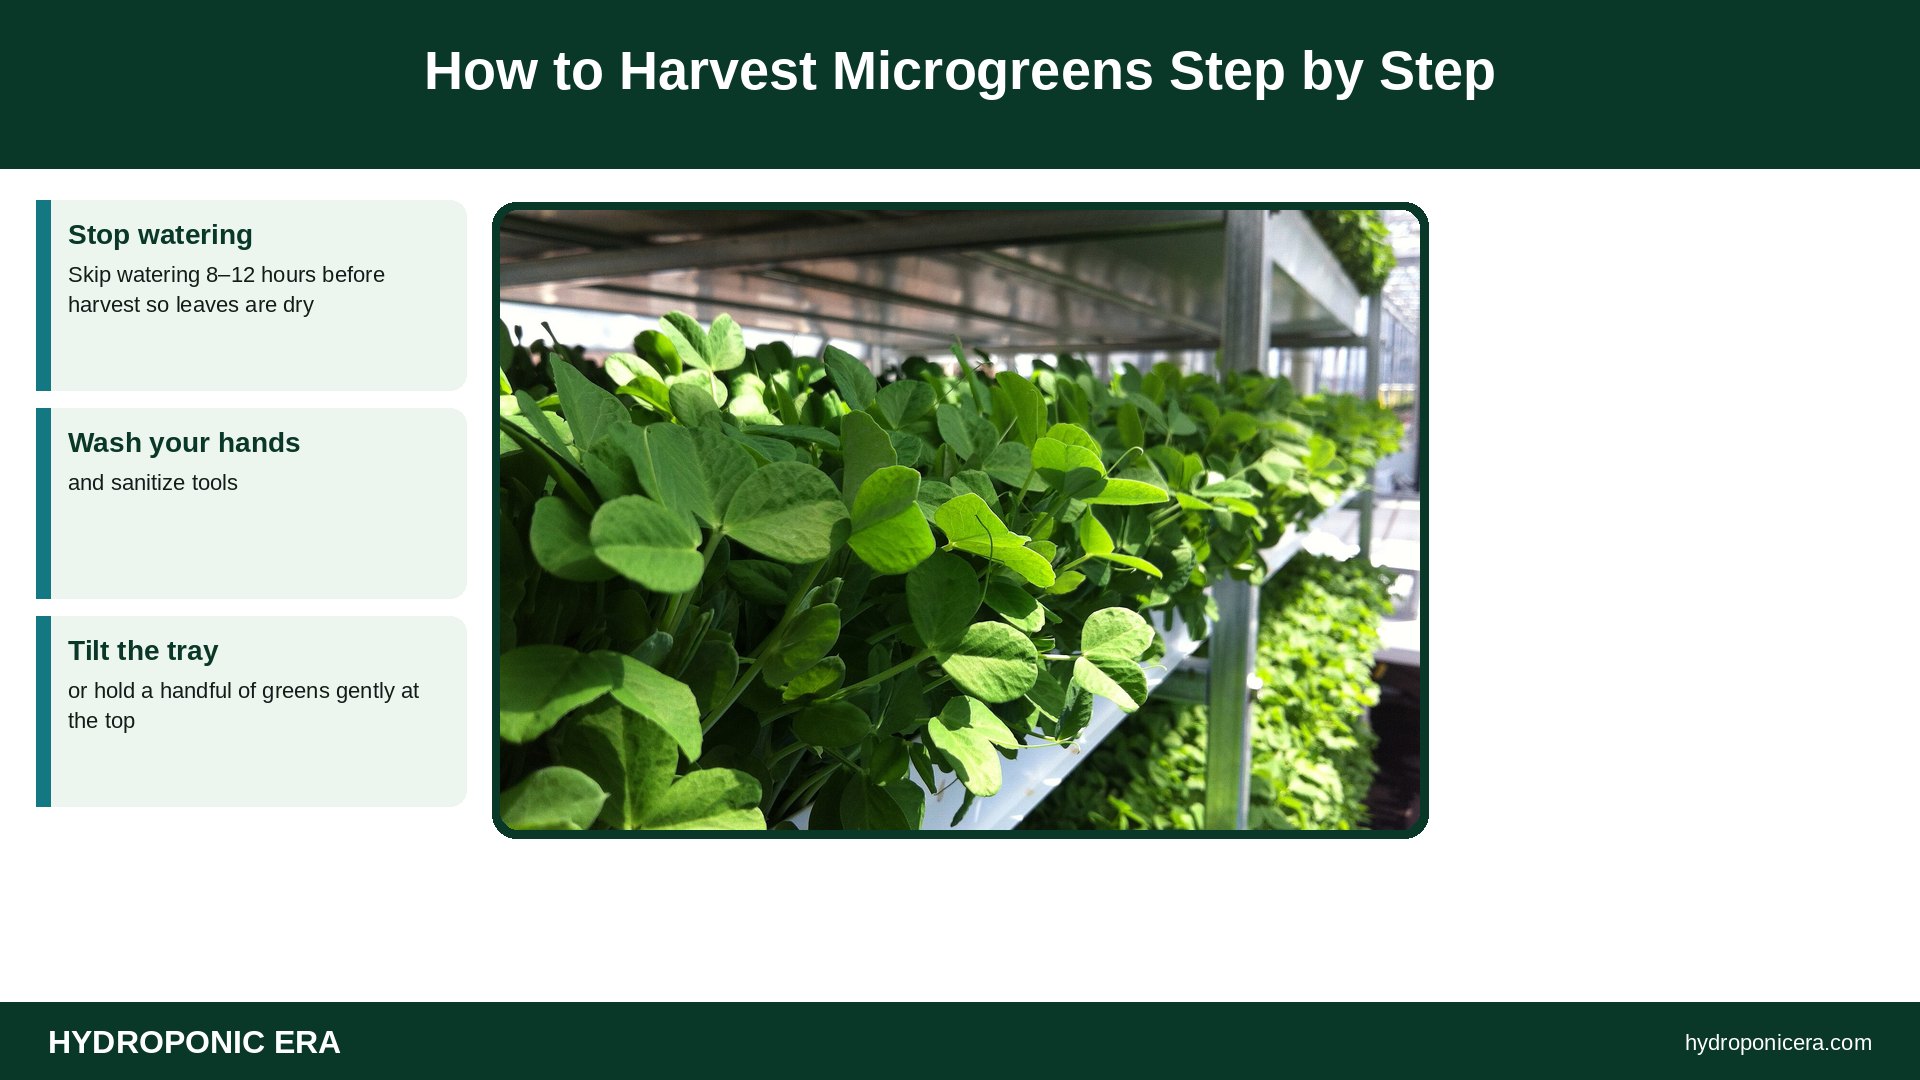
- Stop watering. Skip watering 8–12 hours before harvest so leaves are dry.
- Wash your hands and sanitize tools.
- Tilt the tray or hold a handful of greens gently at the top.
- Cut straight across 1/4–1/2 inch above the medium. Avoid pulling up roots or medium.
- Collect greens in a clean container. Remove any seed hulls or yellow leaves.
- Cool immediately. Refrigerate as soon as possible.
Once you know how to harvest microgreens cleanly, the next question is whether to rinse them before storage.
Should You Wash Microgreens?
For home use, many people rinse microgreens just before eating rather than before storing, because wet greens spoil faster. If you rinse right after harvest, as the University of Maryland suggests, spin or pat them completely dry before refrigerating. Commercial growers often harvest clean, dry greens and sell them unwashed with a “wash before eating” label. Check local rules if you sell. See packaging and labeling.
How to Store Microgreens
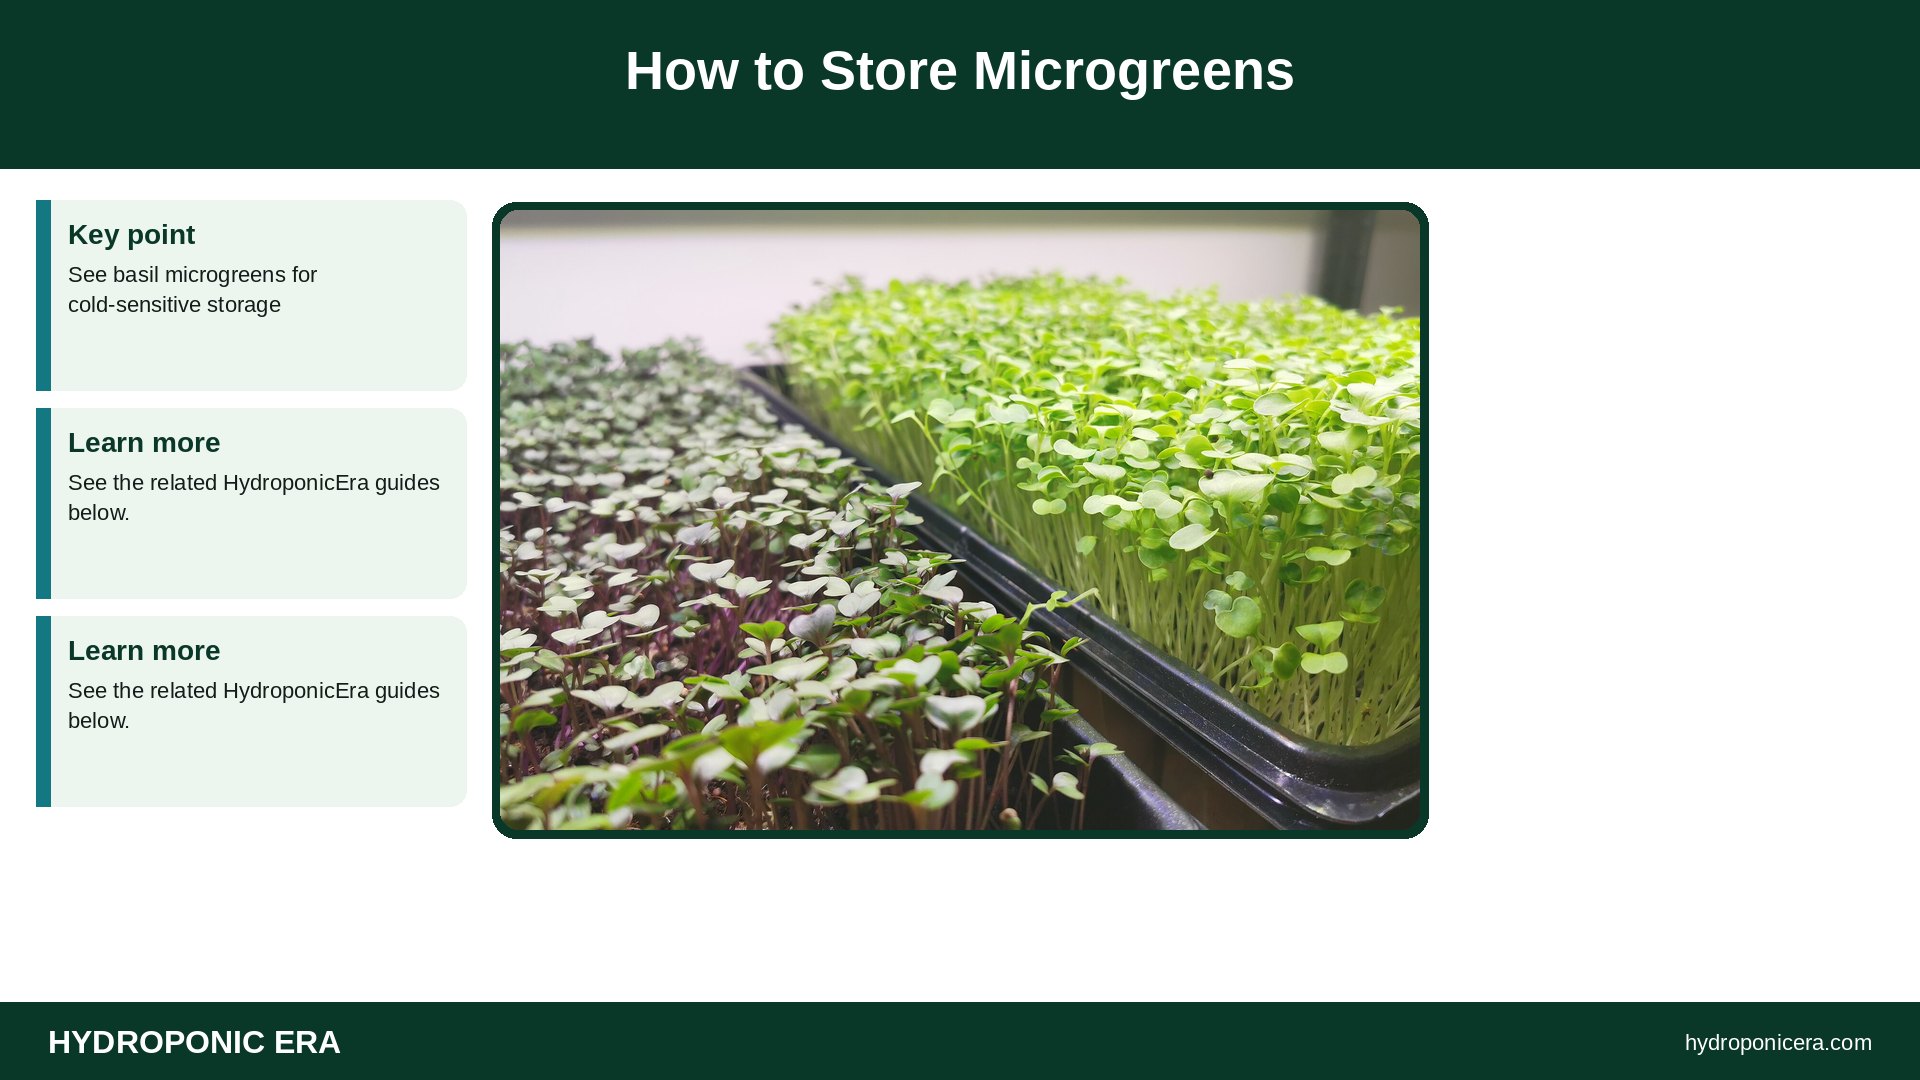
- Store at 35–40°F. Basil is an exception; it prefers about 50°F.
- Use a sealed container or bag with a dry paper towel to absorb moisture.
- Don’t pack them tightly.
- Keep them away from ethylene-producing fruit like apples and bananas.
- Use within 5–10 days.
See basil microgreens for cold-sensitive storage.
Do Microgreens Regrow After Harvest?
Most don’t. Once you cut below the seed leaves, there’s no growing point left. Pea shoots are a common exception; if you cut above the lowest leaf node, they can give a smaller second cut. The University of Maryland recommends planting a new batch in fresh medium after harvest. See growing pea shoots.
How to Harvest Microgreens for Sales vs Home Use
For home use, cut only what you need and leave the rest growing for a day or two; the tray stays fresh. For sales, harvest the whole tray at once, weigh portions, and pack immediately. Live trays are another option; some restaurants buy whole trays and cut as needed. See selling microgreens to restaurants and selling microgreens online.
Most problems people hit when they first harvest microgreens come from a handful of repeat errors.
Common Harvest Mistakes
- Harvesting wet: greens spoil in a day or two.
- Cutting too low: medium and roots end up in the harvest.
- Dull tools: crushed stems bruise and rot.
- Harvesting too late: tough, bitter greens.
- Leaving cut greens warm: shelf life drops fast.
- Dirty containers: shorter shelf life and food safety risk.
What to Do With the Used Tray
Compost the roots and medium, or mix old and new medium 50:50 as the University of Maryland suggests for home growers. Wash trays with hot soapy water, sanitize, and dry before reusing. Don’t reuse medium from a tray that had mold. See microgreens mold.
How to Harvest Microgreens Safely
Microgreens are eaten raw. Wash hands, use clean tools, keep harvested greens cold, and keep pets away from trays. Use potable water throughout growing. See hydroponic food safety at home.
Learning how to harvest microgreens well also means knowing what a good tray should weigh.
Yield Expectations
A 1020 tray typically yields about 4–12 ounces of cut greens, depending on crop and seeding rate. Sunflower and pea give the most weight; basil and amaranth give the least. Track the weight from each tray to improve your seeding rate over time. See radish microgreens for a fast, high-yield crop to practice on.
Plan to harvest microgreens in the morning, when stems are crisp and fully hydrated.
Practice Makes the Cut Cleaner
Learning how to harvest microgreens well takes a few trays. Start with radish or broccoli, which are forgiving and fast. Cut one corner first, look at the stem length left behind, and adjust your height. Over time you’ll find the angle and grip that gives clean, even bunches with no medium. Many growers find that cutting toward themselves while tilting the tray away gives the cleanest result.
If you grow several trays a week, set up a harvest station: a clean table, a sanitized knife, a scale, containers, labels, and a cooler or fridge nearby. A routine like this saves time and keeps greens fresh from tray to table.
FAQs
When should I harvest microgreens?
When cotyledons are fully open, usually 7–14 days after sowing.
How to harvest microgreens without dirt?
Cut 1/4–1/2 inch above the medium with sharp tools.
Should I wash microgreens before storing?
Only if you dry them completely; otherwise wash before eating.
How long do microgreens last?
About 5–10 days refrigerated.
Do microgreens regrow?
Most don’t; pea shoots sometimes give a second cut.
What’s the best tool to harvest microgreens?
Sharp scissors for small trays; a long knife for full trays.
Sources
- University of Maryland Extension — Growing Microgreens and Baby Greens Indoors
- Utah State University Extension — Grow Your Own Microgreens
- Perennia — Microgreens Fact Sheet
- Photo credits (Wikimedia Commons, edited with titles): Lufa Farms Microgreens in Trays by Lufa Farms (CC BY-SA 2.0); 11 microgreens by Stacy Spensley (CC BY 2.0); Lufa Farms Microgreens in Trays by Lufa Farms (CC BY-SA 2.0); Mikrolistki – brokuł i rzodkiewka na tacach plastikowych by Teogenesis (CC BY-SA 4.0); Washing vegetables 01 by Agoetee 123 (CC BY-SA 4.0)