
Quick Answer
Spare parts kit home hydroponics is the small shelf of failure-prone consumables—air stones, airline check valves, zip ties, fuses, gaskets, net pots, and a backup air pump—so a Saturday clog does not become a Monday plant loss.
It is stocking strategy, not another shopping guide for first-time kits.
See supplies for beginners, leaks, air pumps, pump sizing.
Key takeaways for spare parts kit home hydroponics
- Spare parts kit home hydroponics prioritizes parts that fail suddenly.
- Backup aeration matters more than backup LED for overnight survival.
- Label a bin; do not scatter spares across drawers.
- Rotate rubber gaskets—UV and nutrients age them.
- Original min kit: air + water + seals + fasten + meter packets.
- Spare parts kit home hydroponics fails when the “backup pump” is untested.
- Test spares quarterly for 60 seconds.
- Keep food-safe gloves and a small bottle brush for emitter cleaning.
Related HydroponicEra guides
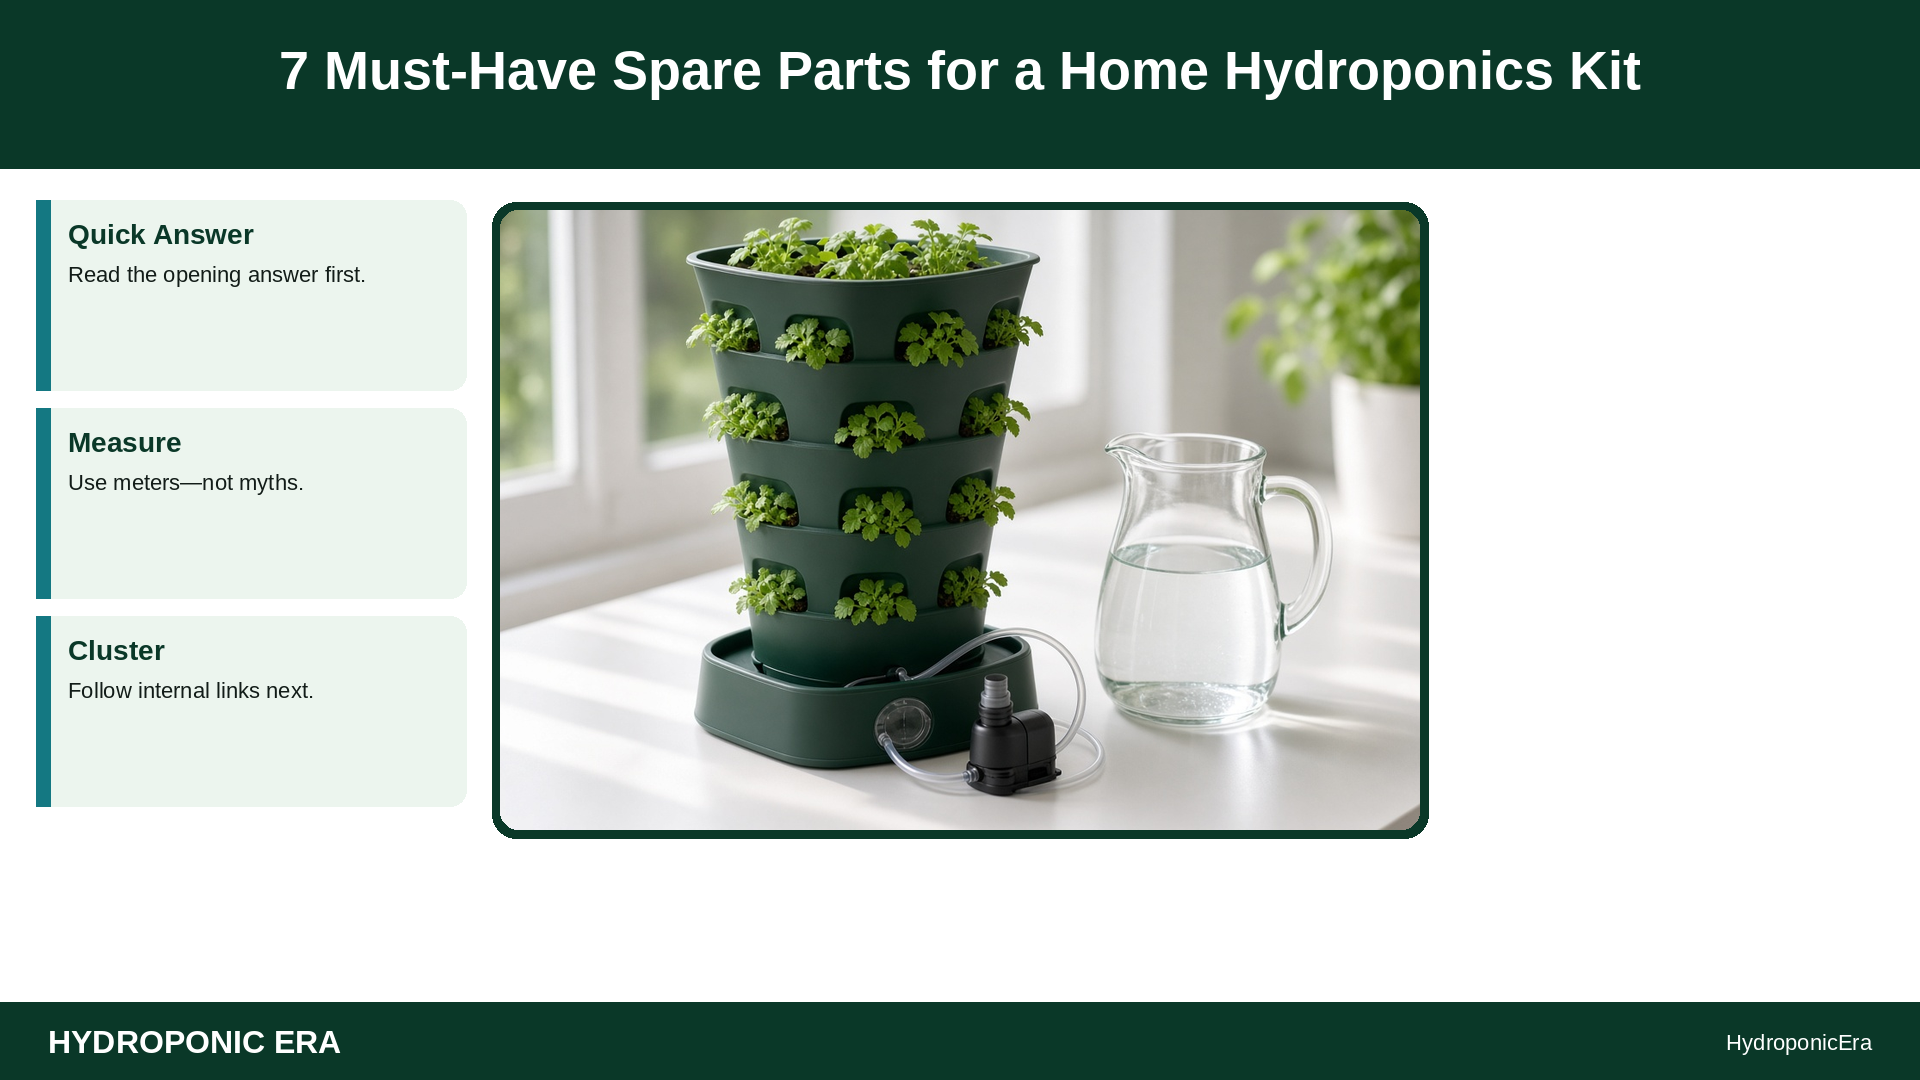
Why Spares Beat Panic Orders

Spare parts kit home hydroponics exists because shipping delays and closed stores do not care about your DO curve. Beginner supply lists help you start; this page keeps you running after month three when stones clog and barbs crack.
Kit Tiers

| Tier | Include | Skip for now |
|---|---|---|
| Minimum | Air stone, airline, check valve, zip ties, electrical tape | Full spare LED |
| Solid | + backup air pump, gaskets, net pots, fuses, pH buffer sachets | Commercial controller |
| Robust | + spare water pump matched to head height, bulkhead, tubing coil | Unused novelty gadgets |
Step-by-Step Build the Bin
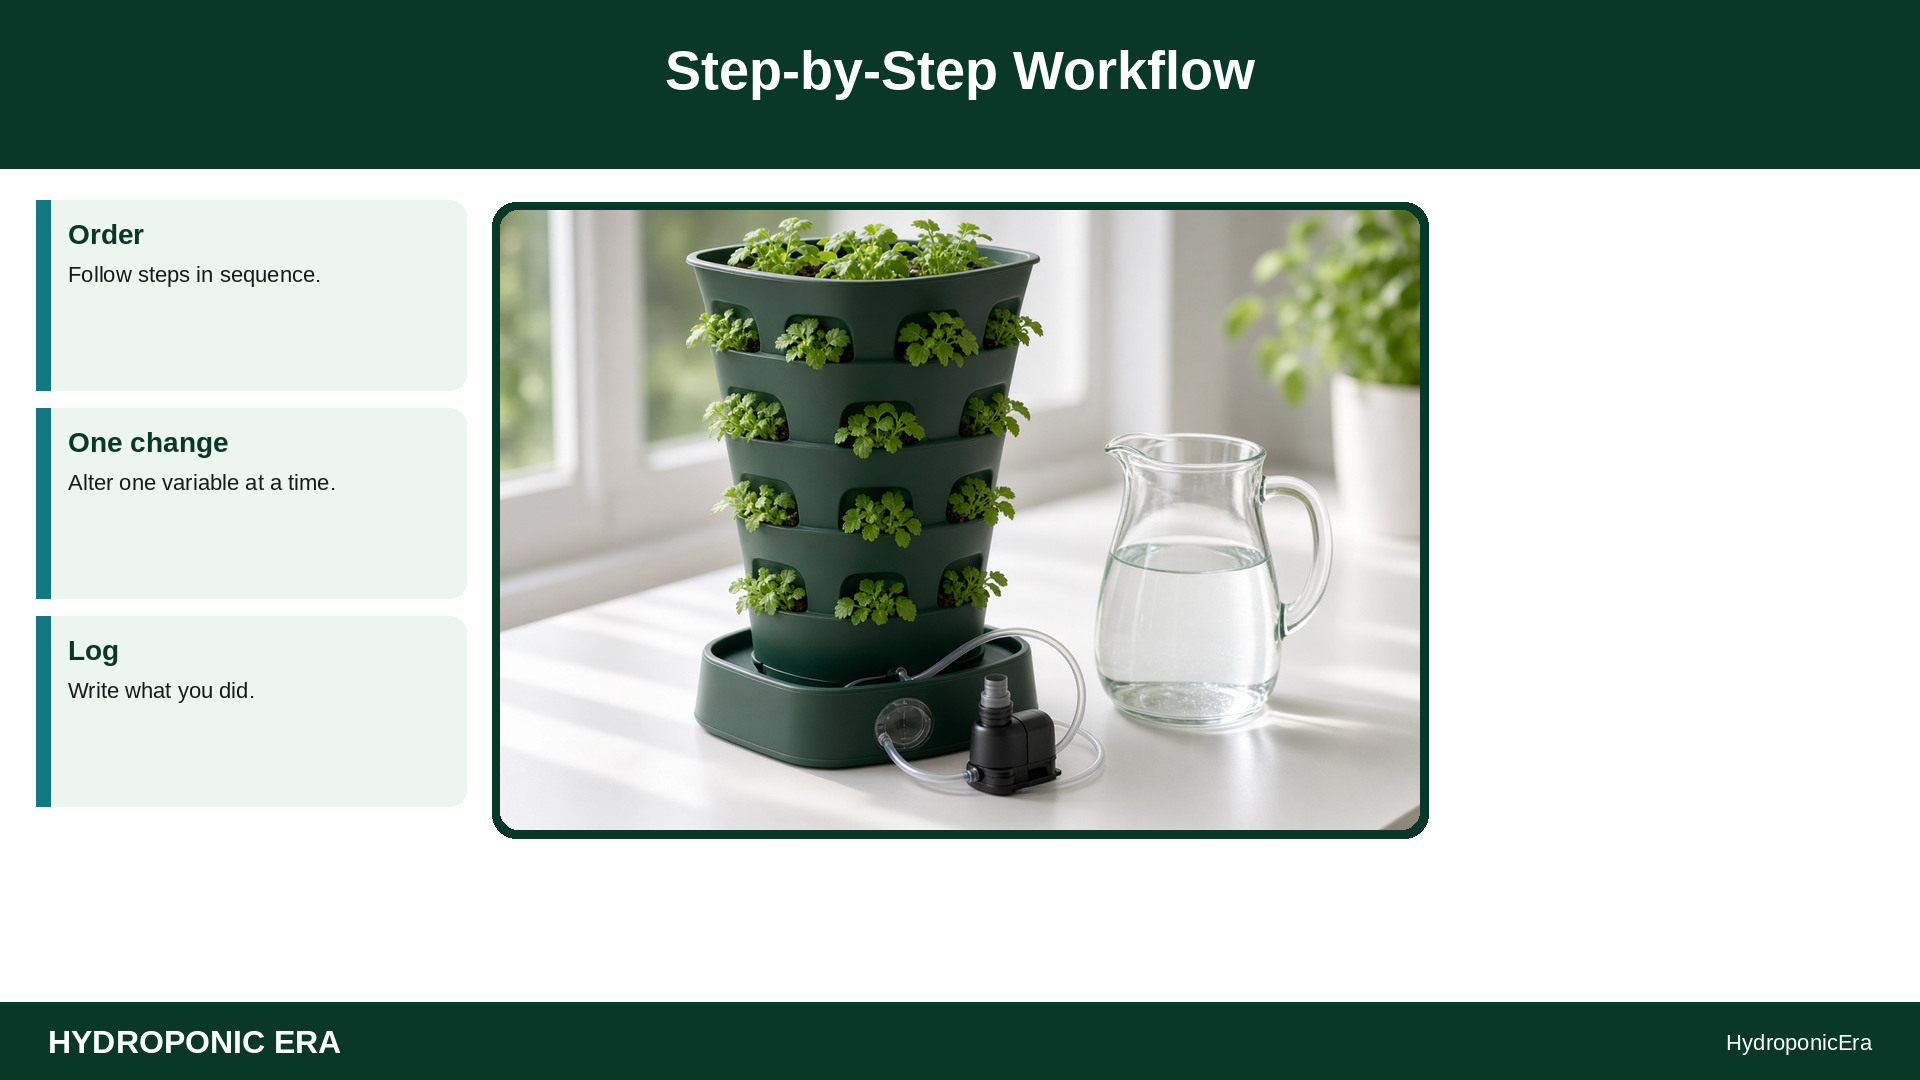
- List every single-point failure on your system (air, water, seals, power).
- Buy one spare for each failure that kills plants overnight.
- Bag in a dry, labeled bin near the grow—not the garage abyss.
- Add a paper inventory taped inside the lid.
- Test backup pumps/air stones on install day.
- After each real failure, restock before you relax.
- Keep calibration sachets sealed and dated.
- Include a small parts tray for barbs and grommets.
- Quarterly: power on spares for one minute.
- Update the list when you change system type.
Variables

| Variable | Effect | Link |
|---|---|---|
| Apartment noise limits | Keep quiet backup air options | pump noise |
| Hard water | Faster emitter/stone clogging | hard water |
| Organic nutrients | More filter/brush needs | organics |
| Vacation travel | Spares + backups compound | vacation |
Common mistakes with spare parts kit home hydroponics
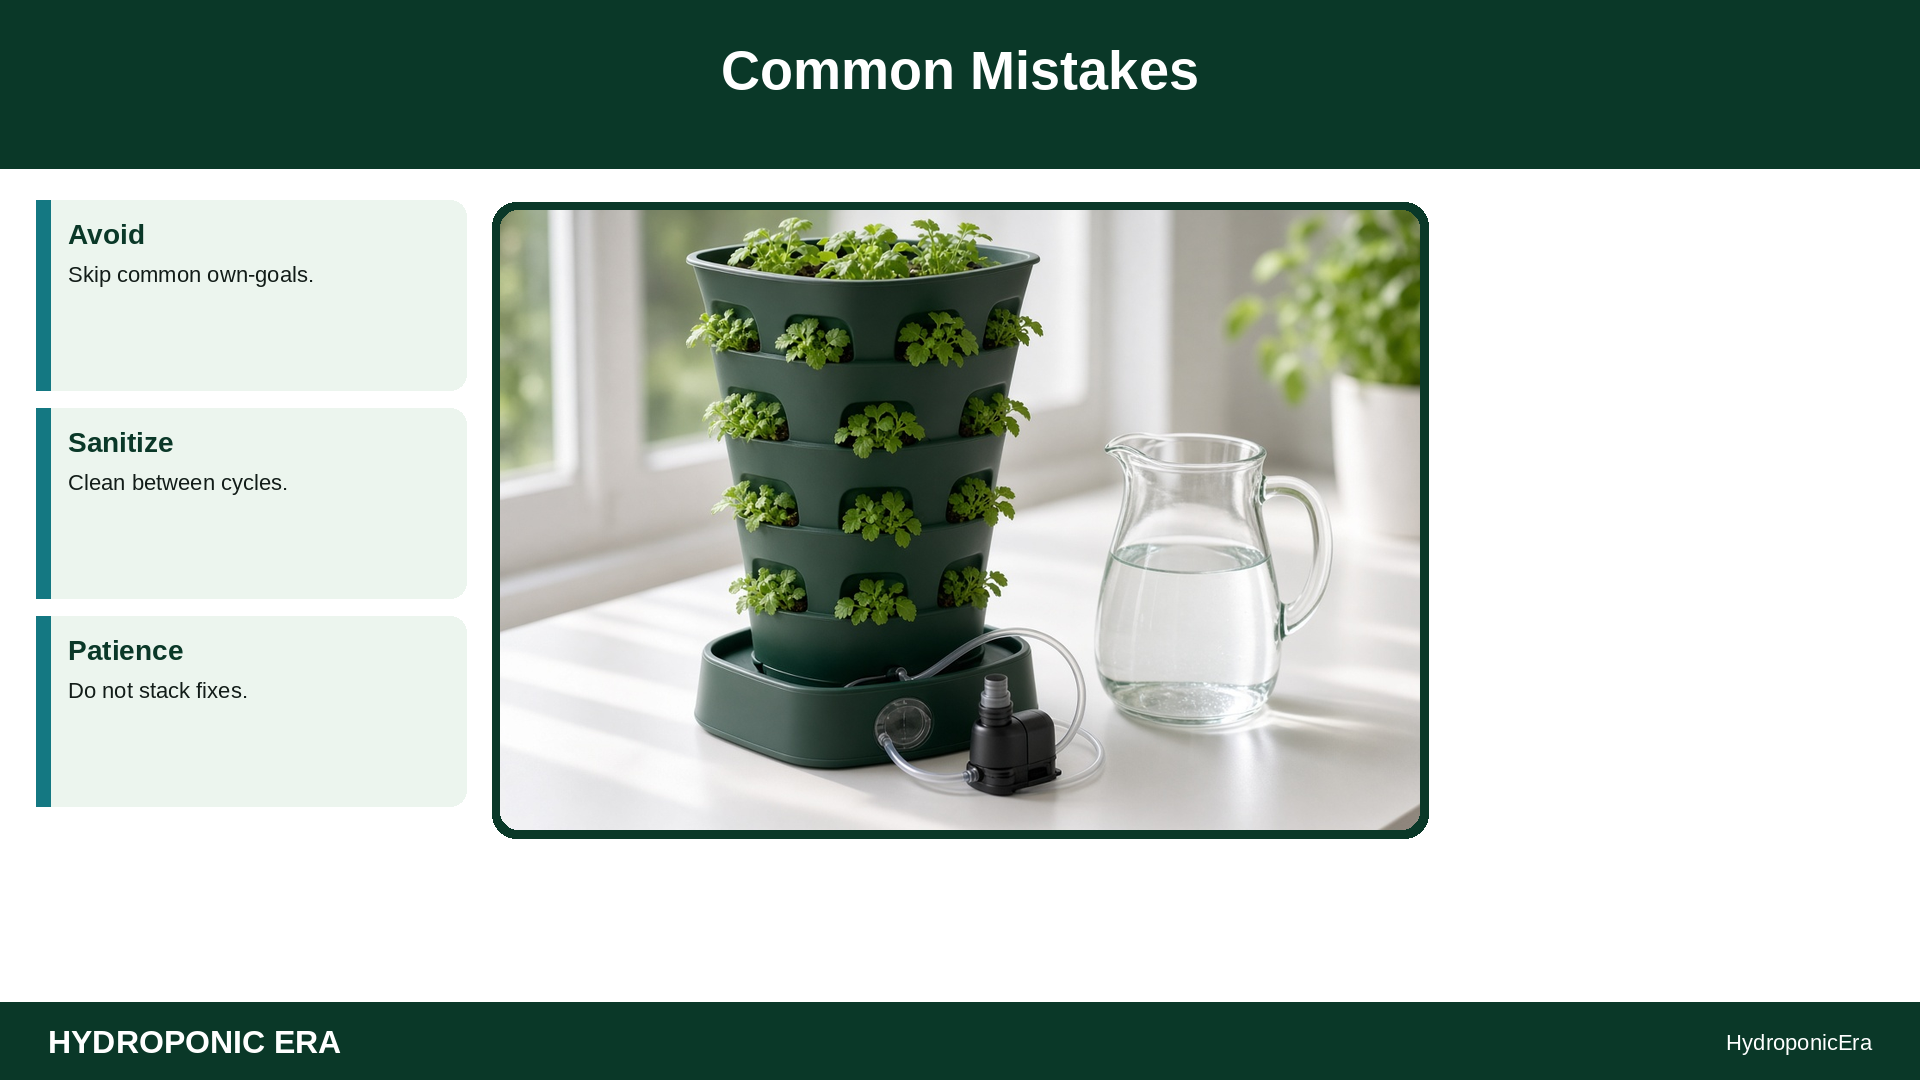
- Buying a mismatched spare pump voltage
- Storing stones dry for years then expecting full flow
- No check valve spare on DWC airline
- Using the spare permanently and never replacing it
- Forgetting meter batteries
- Hoarding unused heaters instead of seals
Troubleshooting With Spares

| Failure | Spare to reach for |
|---|---|
| Silent air pump | Backup air pump + stone |
| Drip at bulkhead | Gasket/uniseal |
| Timer stuck off | Manual plug + spare timer |
| Cracked barb | Tubing coil + barbs |
Original Framework: Overnight Survival Shelf

If the room lost air and water tonight, which three parts save the canopy? Stock those first. Closing practice for spare parts kit home hydroponics: test, then restock—never “borrow permanently.”
What to Check During Your Quarterly Spares Test
- Bin labeled?
- Backup air tested?
- Inventory taped?
- Seals not cracked?
- Meter buffers in date?
What Belongs on the Overnight Survival Shelf
Ask one question: if air and water both failed at midnight, what three parts restore life before morning? For most DWC homes that is a backup air pump, airline with check valve, and a spare stone.
For ebb-and-flow, add a water pump matched to head height. Seals, zip ties, and fuses prevent secondary failures after you restore flow.
Test spares when you shelve them. An untested “backup” that sat for two years may have a dead capacitor or cracked barb. Sixty seconds of runtime quarterly is cheaper than a lost canopy. After you use a spare for real, restock before you congratulate yourself.
Inventory Discipline
Tape a paper list inside the bin lid with quantities. When you pull an O-ring, decrement the list. Scatter storage across kitchen drawers guarantees you will buy duplicates and still not find the gasket at 11 p.m.
FAQs about spare parts kit home hydroponics

Is this a starter kit list?
No—see supplies beginners; this is ongoing spares.
Spare LED?
Nice later; aeration fails faster overnight.
How many net pots?
A handful matching your holes.
Share spares across systems?
Yes if fittings match—label sizes.
Budget order?
Air path first, then water pump, then seals.
Smart plugs?
One spare mechanical timer still helps.
Sizing the Kit to Your Failure Modes
List single points of failure: aeration, circulation, seals, power control, measurement. Buy spares that address overnight killers first.
LEDs matter, but plants often survive a dark night better than a stagnant warm reservoir without oxygen. Match spare pump voltage and fittings—almost-compatible parts are not spares.
Include consumables that clog: stones, filters screens if you use them, and a short coil of tubing. Meter buffer sachets and batteries prevent “flying blind” weeks. Gloves and a brush make emitter cleaning less of an excuse.
Quarterly test day: power spares for a minute, inspect rubber for cracks, replace dried stones, confirm check valves still click. Update the lid inventory. After any real failure, restock before the adrenaline fades.
Apartment growers may add vibration pads and a quieter backup air option. Organic nutrient users add brushes and extra screens. Customize the shelf to your system, not a generic influencer list.
Implementation Notes for Home Growers
To put spare parts kit home hydroponics into practice this week, pick one system or shelf and run the workflow end-to-end once without improvising mid-stream.
Write the steps on a card, execute them, then note what broke in your space—ceiling height, noise limits, water alkalinity, or schedule constraints. That single controlled pass teaches more than reading three more threads.
Unique angle reminder: Ops stocking list (O-rings, air stones, fuses)—distinct from beginner supplies buying guide. Keep adjacent HydroponicEra guides one click away for depth, but do not merge this topic into a generic beginner rewrite.
If a meter disagrees with plant behavior, calibrate before you rewrite the plan. If sanitation is part of the story, finish the scrub—half-clean reservoirs reinvent the problem.
Weekly: re-read your card, check the one failure mode most likely in your room, and log a short after-action line. Over a month you will have comparable notes instead of vibes.
That is how home hydroponics becomes operations rather than emergency response. Share the card with anyone who helps water or harvest so standards survive busy days.
When results are good, resist the urge to change three variables at once. When results are poor, photograph first, then change the smallest lever that matches the diagnosis. This page’s checklists and tables exist to make that discipline easier under stress.
Extended Home-Grower Walkthrough
Use this extended walkthrough as a second pass after the Quick Answer. Walk the system with a notebook: write the date, crop, EC, pH, reservoir temperature, and one observation about roots or leaves.
Change only one control at a time when a problem appears. If last week’s fix did not show in new growth, revert and try the next smallest lever. Keep university and extension principles in mind—oxygen, sanitation, and measured nutrition beat product stacking.
Photograph the canopy and the reservoir surface weekly. Dated photos settle arguments about algae, tip burn, or stretch faster than memory. When a helper waters for you, leave a one-page card with do-not-touch items and the exact top-off rule.
Store calibration sachets next to the meters so “I will calibrate later” stops being the default. Review timers after any power event. Confirm air stones still roar. Confirm drains still drain.
At the end of the week, score the cycle 1–5 for ease and plant quality. Low scores should trigger a sanitation or climate review before you buy new hardware.
Link neighboring HydroponicEra guides when the symptom matches a cluster page. Prefer labeled procedures over improvisation under stress. Healthy boring routines are the real upgrade path for home hydroponics.
Keep spare parts kit home hydroponics visible on your weekly ops card so helpers follow one standard.
Revisit spare parts kit home hydroponics after any system change, relocation, or new crop introduction.
If notes disagree, rerun the spare parts kit home hydroponics checklist before buying more gear.
Apply spare parts kit home hydroponics as a repeatable habit—measure, log, and revisit after changes.
Apply spare parts kit home hydroponics as a repeatable habit—measure, log, and revisit after changes.
Apply spare parts kit home hydroponics as a repeatable habit—measure, log, and revisit after changes.
Apply spare parts kit home hydroponics as a repeatable habit—measure, log, and revisit after changes.
Apply spare parts kit home hydroponics as a repeatable habit—measure, log, and revisit after changes.
Apply spare parts kit home hydroponics as a repeatable habit—measure, log, and revisit after changes.
Sources
- Oklahoma State University Extension — Hydroponics
- University of Florida IFAS — HS184: Building a Floating Hydroponic Garden
- Michigan State University Extension — Hydroponics as an agricultural production system
- Ohio State University Extension — AEX-79020 Electrical safety around water (small farm)
- University of Georgia Extension — B1314: Soilless Growing Media
1 thought on “7 Must-Have Spare Parts for a Home Hydroponics Kit”