
Quick Answer
Net pots and grow cups hold plants and media above or in contact with nutrient solution while letting roots grow through slotted walls. Choose diameter for the crop stage—small cups for seedlings and herbs, larger net pots for fruiting plants in Dutch buckets or big DWC sites. Pair the pot with the right media (growing media guide) and transplant gently (seedlings guide). UF and OSU hydroponic primers assume plants are supported in soilless culture; the cup is the mechanical interface between plant and system.
Key Takeaways
- Net pots are tools—not a complete system by themselves.
- Size up for larger root masses and fruiting crops; size down for dense baby greens.
- Media must stay in the cup without blocking all slots.
- Crown height matters: do not drown stems in DWC.
- Clean and sterilize cups between crops (cleaning).
- Square vs round mainly affects packing density in lids and channels.
- Match lid hole size to pot diameter to prevent wobble and light leaks that feed algae (algae guide).
Related HydroponicEra guides
- Growing media
- Seedlings and transplanting
- DWC beginners
- NFT beginners
- Dutch bucket
- System comparison
- Supplies for beginners

What Net Pots Do
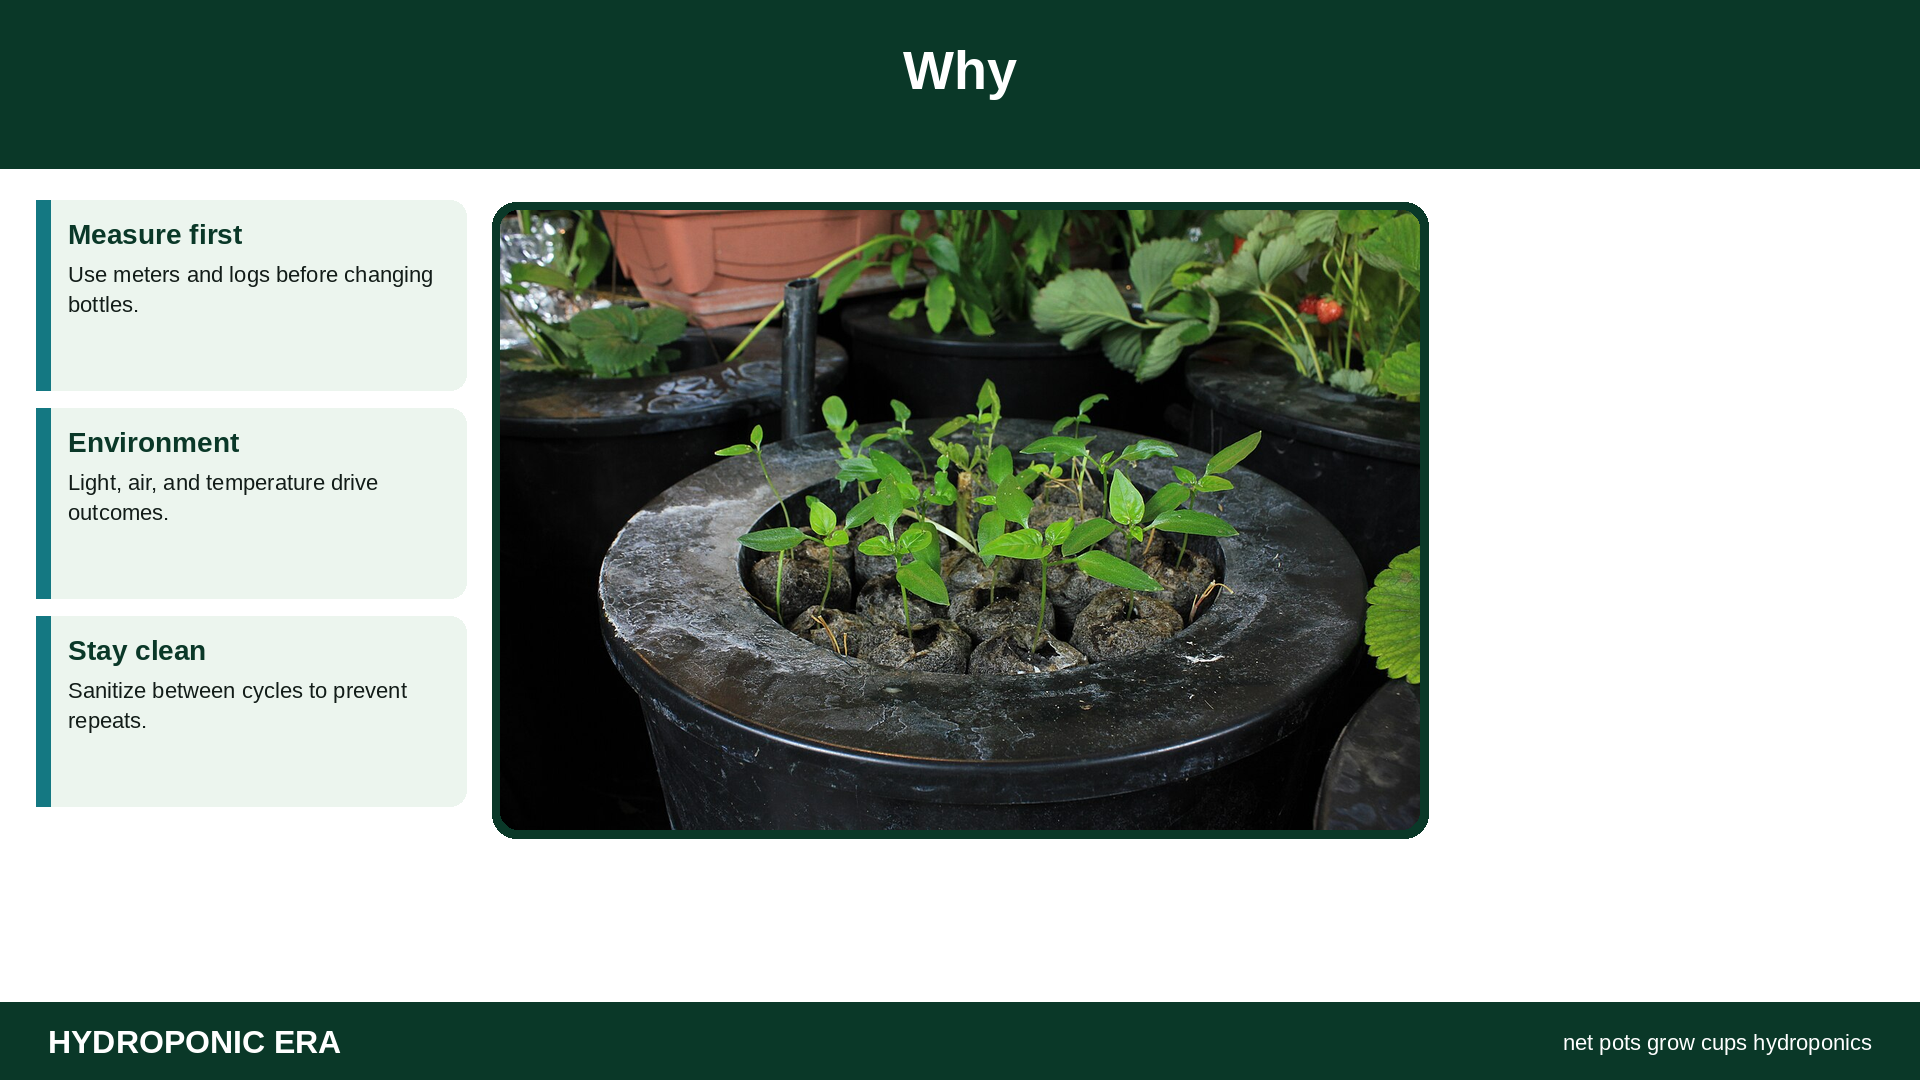
A net pot supports the stem and starter media while roots explore the nutrient solution or drip zone. Slots provide air and root egress. Grow cups/baskets follow the same idea with slight shape differences. Without a stable cup, plugs fall apart, crowns sink, and light enters reservoirs.
In NFT, cups sit in channel holes. In DWC, cups sit in raft or lid holes with roots in aerated solution. In Dutch buckets, larger pots hold more media for vine crops.
Size Guide
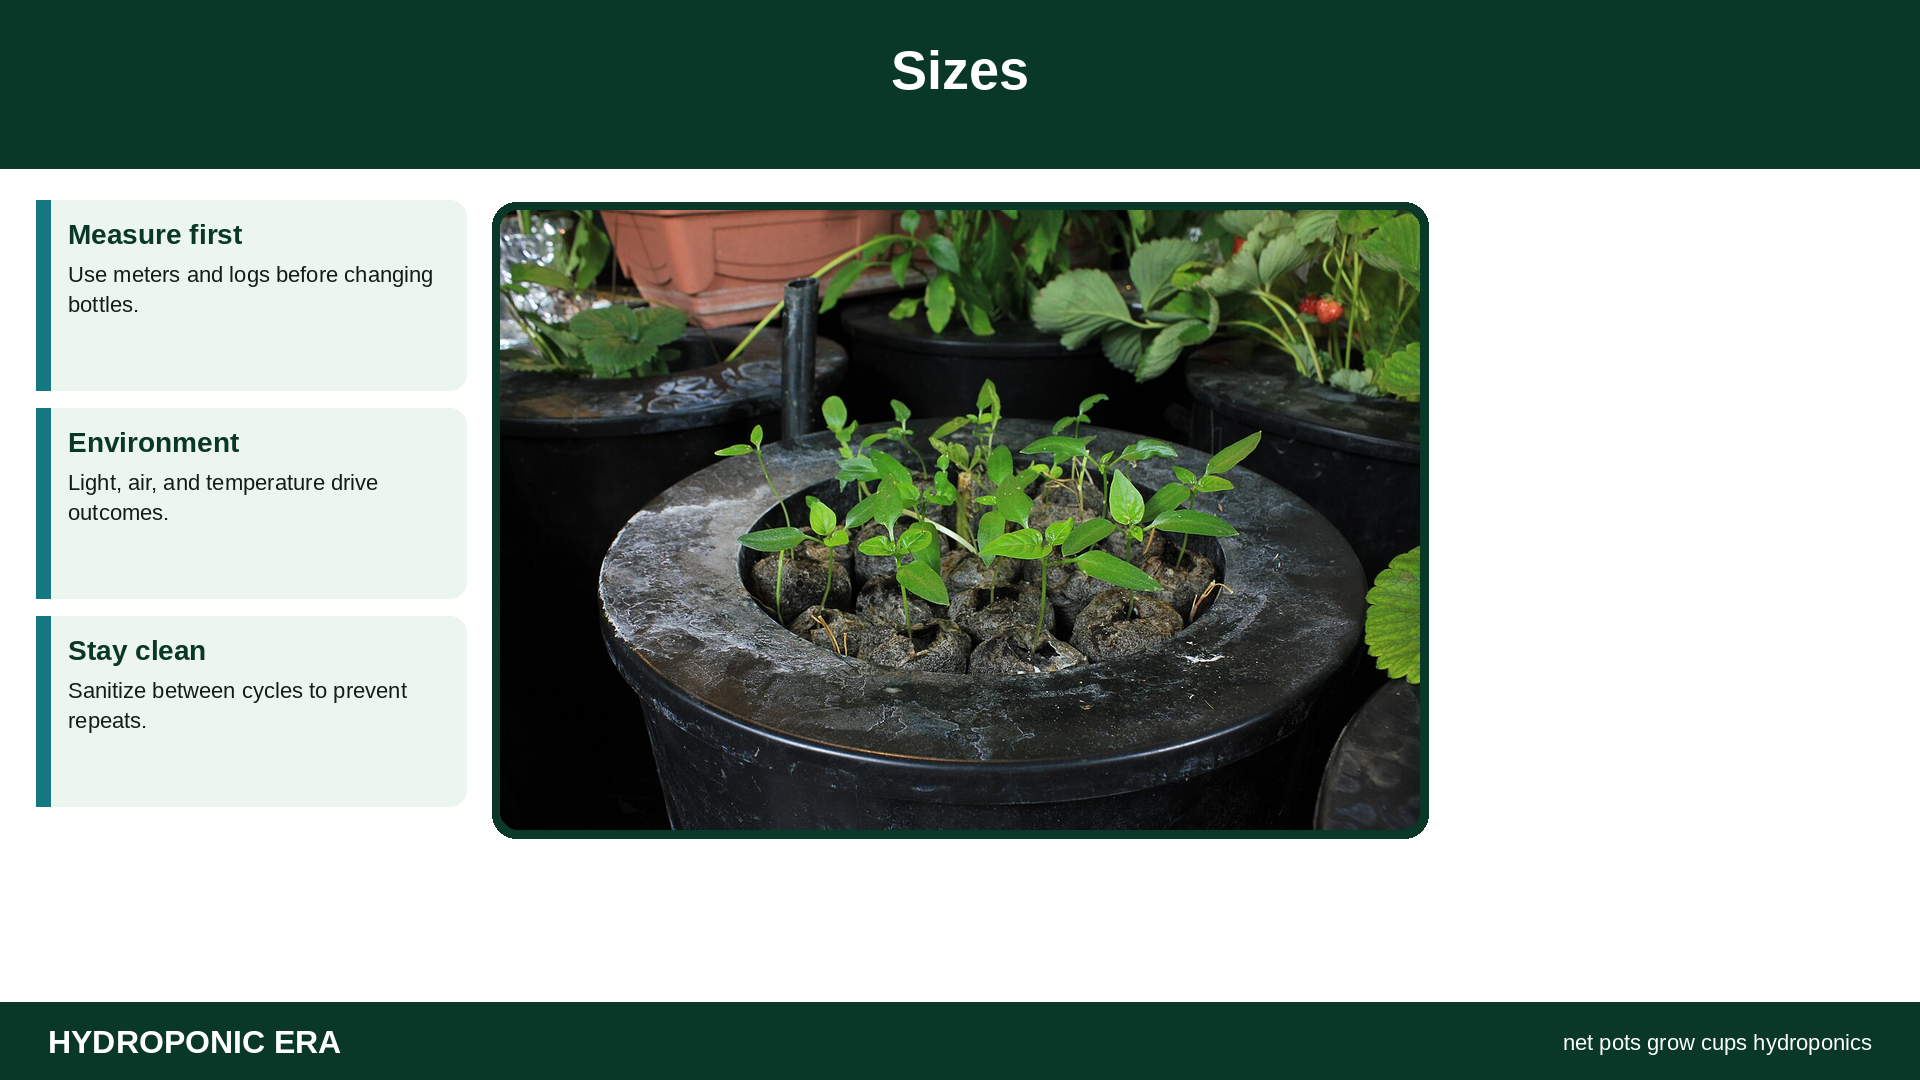
| Typical size | Common uses | Notes |
|---|---|---|
| 2 inch / ~5 cm | Seedlings, herbs, lettuce sites | Easy density; limited media volume |
| 3 inch / ~8 cm | Larger greens, bigger herbs | More stability |
| 4–6 inch | Peppers/tomatoes in buckets | Needs more media; heavier |
| Custom cups | Kit-specific towers | Buy compatible replacements |
Exact crop fit depends on system design—validate clearance under lids and channel width.
Media Pairing
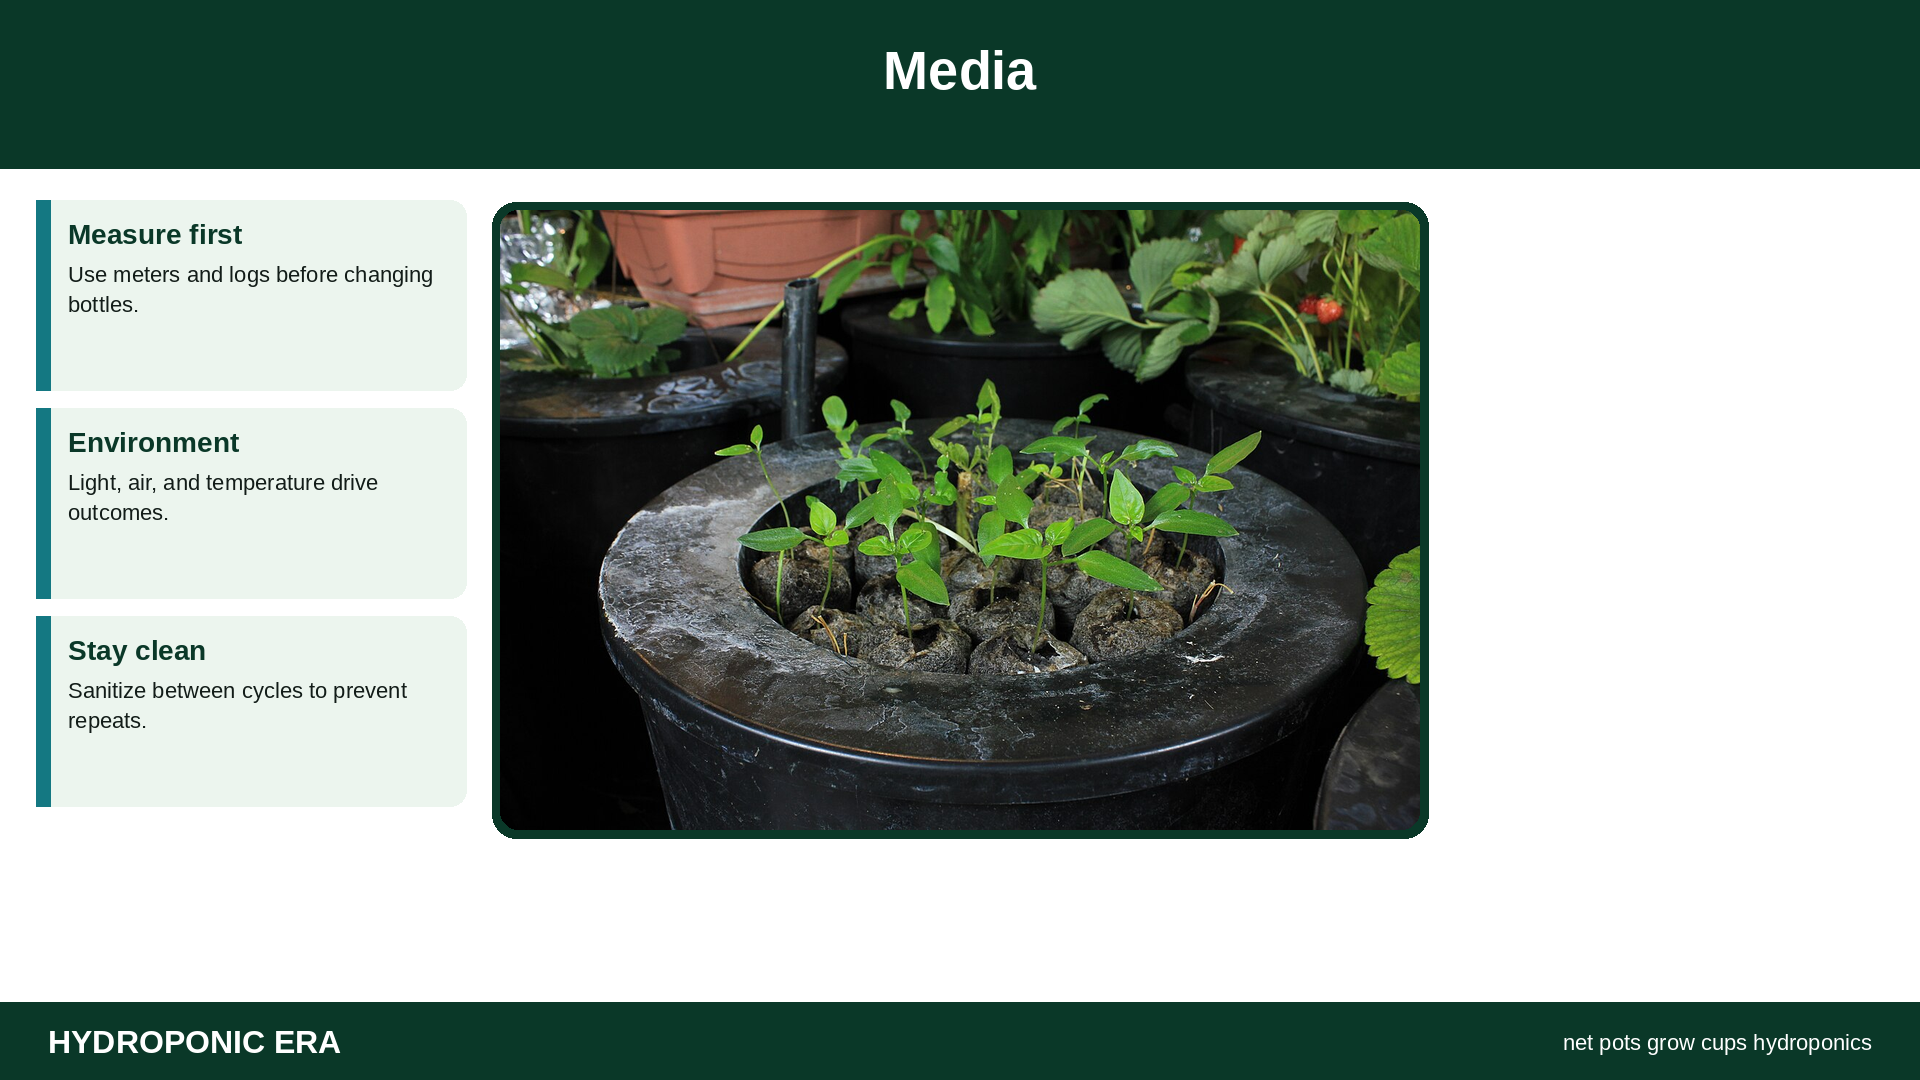
- Stonewool plugs in net pots for clean starts
- Clay pebbles for DWC/Dutch drainage and reuse potential after cleaning
- Coco blends where appropriate—watch salt and pH behavior
- Avoid stuffing cups so tightly that slots clog and roots smother
See detailed media tradeoffs in growing media for hydroponics.
Step-by-Step Transplant into Net Pots
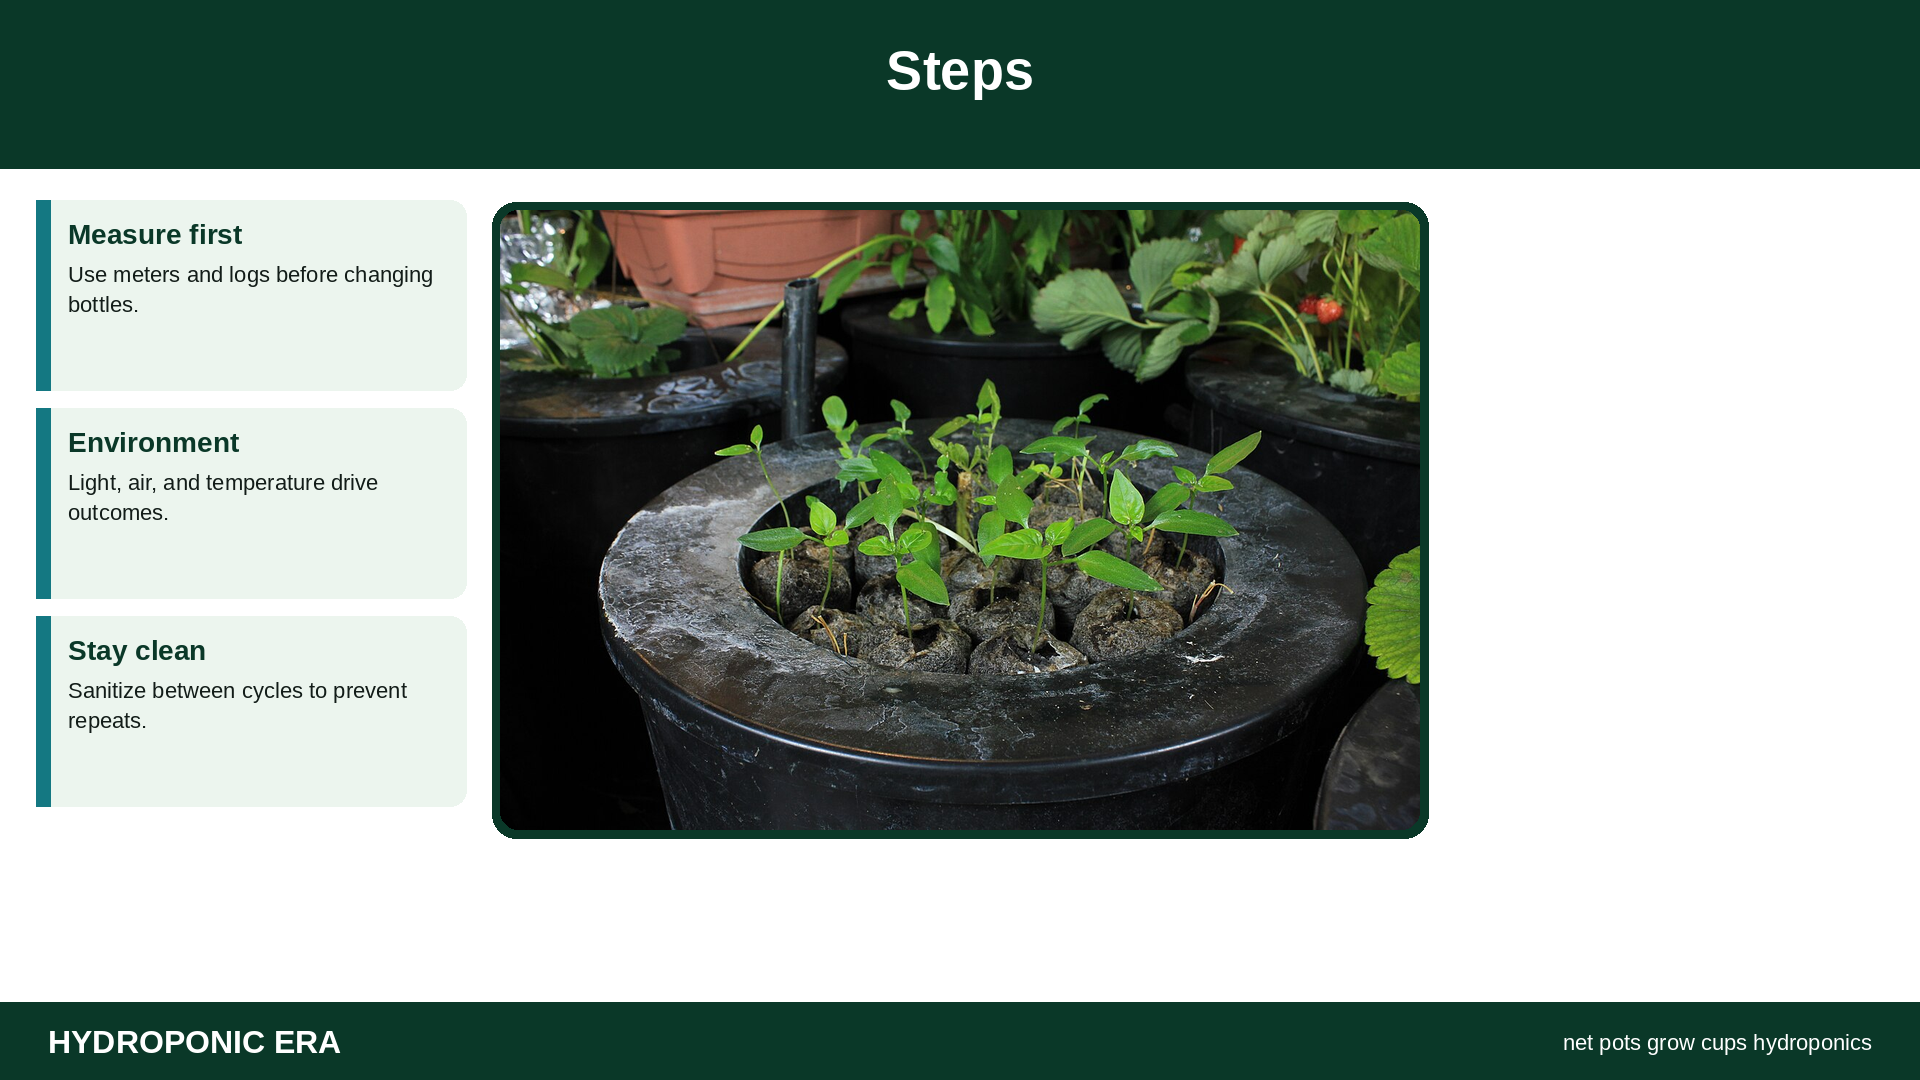
- Sanitize pots and lids.
- Pre-wet media with mild solution or pH-adjusted water per media type.
- Set the seedling so the crown sits at the correct height.
- Fill around the plug without burying growing points.
- Seat the pot firmly in the hole to block light.
- Verify roots will reach film/solution without submerging stems.
- Label cultivar and date.
- Check for tip-in instability after the first irrigation.
Common Mistakes
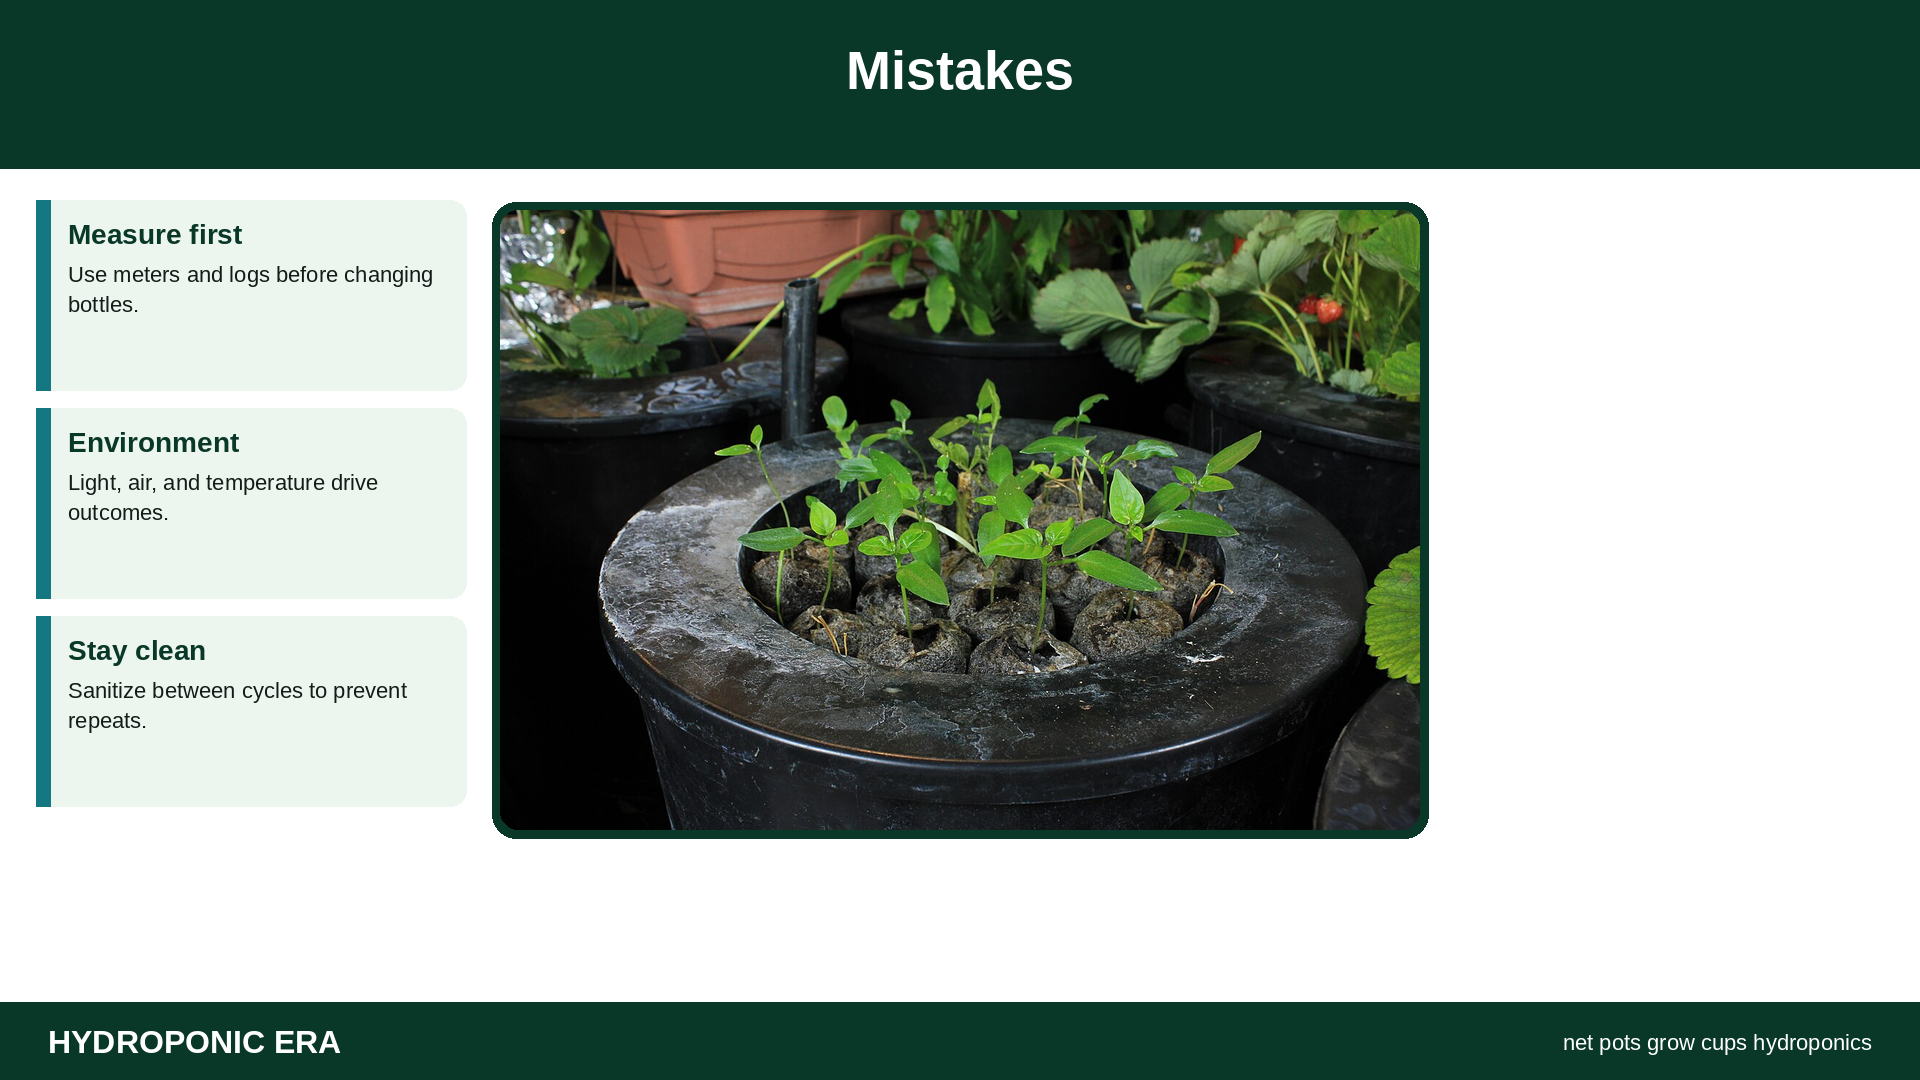
- Drowning crowns in DWC
- Oversized gaps around pots that leak light and grow algae
- Reusing filthy pots without cleaning
- Tiny pots for large tomato roots
- Forcing square pegs into round holes (literally)
- Ignoring sharp plastic edges that nick stems
Cleaning and Reuse
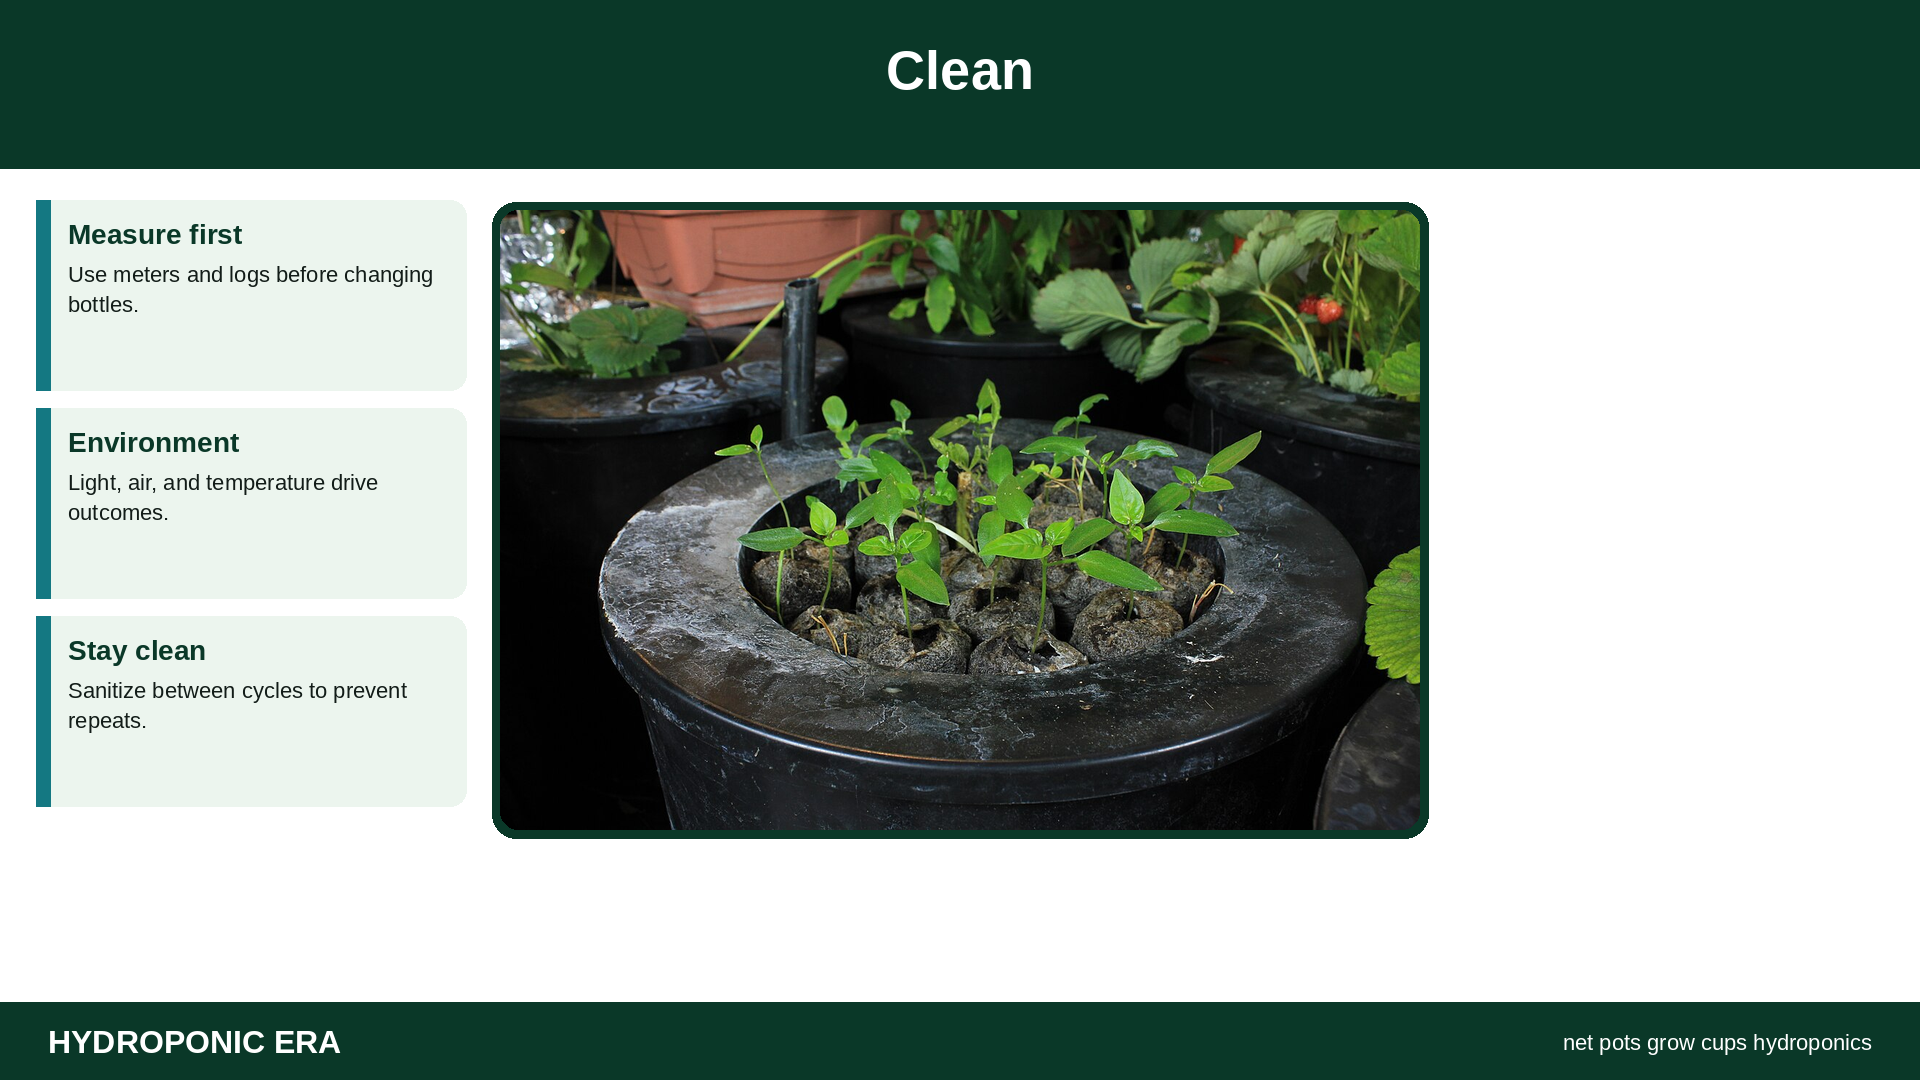
Scrub organic matter out of slots first, then sanitize with a labeled approach from the cleaning guide. Rinse thoroughly. Discard brittle cracked pots that leak light or injure stems. Opaque lids plus snug pots reduce algae pressure.
What to Check
- Pot diameter vs lid hole tolerance
- Crown height vs waterline
- Media fill without sealed-off slots
- Wobble under mature plant weight
- Algae at light leaks
- Between-crop sanitation status
System Fit Notes
NFT: prioritize cups that sit flush and do not dam the film. DWC: prioritize crown dryness and root immersion depth. Dutch bucket: prioritize volume and stability for tall crops. Towers: use manufacturer-compatible cups to avoid drip misalignment.
Oklahoma State’s hydroponics fact sheet and UF leafy/floating garden publications assume physical plant support is solved before nutrition debates begin—net pots are that solution for many home systems.
Final Checklist
- Correct diameter for crop
- Compatible lid/channel holes
- Airy media fill
- Proper crown height
- Light-sealed fit
- Clean reuse workflow
Light Leaks, Algae, and Pot Fit
Gaps around net pots shine light into nutrient solution and feed algae. Use foam collars or better-fitting lids when holes are oversized. Algae is mostly a hygiene and light problem—see the algae reservoir article—but pot fit is part of prevention.
For towers and branded kits, keep spare OEM-compatible cups. Generic substitutions that drip sideways create chronic wet foliage and mildew risk.
Heavy fruiting plants need pots that will not tip when vines lean. Stake or trellis early rather than waiting for a tipped net pot to flood light into the bucket.
Seedling Inserts and Collar Options
Neoprene or foam collars can stabilize stems and block light in DWC lids. They are optional for many leafy sites but helpful when holes are oversized. Do not clamp stems so tightly that they girdle. For rockwool plugs, ensure the plug sits high enough that the stem base is not constantly flooded.
When transplanting cucumbers or tomatoes into large net pots, pre-place trellis clips and consider pot weight with wet media. A tipped fruiting pot can tear roots and dump clay pebbles into pumps.
Inventory spare pots in each size you use. Mid-cycle shortages tempt bad substitutions that leak light or sit crooked in channels.
Between crops, scrub slot interiors where roots glued themselves. Leftover organic films become the next biofilm starter even if the outer pot “looks clean.”
Buying Checklist
Before ordering bulk net pots, measure your lid holes and channel openings. Buy one sample pack first. Confirm slot openness, rim strength, and whether cups sit flush. Cheap brittle plastic that cracks during transplant is false economy. Prefer pots you can scrub and reuse across many cycles.
For classroom or family grows, standardize on one or two diameters so lids and media are interchangeable. Standardization reduces the junk drawer of almost-fitting cups that cause leaks and algae.
Workflow From Plug to Pot
Harden seedlings, pre-wet media, set crown height, seat flush to block light, verify water/film contact, then label. Doing these steps in order reduces transplant shock and algae. If a pot wobbles, fix fit before the plant gains weight. Revisit pots during cleaning cycles so cracked rims do not return to service.
Teach helpers the crown-height rule once—most DWC stem rot starts with cups pushed too deep.
FAQs
Can I start seeds directly in net pots?
Yes with suitable media, but many growers prefer plugs then transplant for higher success.
Plastic vs ceramic baskets?
Food-safe durable plastics are common. Prioritize slot design, cleanliness, and fit over novelty materials.
How many plants per pot?
Usually one fruiting plant. Leafy herbs sometimes cluster—watch competition and disease.
Why are roots circling in the cup?
Normal to a point. Ensure slots remain open and solution/film is reachable.
Do net pots affect EC readings?
Not directly. Dirty cups and algae can affect system hygiene and oxygen near roots.
Sources
- Oklahoma State University Extension — Hydroponics
- University of Florida IFAS — HS184
- University of Florida IFAS — HS1279
- Penn State Extension — Hydroponic nutrition principles
- Oklahoma State University Extension — EC and pH Guide