hydroponic pepper pruning — Hydroponic Pepper Pruning: When It Helps

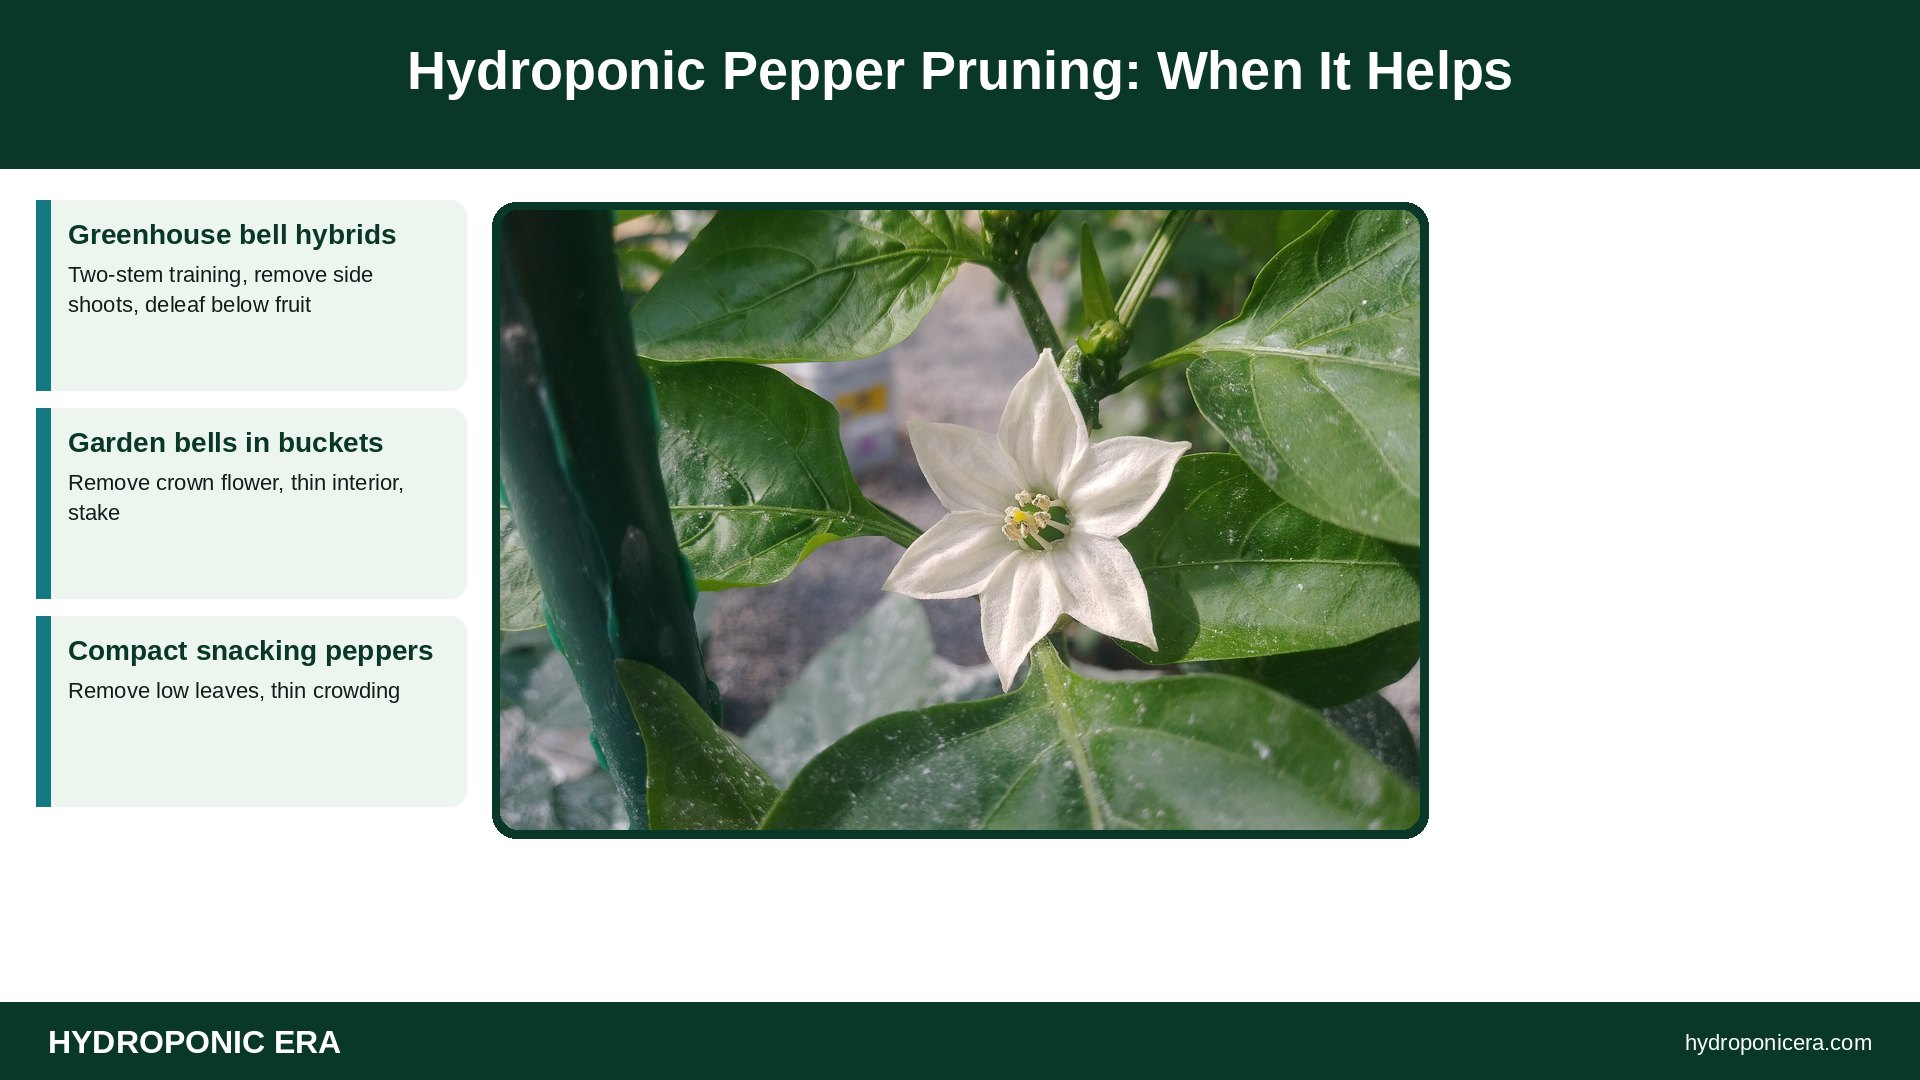
Hydroponic pepper pruning helps most with large greenhouse bell peppers and less with compact or hot varieties. For big bells, train each plant to two (sometimes three) main stems, remove side shoots and the first “crown” flower, and strip leaves below the lowest fruit. For compact sweet and hot peppers in buckets or kits, prune lightly: remove leaves that touch the water, thin crowded interior shoots for airflow, and pinch the tip of young plants once if you want a bushier shape. Over-pruning small peppers usually reduces yield.
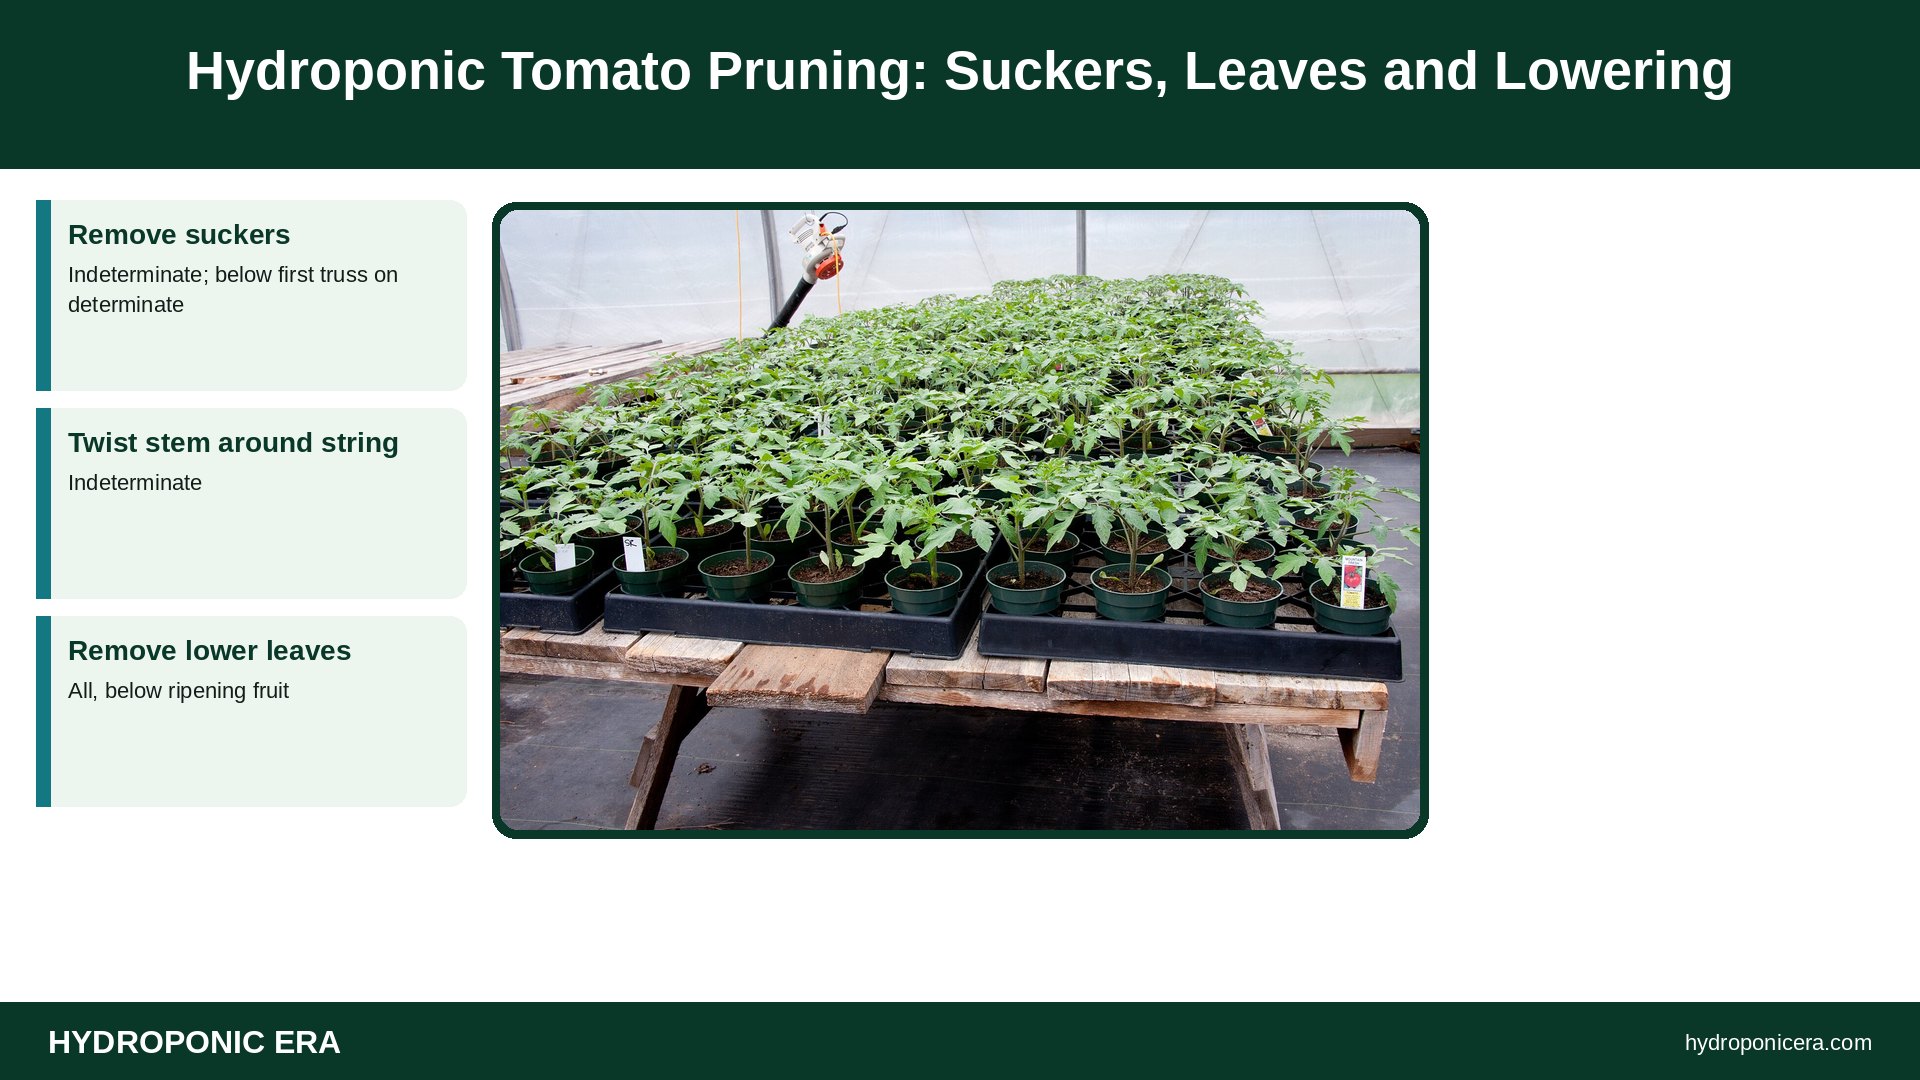
hydroponic tomato pruning — Hydroponic Tomato Pruning: Suckers, Leaves and Lowering

Hydroponic tomato pruning for indeterminate plants means training each plant to one (or two) main stems, snapping off side shoots (suckers) when they are 1–3 inches long, removing leaves below the lowest ripening fruit cluster, and lowering the stem along the support wire as it reaches the top. Do it once or twice a week, in the morning, with clean hands or tools. Determinate and dwarf tomatoes need much less pruning: remove only suckers below the first flower cluster and any yellow or touching-water leaves.

pruning hydroponic basil — Pruning Hydroponic Basil for Bushy Plants

Pruning hydroponic basil is simple: once a plant has 3–4 pairs of true leaves and stands about 6 inches tall, cut the main stem just above the second or third leaf pair, leaving the small side shoots at that node to grow into two new stems. Repeat on each new stem every 1–2 weeks, remove flower buds as soon as they appear, and never take more than about a third of the plant at once. This turns a single tall stem into a bushy plant that keeps producing for months in DWC, NFT, Kratky, or tower systems.

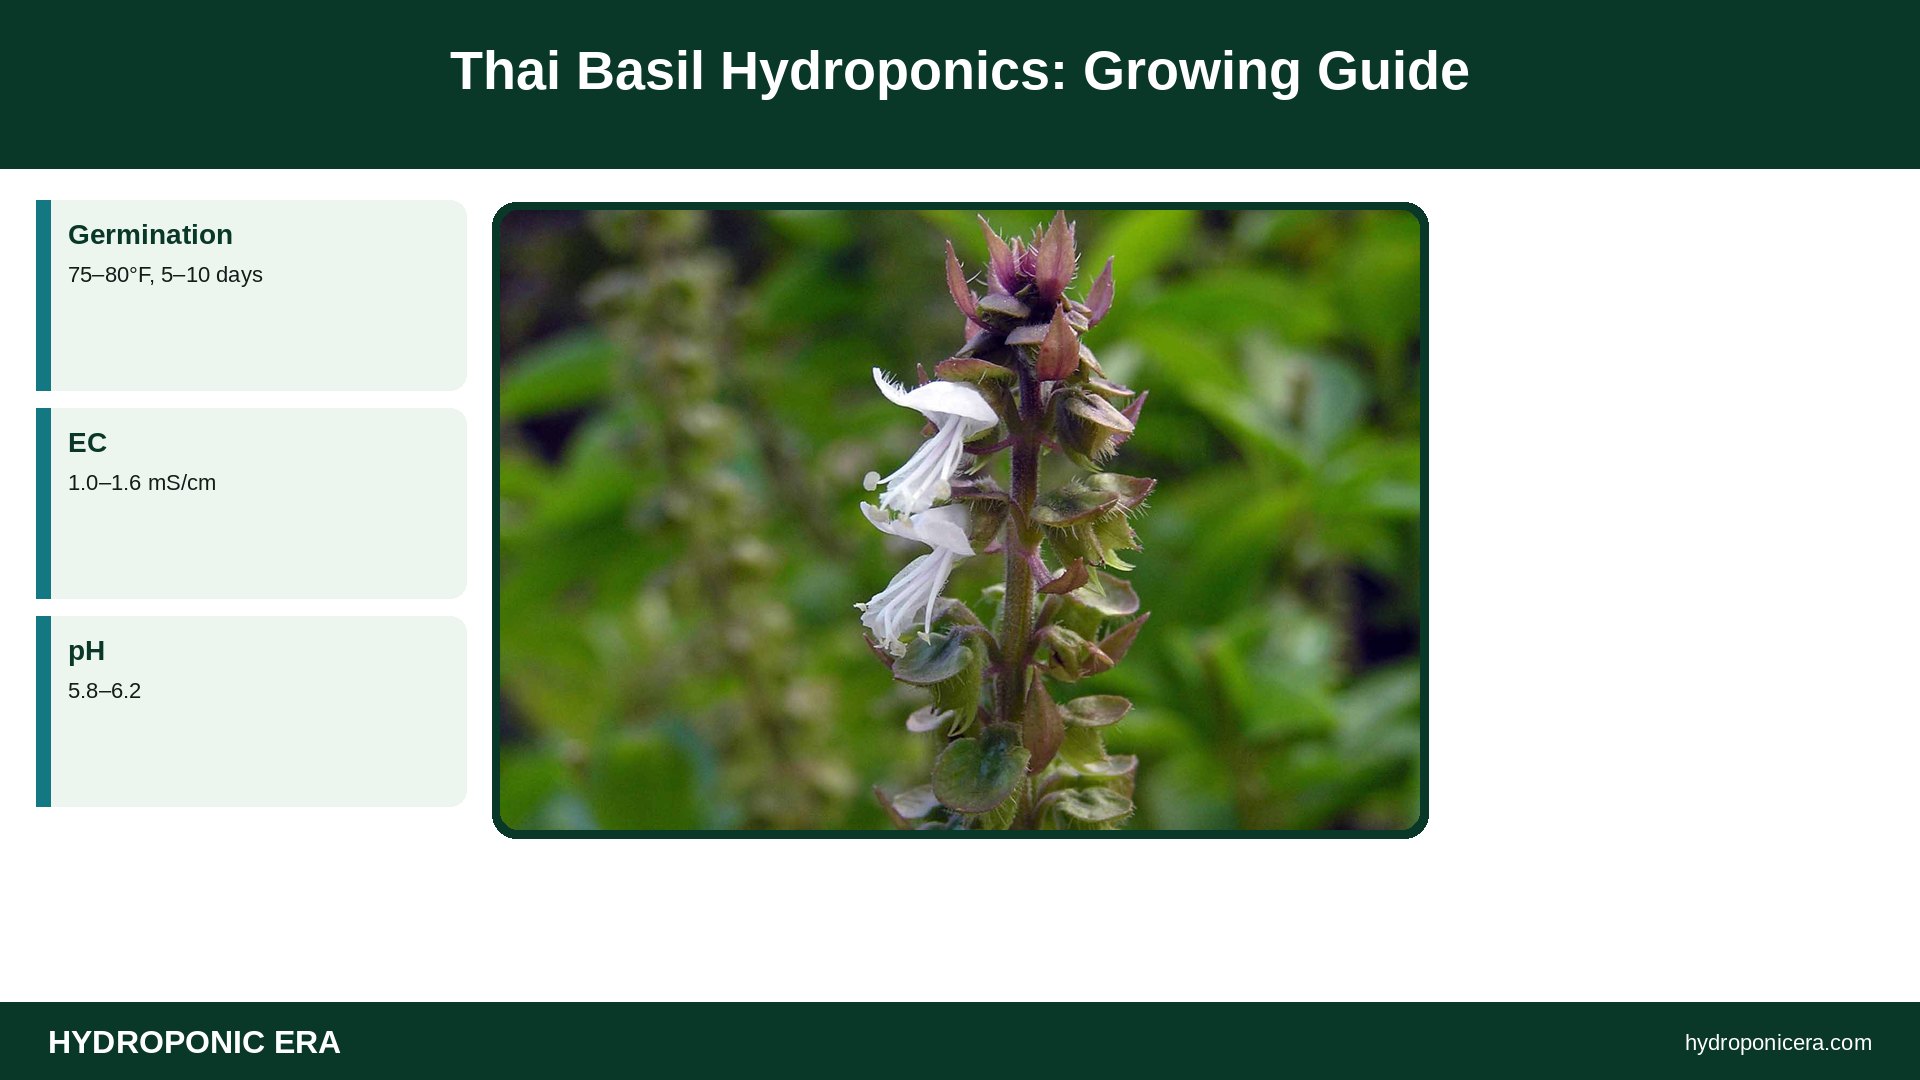
thai basil hydroponics — Thai Basil Hydroponics: Growing Guide

Thai basil hydroponics works much like growing sweet basil: start seeds in rockwool or sponges at 75–80°F, transplant at 2–3 true leaves into DWC, NFT, Kratky, or a tower, and keep the solution at EC 1.0–1.6 mS/cm and pH 5.8–6.2. Give 14–16 hours of strong light and air temperatures of 70–85°F. Thai basil (Ocimum basilicum var. thyrsiflora) has purple stems, narrower leaves, and an anise-licorice flavor. It flowers readily, so pinching tops and flower spikes every week is the key to a long harvest.

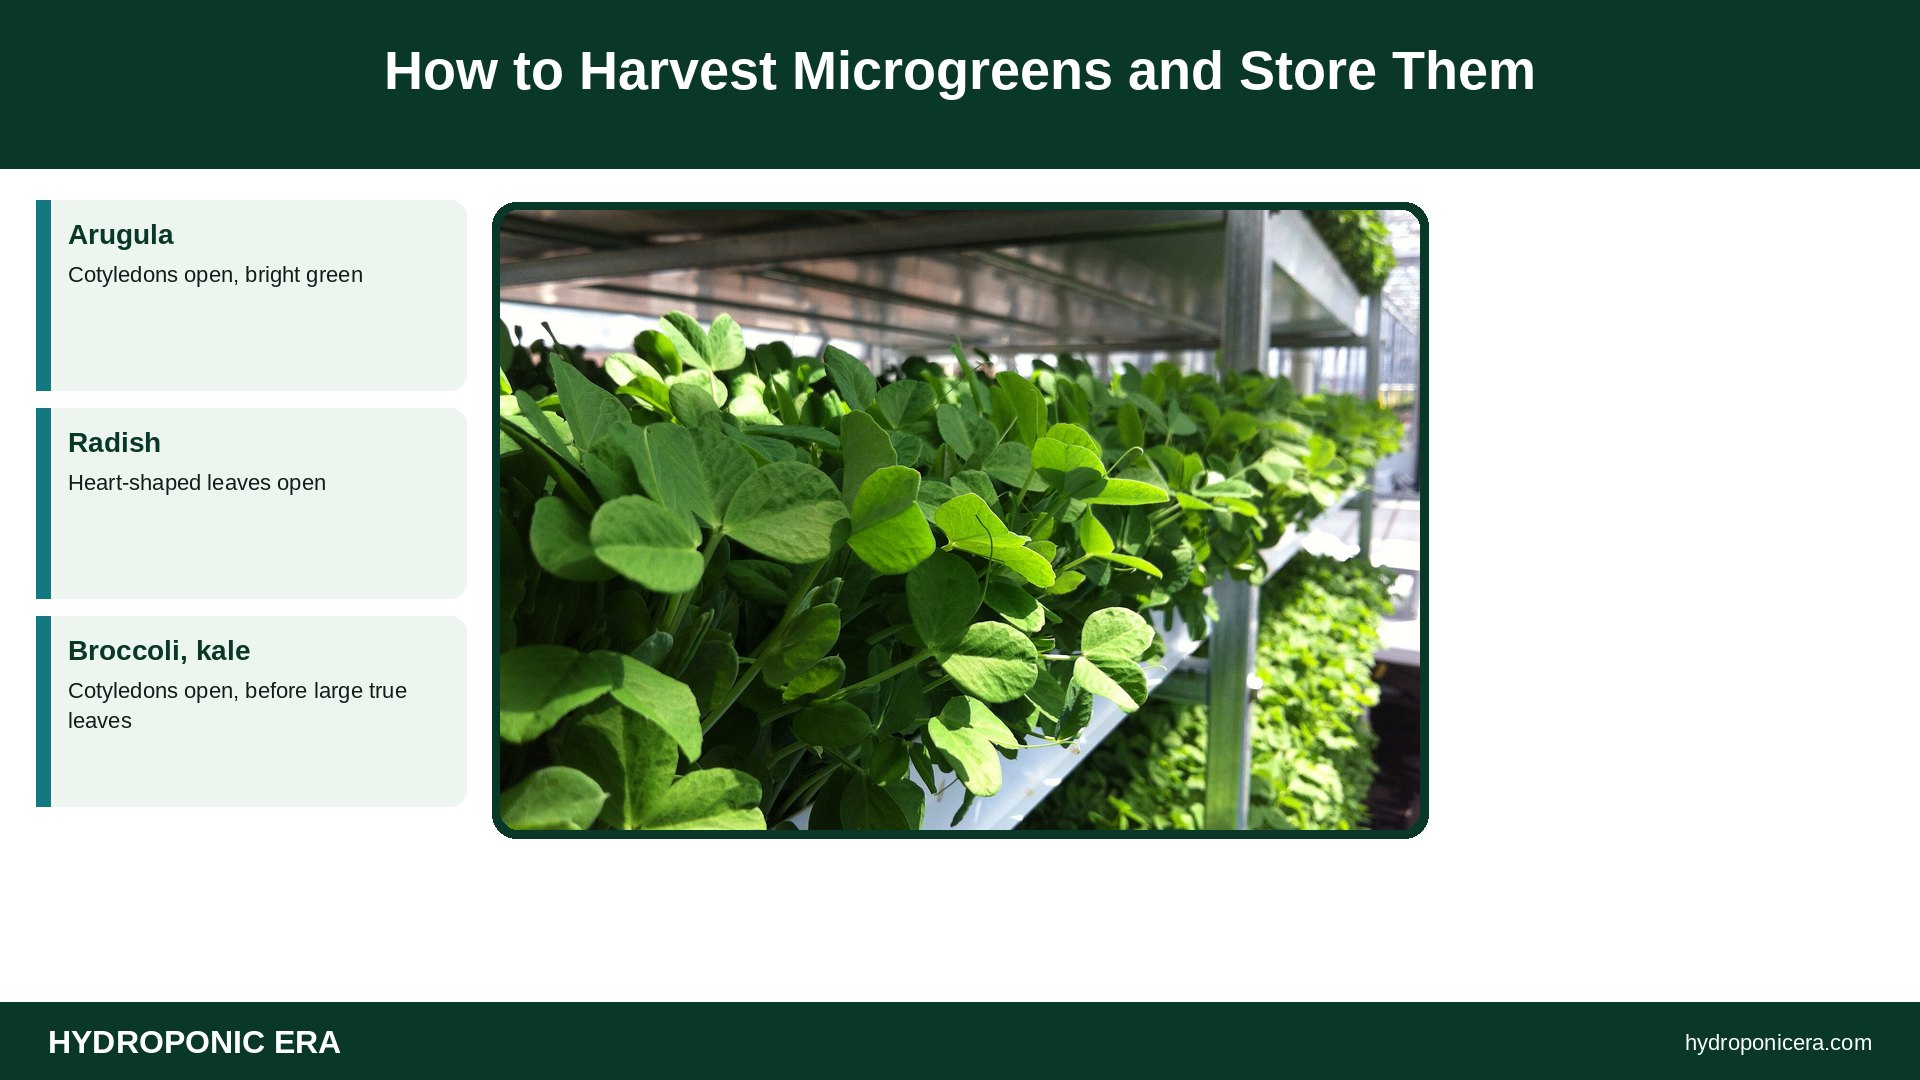
how to harvest microgreens — How to Harvest Microgreens and Store Them

Here is how to harvest microgreens : wait until the seed leaves (cotyledons) are fully open, usually 7–14 days after sowing depending on the crop, stop watering 8–12 hours before cutting so leaves are dry, then hold a handful and cut straight across about 1/4 to 1/2 inch above the medium with clean, sharp scissors or a knife. Collect the greens in a clean container, cool them right away, and store them at 35–40°F in a sealed container lined with a paper towel. Most microgreens keep 5–10 days.

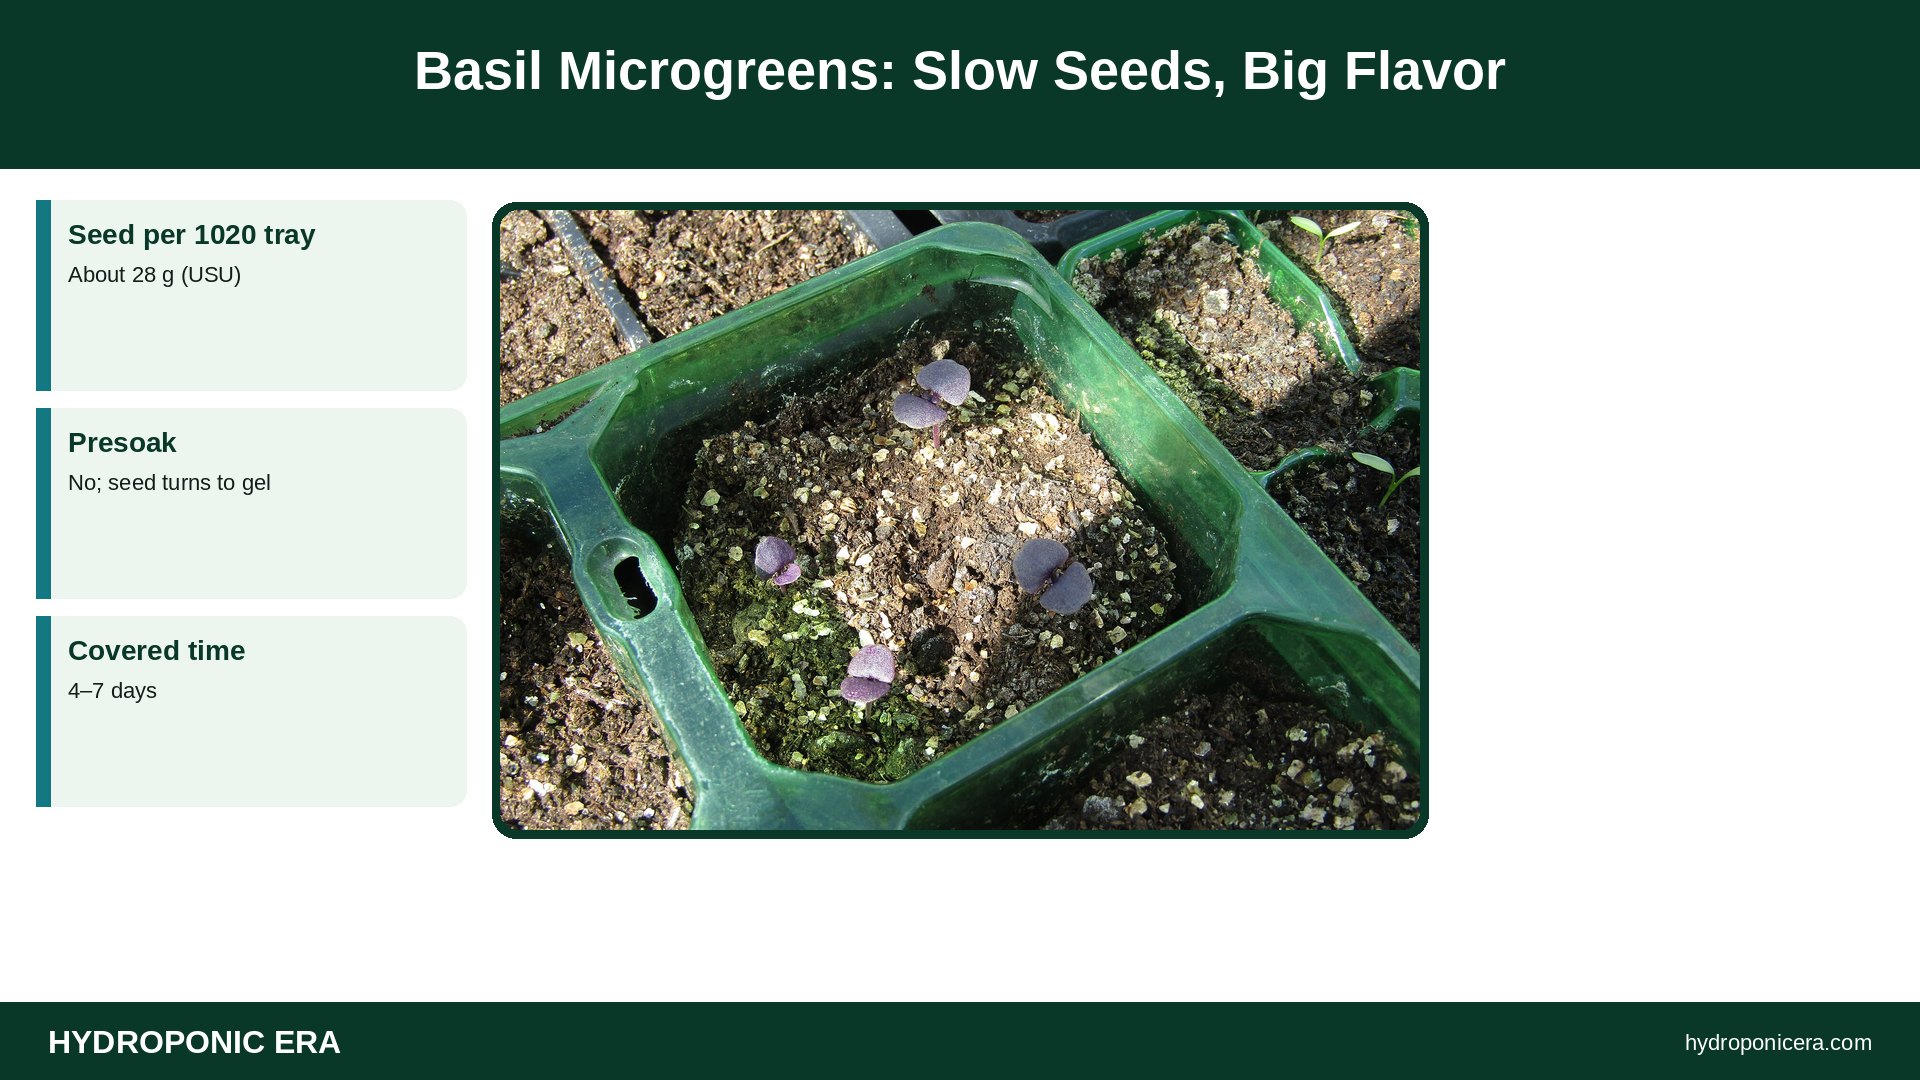
basil microgreens — Basil Microgreens: Slow Seeds, Big Flavor

Basil microgreens take longer than most microgreens but deliver intense basil flavor in a tiny leaf. Sow about 28 grams of basil seed per 1020 tray (Utah State University Extension’s home rate) on a moist medium without soaking, keep the tray covered for 4–7 days, then grow under strong light and harvest at about 12–16 days. Basil seed forms a sticky gel when wet, so sow it dry onto a damp surface and mist gently. Keep the room warm, around 72–75°F, since basil germinates slowly in cool conditions.

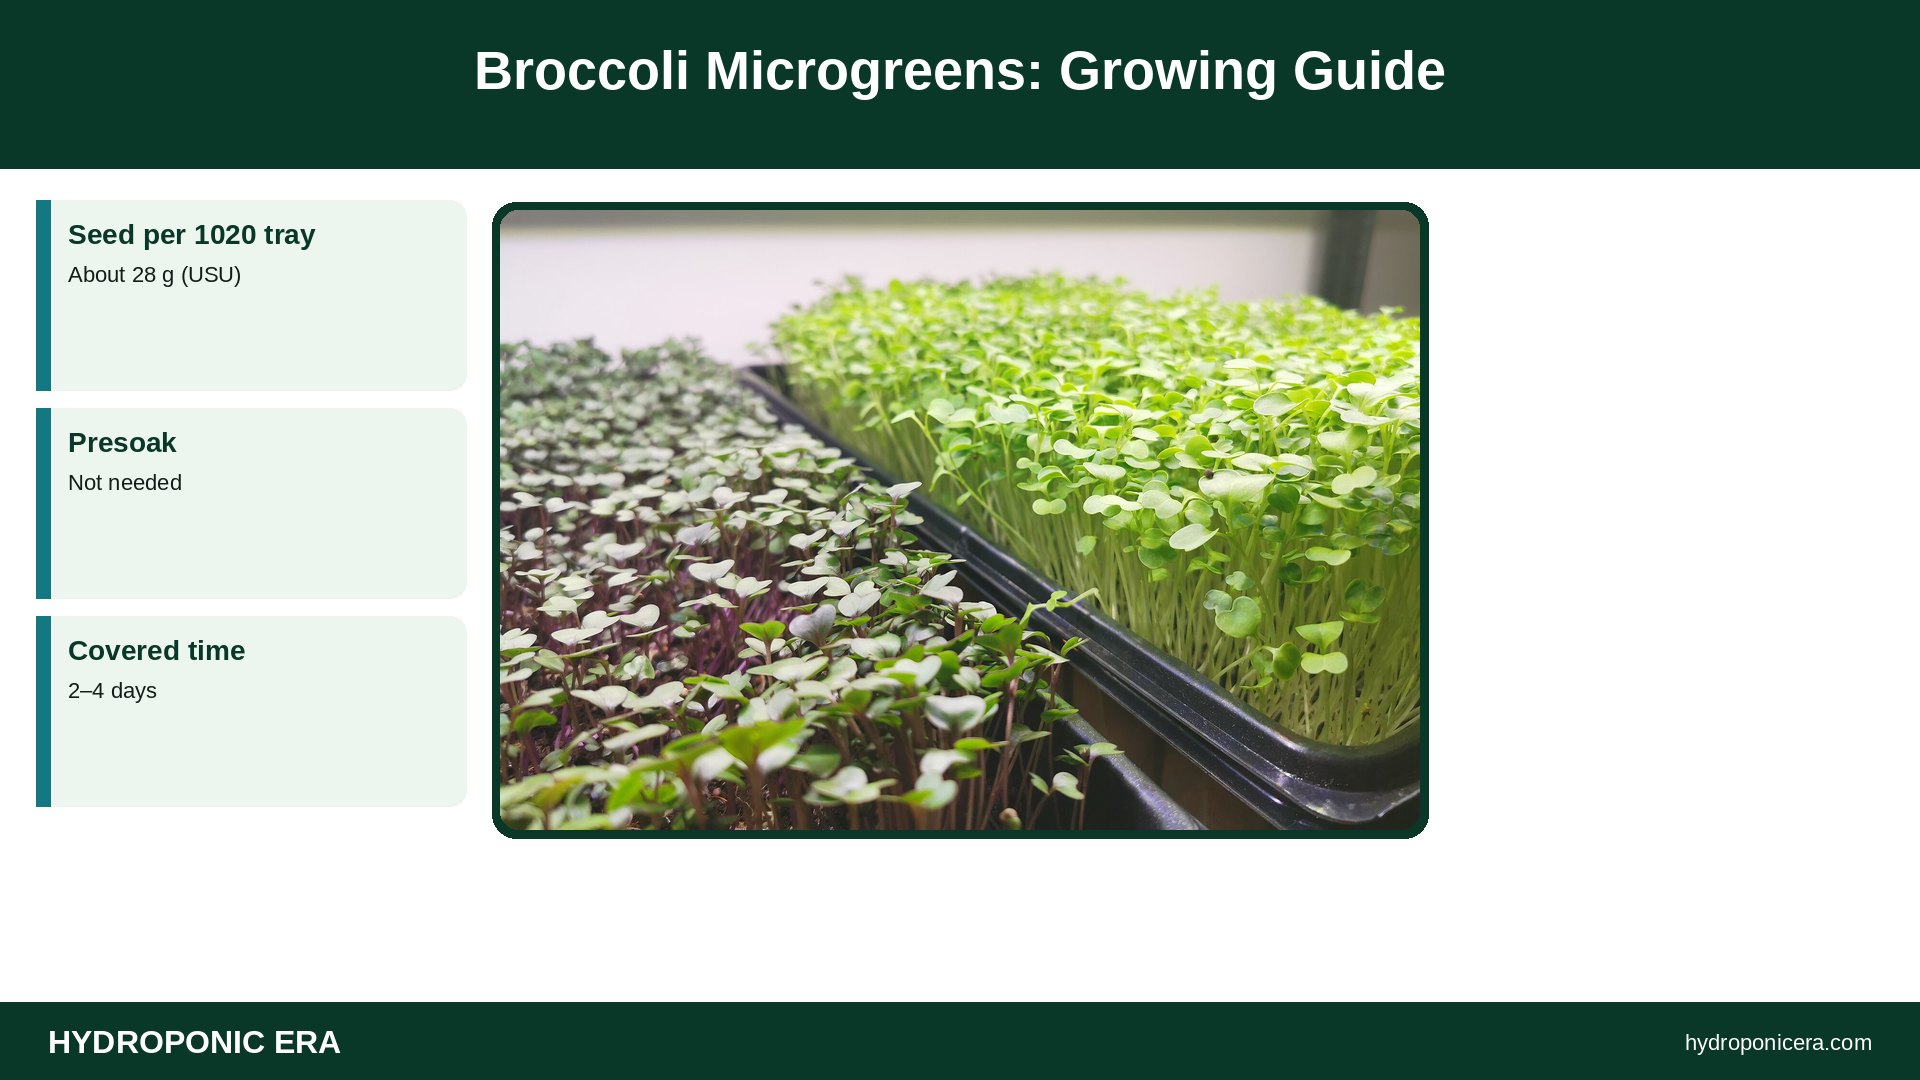
broccoli microgreens — Broccoli Microgreens: Growing Guide

Broccoli microgreens are easy, mild, and quick: scatter about 28 grams of untreated broccoli seed over a moist 1020 tray (Utah State University Extension’s home rate), keep it covered for 2–4 days, then grow under light and harvest at 8–12 days when the seed leaves are fully open. No soak is needed. They taste like mild broccoli or cabbage and are popular because young broccoli is a rich source of glucoraphanin, the compound that forms sulforaphane, as Johns Hopkins researchers showed in sprouts.

radish microgreens — Radish Microgreens: Fast Spicy Trays in 7 Days

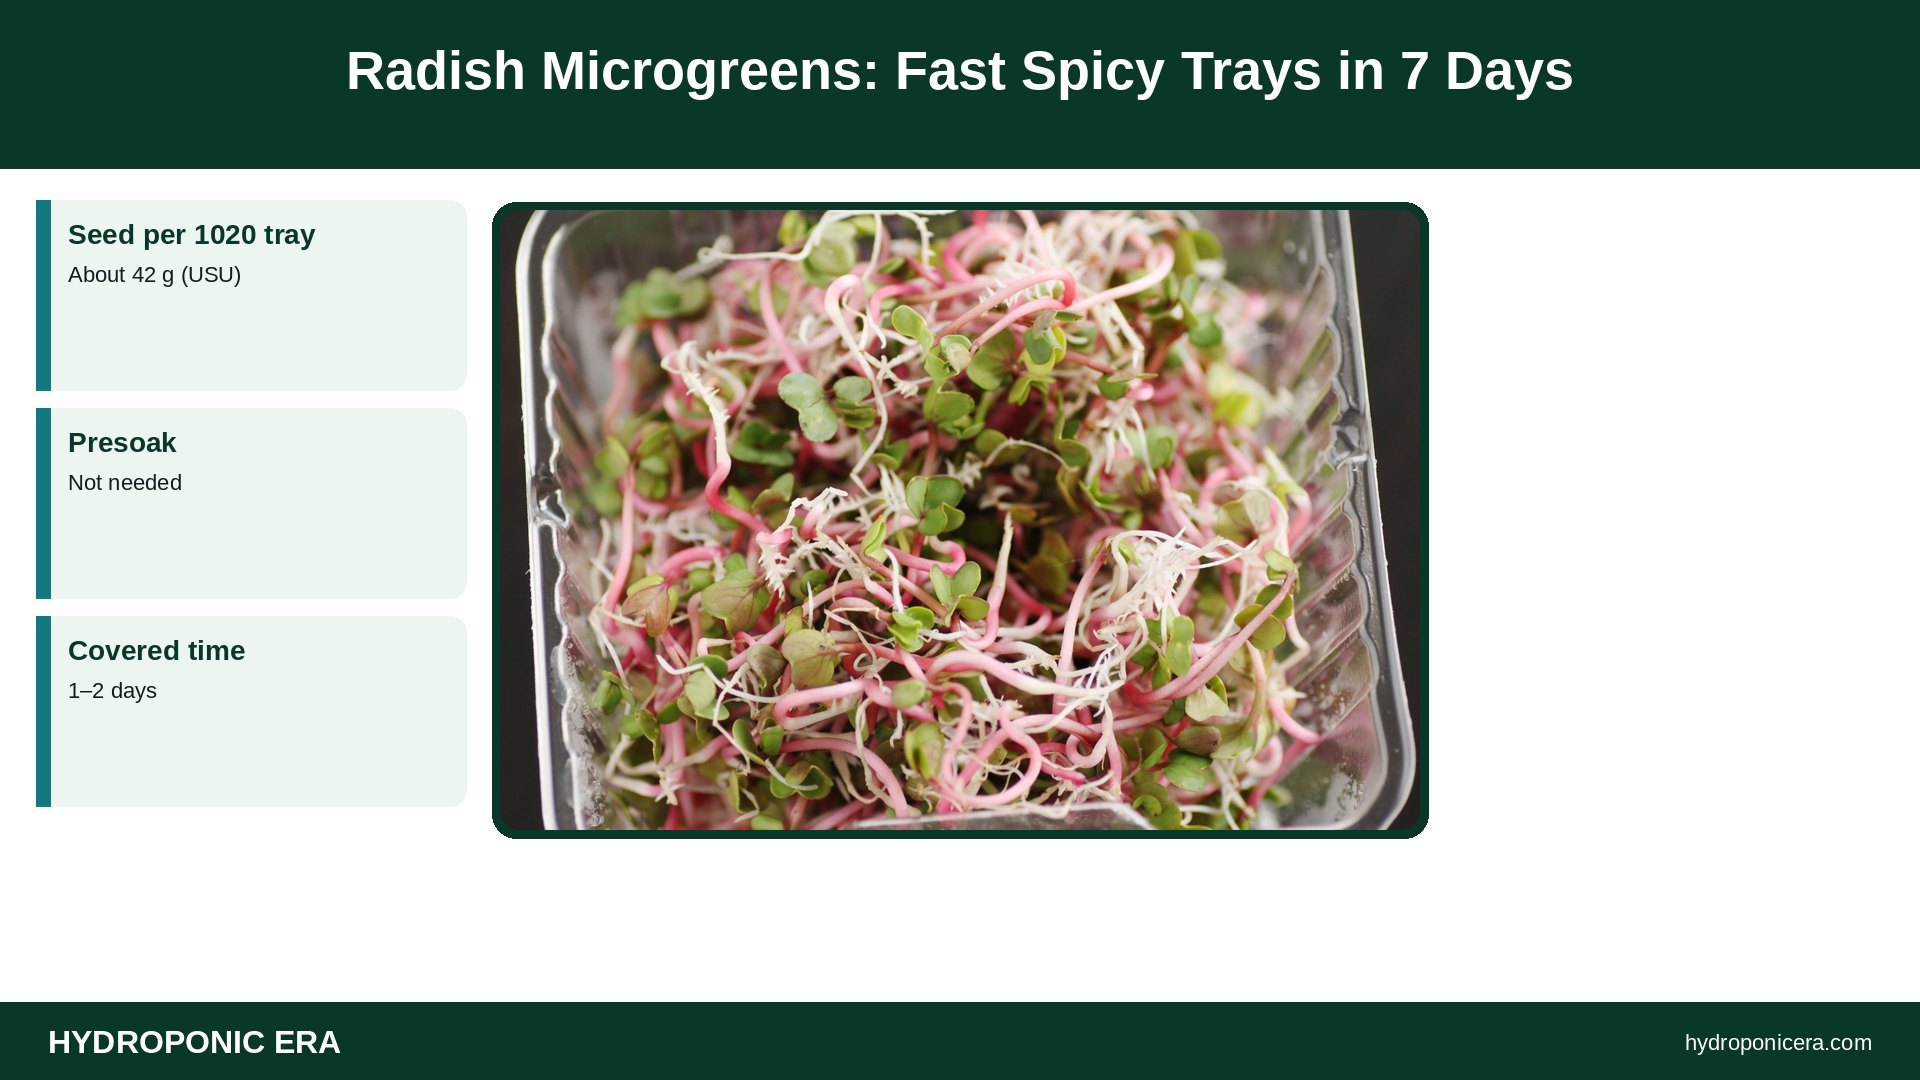
Radish microgreens are among the fastest and easiest microgreens: sow about 42 grams of seed on a moist 1020 tray (Utah State University Extension’s home rate), keep it covered for 1–2 days, then grow under light and harvest at 8–12 days, when the heart-shaped seed leaves are open. No soak is needed. They taste spicy and crisp, and colored varieties such as ‘Rambo’ (purple) and ‘Hong Vit’ (pink stems) make some of the prettiest trays you can grow.

pea shoots — Growing Pea Shoots Hydroponically

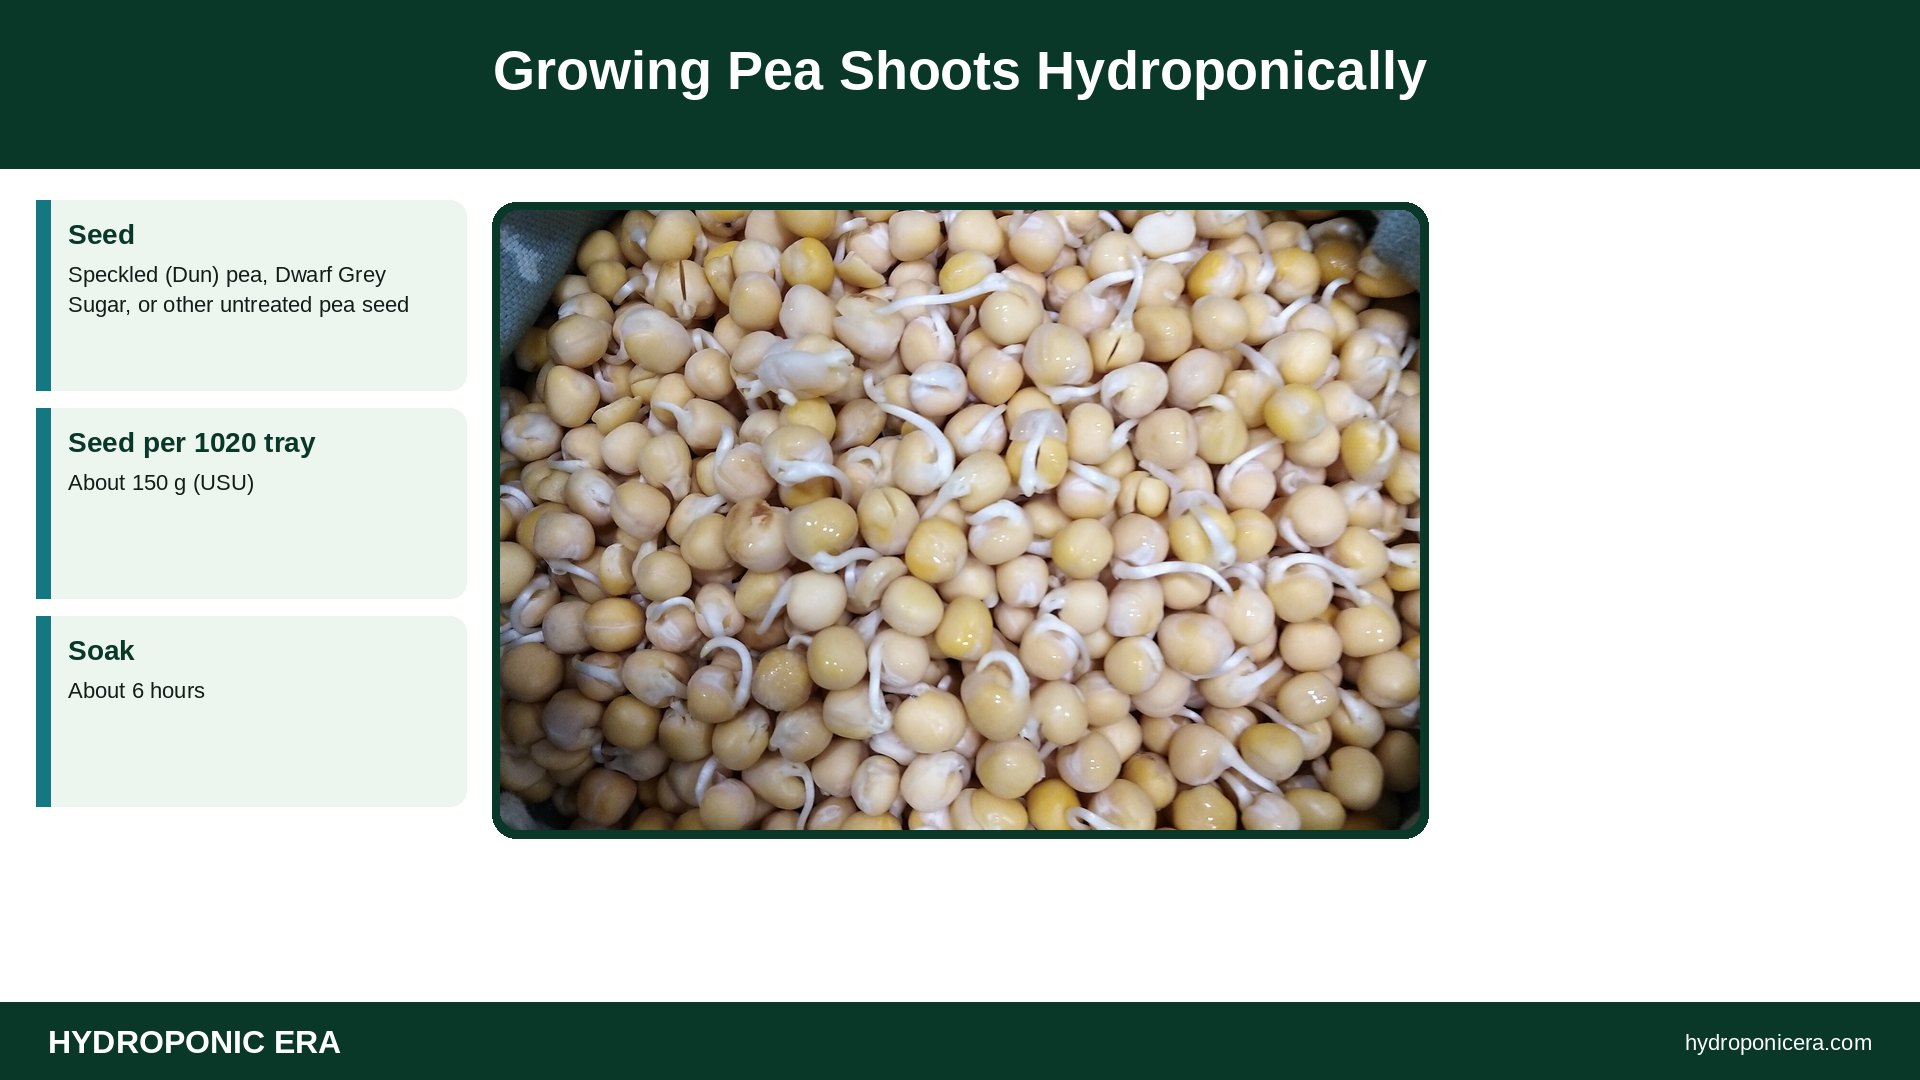
To grow pea shoots hydroponically, soak whole field or snow pea seed for about 6 hours, spread it thickly on a moist mat or shallow medium in a 1020 tray, keep it covered for about 3 days, then grow it under light and harvest when shoots are 3–6 inches tall. Utah State University Extension lists about 150 grams of seed per tray and a harvest at 8–10 days; many growers let them go to 12–14 days for longer, sweeter shoots. Cut above the lowest leaf so some trays give a smaller second cut.

sunflower microgreens — Sunflower Microgreens: Soaking, Hulls and Harvest

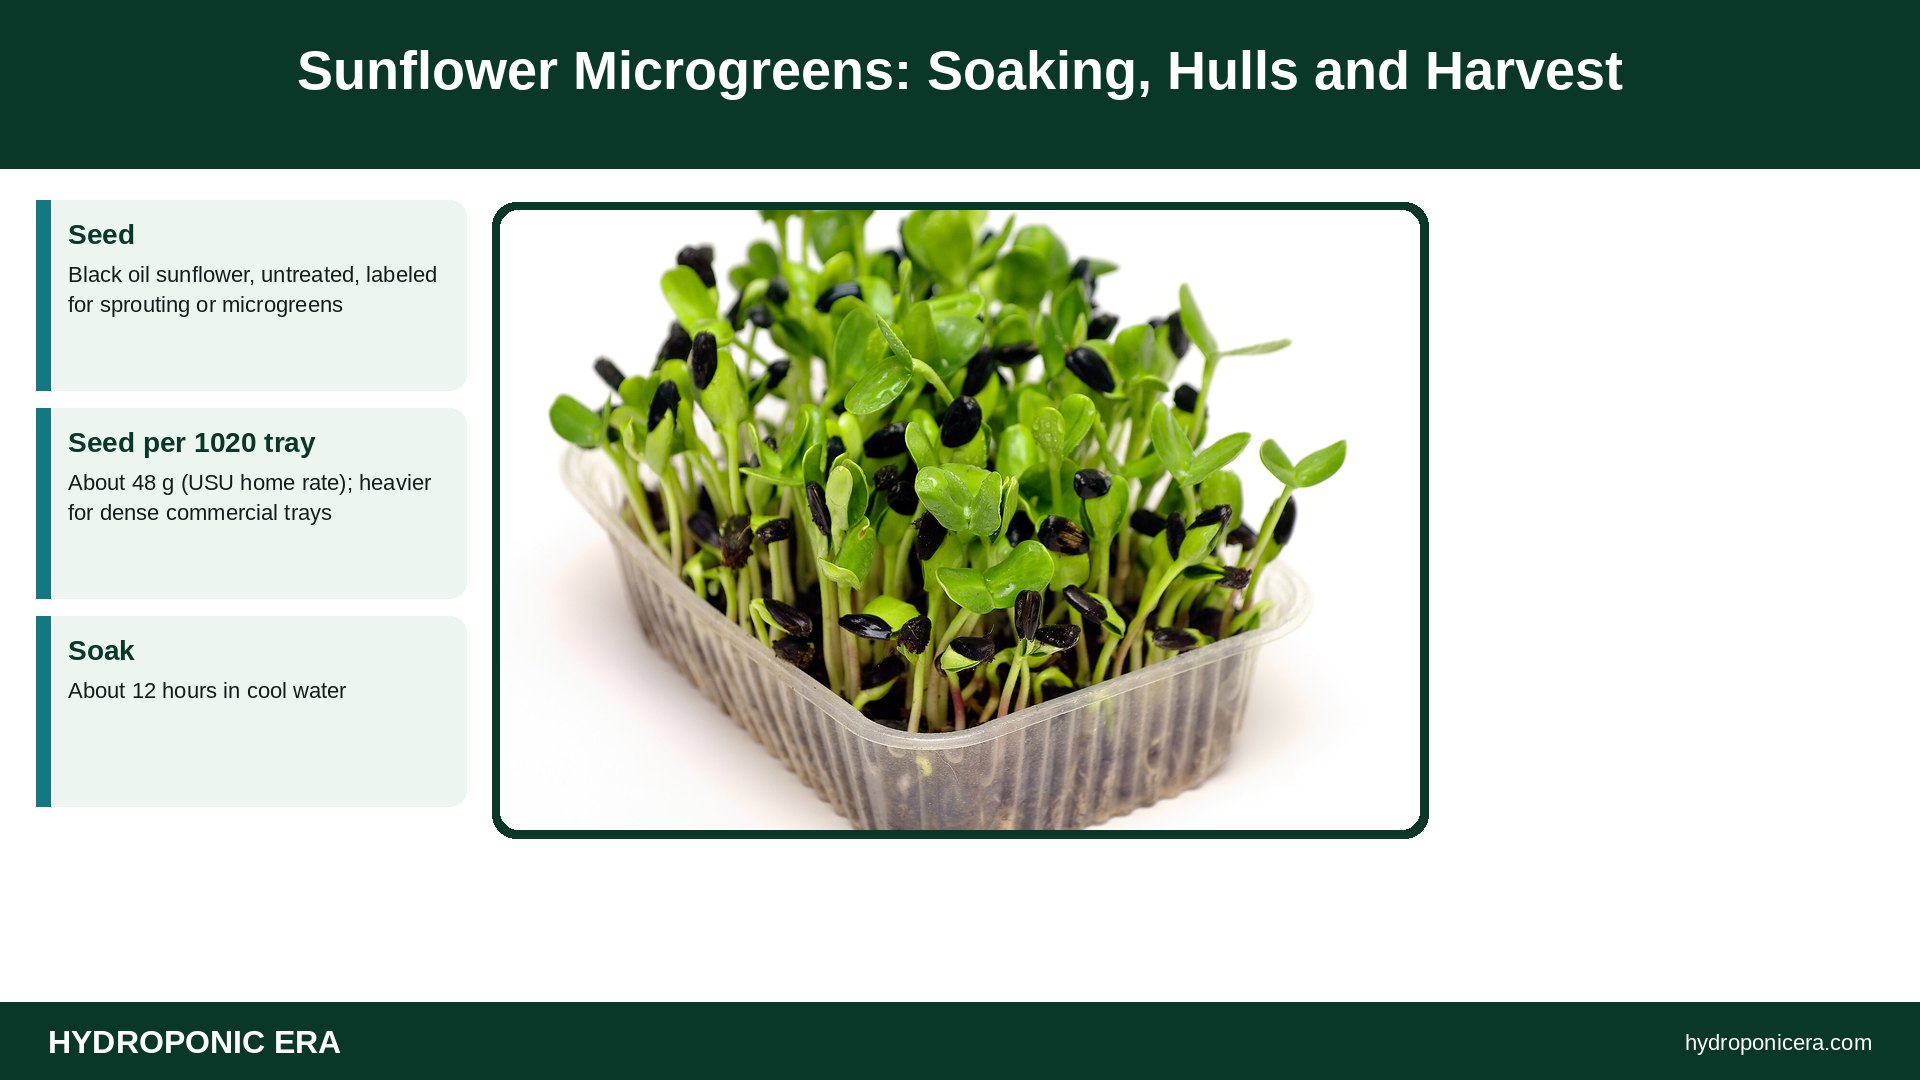
Sunflower microgreens are grown from black oil sunflower seed soaked for about 12 hours, spread on a moist tray, kept covered and weighted in the dark for about 3 days, and then grown under light until harvest at 9–10 days. Utah State University Extension lists 48 grams of seed per 10-by-20-inch (1020) tray as a home starting rate; many growers sow more densely for thicker trays. Cut just above the medium when the two seed leaves are fully open and before true leaves appear, and knock off hulls before harvest.