
A DIY aeroponic cloner is a lidded tote with a small submersible pump that feeds a ring of misting sprayers inside, so cuttings held in foam collars hang with their stems in a fine spray of water. You can build one in an afternoon for about $40–$70 with a 10–18 gallon opaque tote, a 160–250 GPH pump, 1/2-inch PVC, 360° sprayers, and 2-inch neoprene collars. Keep the water at about 68–75°F, run the pump continuously or on a short-cycle timer, and most soft cuttings such as basil, mint, tomato and pepper root in 7–14 days.
Key takeaway: The four things that decide success are clean water, the right temperature, full spray coverage of every stem, and healthy mother plants. Get those right and a DIY aeroponic cloner roots cuttings faster than cubes or soil.
| Part | Typical spec | Notes |
|---|---|---|
| Tote | 10–18 gal, opaque, food-safe | Black or dark blocks light |
| Pump | 160–250 GPH submersible | Enough pressure for all sprayers |
| Manifold | 1/2-in PVC ring or bar | Sits a few inches under the lid |
| Sprayers | 360° mist heads, 6–8 per tote | Full coverage of stems |
| Collars | 2-in neoprene inserts in 2-in net pots | Or directly in holes |
| Water temperature | 68–75°F | Warmer invites rot |
| Rooting time | 7–14 days for soft cuttings | Woody plants take longer |

How a DIY Aeroponic Cloner Works

Cuttings need water, oxygen and warmth to form roots. In an aeroponic cloner the stems hang in moist air and are wetted by a mist, so the base of each cutting stays wet but surrounded by oxygen. That combination is why many growers see roots sooner than in water or media. For the theory behind root-zone oxygen, see aeroponics for beginners and hydroponic cuttings and cloning.
Parts List for a DIY Aeroponic Cloner
- Opaque storage tote with a flat, sturdy lid (10–18 gallons).
- Submersible pump rated about 160–250 GPH with enough head for the manifold height.
- About 4–6 feet of 1/2-inch PVC pipe, elbows and tees.
- 6–8 threaded 360° sprayer heads.
- 2-inch neoprene collars (and optional 2-inch net pots).
- Hole saw sized for the collars, plus a drill.
- Optional: aquarium heater, timer and an air stone.
Step-by-Step Build
- Drill the lid. Mark a grid of holes 2–3 inches apart and cut with a hole saw so collars fit snugly. A typical 18-gallon lid holds 24–35 sites.
- Build the manifold. Make a rectangle or a straight bar from 1/2-inch PVC that fits inside the tote, with tees spaced along it.
- Add sprayers. Drill and tap small holes or use threaded tees, then screw in the 360° heads pointing up.
- Connect the pump. Run a short riser from the pump outlet to the manifold. Keep the manifold about 4–6 inches below the lid.
- Fill and test. Fill the tote until the pump is covered by at least a couple of inches. Turn it on with the lid off and check that every sprayer mists evenly.
- Seal leaks. Put a towel around the lid edge or add foam tape so mist doesn’t escape.
Taking Cuttings for Your DIY Aeroponic Cloner
Take cuttings 3–6 inches long from healthy, non-flowering shoots. Cut just below a node, remove leaves from the lower 1–2 inches, and put the cutting straight into the collar. Leave two or three sets of leaves on top. NC State Extension notes that most herbaceous cuttings root best when taken from actively growing, healthy stock. Rooting hormone is optional for soft cuttings but helps woody ones.
Water, Temperature and Light
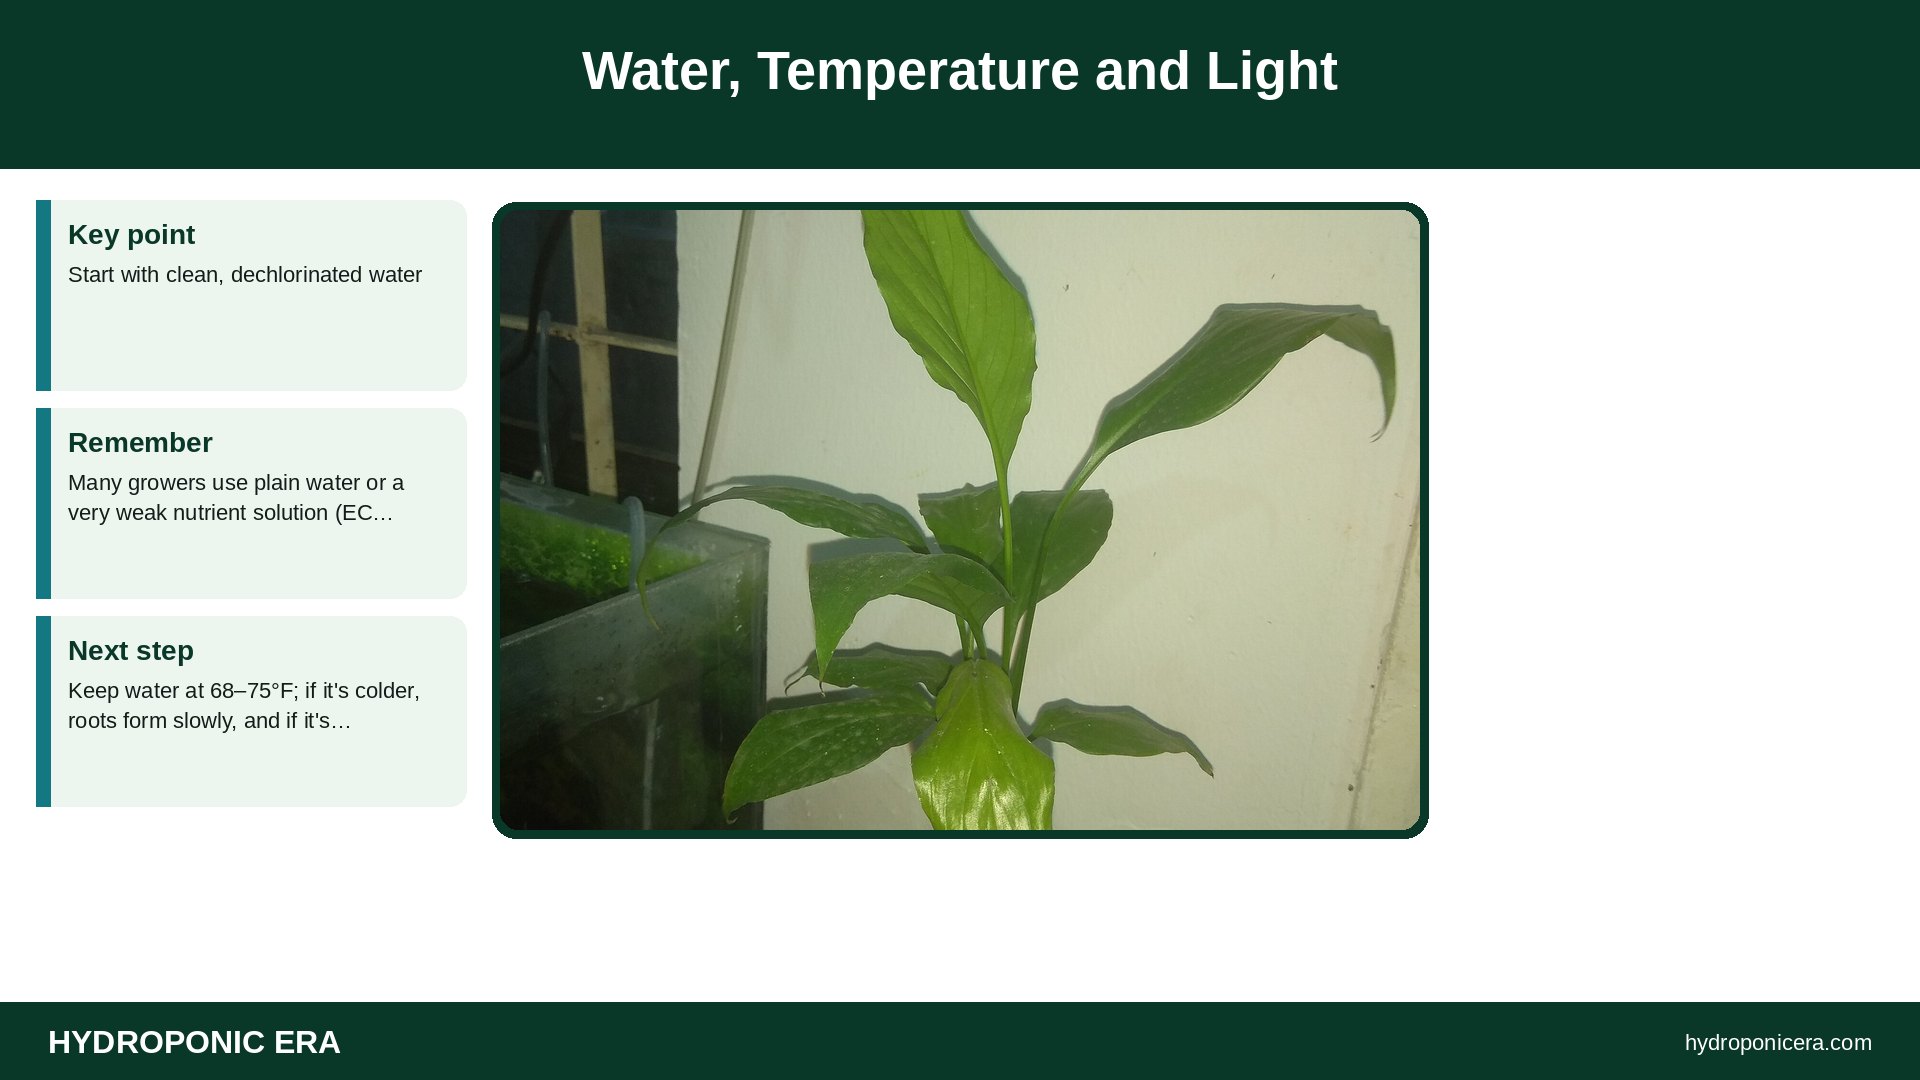
Start with clean, dechlorinated water. Many growers use plain water or a very weak nutrient solution (EC about 0.2–0.4) for the first week. Keep water at 68–75°F; if it’s colder, roots form slowly, and if it’s much warmer, stems can rot. Use a small heater in a cold room and keep the cloner away from hot lights. Give cuttings low to moderate light, about 100–200 µmol/m²/s, for 16–18 hours a day. See reservoir temperature and aquarium heaters.
Continuous Spray or Timer?
Many home cloners run 24 hours a day. A cycle timer set to about 1 minute on, 4 minutes off reduces heat from the pump and saves power. Don’t use a long off cycle; stems in air dry fast. See timers and automation.
Cleaning Between Batches
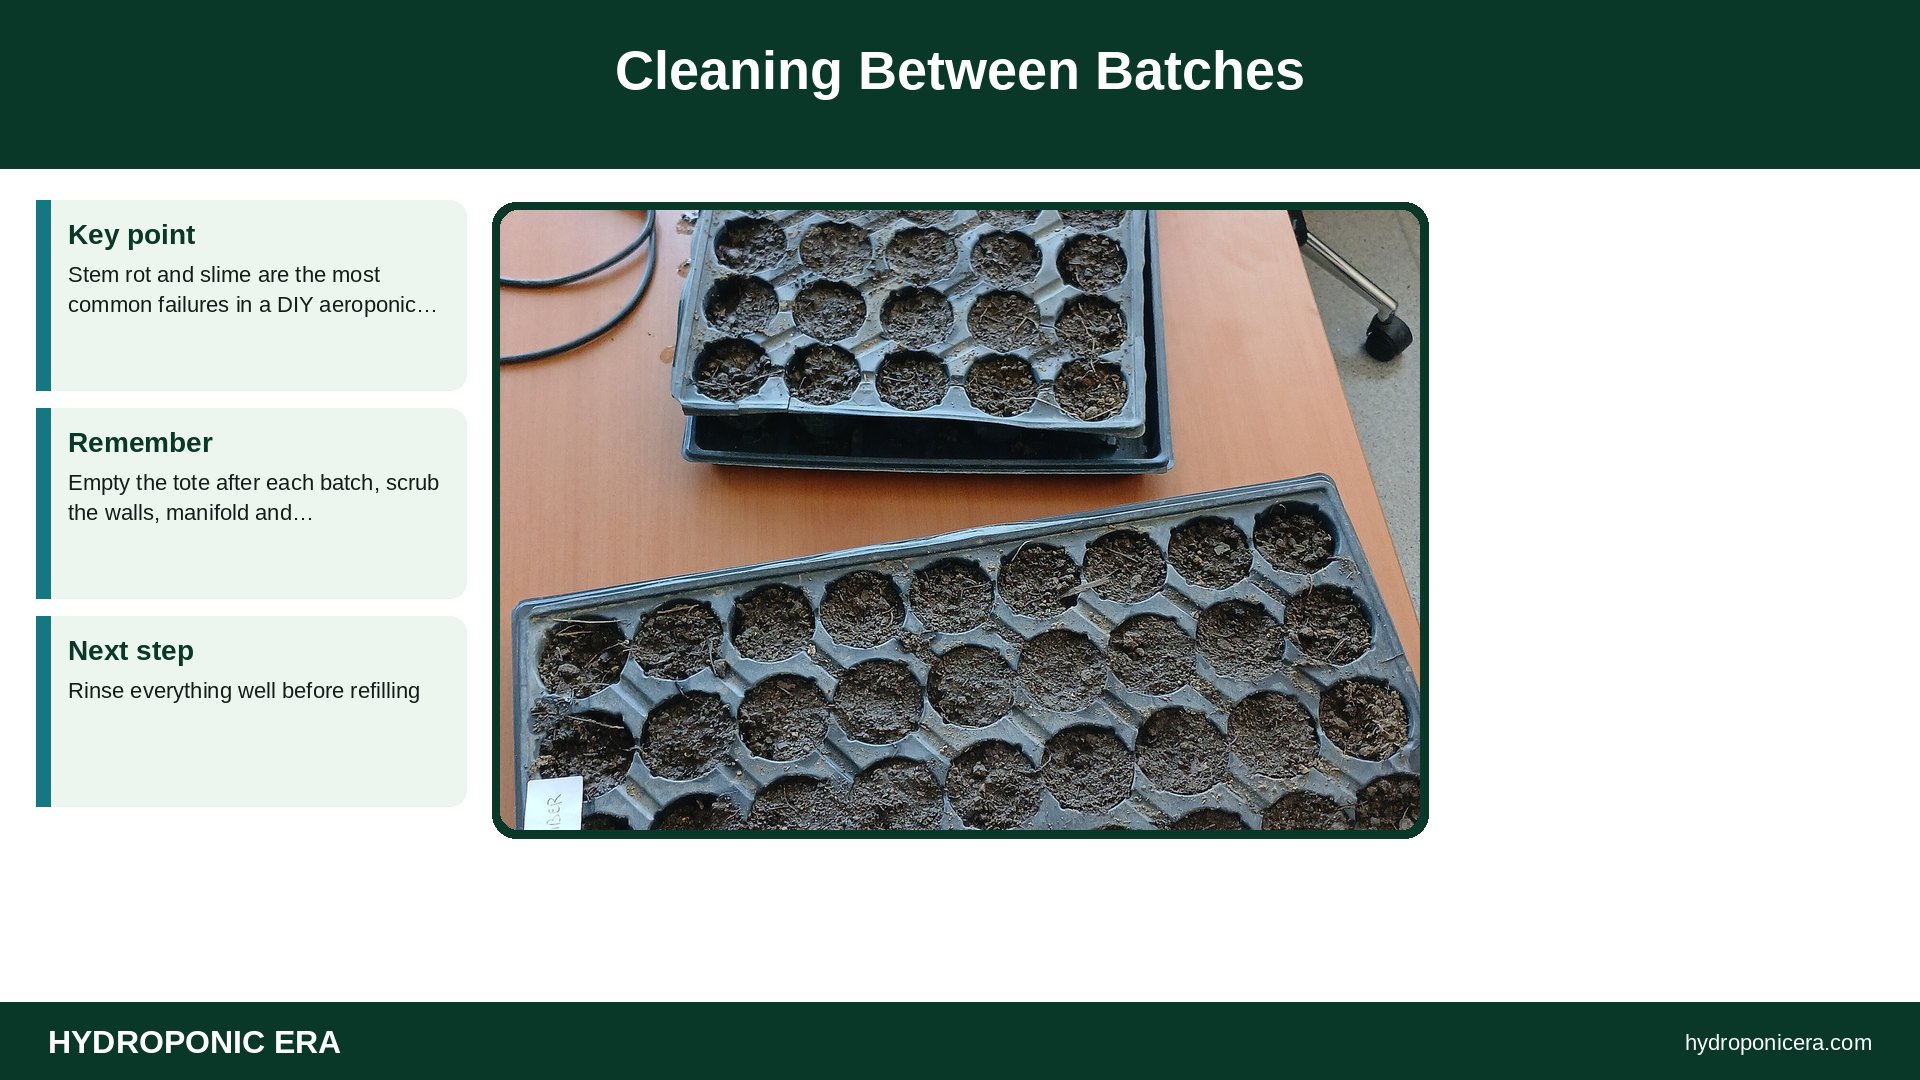
Stem rot and slime are the most common failures in a DIY aeroponic cloner. Empty the tote after each batch, scrub the walls, manifold and sprayers, and soak collars in a dilute disinfectant. Rinse everything well before refilling. Change water every 5–7 days during a batch. See cleaning and sterilizing and hydrogen peroxide uses and risks.
Plants That Root Well in a DIY Aeroponic Cloner
- Basil, mint, oregano, sage: often 5–10 days.
- Tomatoes and peppers: suckers and tips root in about 7–14 days.
- Houseplants like pothos and coleus: very easy.
- Rosemary, lavender and other woody herbs: slower, often 2–4 weeks.
Transplanting Rooted Clones
Move clones once they have several roots 1–2 inches long. Longer roots tangle in the sprayers and break when you pull the collar. Transplant into net pots with clay pebbles or into rockwool, keep humidity high for a few days, and raise nutrient strength slowly. See transplant shock recovery.
Troubleshooting
- Brown, mushy stems: water too warm or dirty; clean and cool the system.
- Cuttings wilting: too much light or low humidity; shade and add a dome.
- No roots after 2 weeks: water too cold, or stems from old, woody growth.
- Clogged sprayers: remove and soak in vinegar.
- Pump noise or heat: place on a foam pad and use a cycle timer.
DIY Aeroponic Cloner Cost vs Store-Bought
Commercial cloners cost more but come with matched pumps, sprayers and lids, and some include timers. A DIY aeroponic cloner costs less, can be any size you like, and uses parts you can replace from a hardware or aquarium store. For a home grower rooting a few dozen herb or tomato cuttings at a time, the homemade version works just as well. If you plan to root hundreds of cuttings a week for sale, a commercial unit or several identical DIY totes keeps things consistent.
Making a Small DIY Aeroponic Cloner
For just a few cuttings, use a 5-gallon bucket with a lid drilled for six to eight collars and a small fountain pump with two or three sprayers. The same rules apply: clean water, 68–75°F, full spray coverage and no light leaks. Small systems change temperature faster, so keep them in a stable room. A DIY aeroponic cloner this size is a good way to test the method before building a larger tote.
FAQs
How long does a DIY aeroponic cloner take to root cuttings?
Soft cuttings usually root in 7–14 days.
Should a cloner run 24/7?
It can, or use a short cycle such as 1 minute on, 4 off.
Do I need nutrients in a cloner?
No; plain water or a very weak solution is enough until roots form.
What water temperature is best?
About 68–75°F.
How many sites fit in a tote lid?
About 24–35 in an 18-gallon lid at 2–3 inch spacing.
Why are my clones rotting?
Warm, dirty water or too few sprayers; clean and improve coverage.
Sources
- NC State Extension — Propagation (Extension Gardener Handbook)
- Penn State Extension — Propagating Houseplants
- Lakhiar et al. (2019), Transactions of the ASABE — Effects of Various Aeroponic Atomizers (Droplet Sizes) on Leafy Lettuce
- Photo credits (Wikimedia Commons, edited with titles): Ficus cuttings with roots in a bottle, White background by Biusch (CC BY-SA 3.0); Aeroponic roots nepal by Makampanda (CC BY-SA 4.0); Ocimum Basilicum leaf lighted by the left by BernaBotto (CC BY-SA 4.0); Spathiphyllum wallisii hydroponically grown by Kephalian (CC BY-SA 4.0); Pepper and tomato seedling trays at Boğaziçi University 2026 by Furkan Akkurt (CC BY-SA 4.0)