
Choosing a hydroponic kit is easier when you ignore the marketing and look at three practical things: the space you have, the light you can provide, and the amount of monitoring you will actually do. A hydroponic kit is a packaged growing system. It holds plants above a nutrient solution or soilless medium so roots get water, minerals, and oxygen without garden soil.
This guide explains how to choose a hydroponic kit for beginners. You will see what a kit usually includes, how countertop, tower, DWC, and NFT kits differ, and how to match a kit to your room and budget. You will also see what to skip at first and which setup mistakes cause early frustration.
If you want broader context first, read our hydroponic garden beginner’s guide and our indoor hydroponic garden guide. The goal here is narrower: pick one calm kit you can run well.
Table of contents
- What a hydroponic kit includes
- Hydroponic kit types: countertop, tower, DWC, and NFT
- How to choose by space, light, and budget
- What beginners should skip
- Common hydroponic kit setup mistakes
- FAQ
- Final thoughts
What a Hydroponic Kit Includes
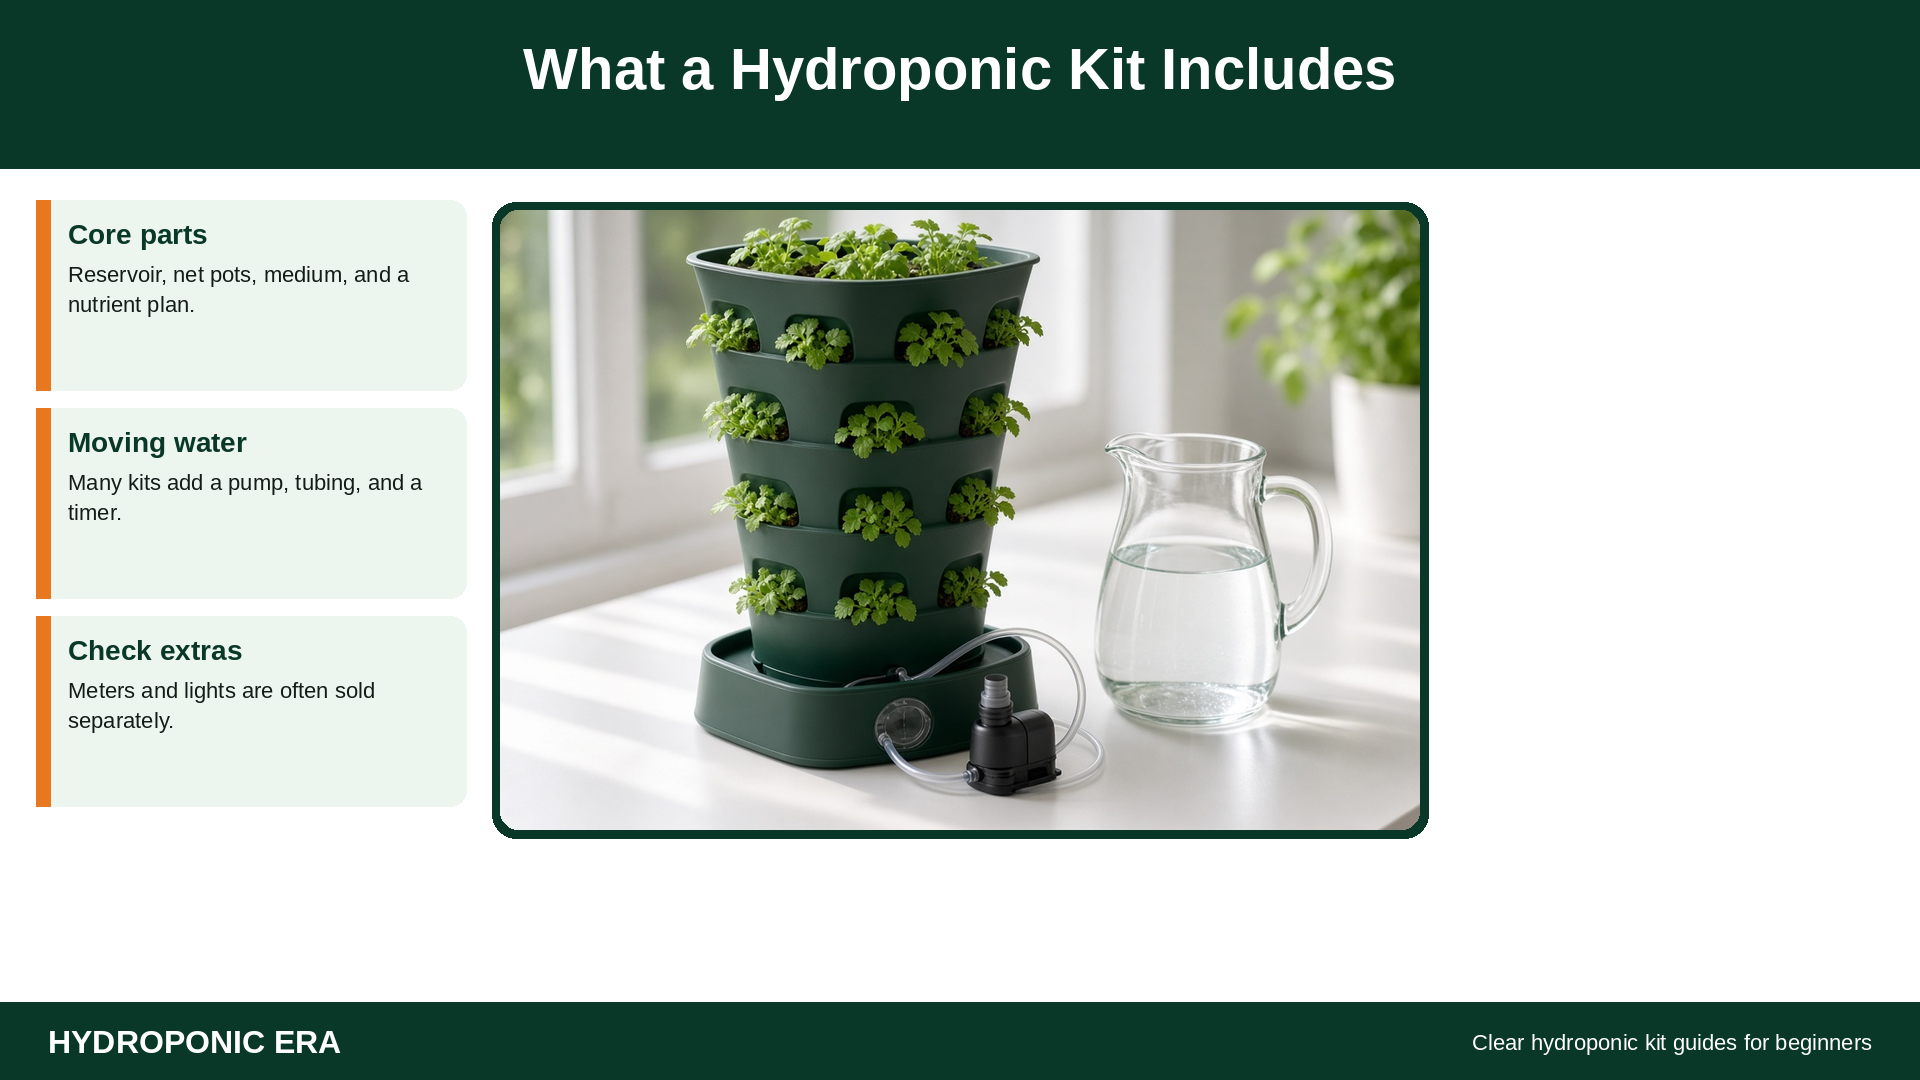
Most beginner kits package the same core idea: a container for nutrient solution, a way to hold plants, and a path for water to reach the roots. The exact parts change with the system, but the checklist is steady.
A typical hydroponic kit includes:
- A reservoir or water tank
- Net pots, grow cups, or planting pods
- A growing medium such as clay pebbles, sponge plugs, or rockwool
- Tubing and fittings for recirculating kits
- A water pump and sometimes an air pump with an air stone
- A timer on many tower and NFT kits
- Starter nutrients or a basic feeding chart
- A short assembly guide
What is often missing matters too. Many kits omit a reliable pH meter, an EC meter, or a grow light strong enough for fruiting crops. Confirm lighting coverage for the plants you want; our guide to the best grow lights for hydroponics explains how without chasing wattage alone.
Penn State Extension describes hydroponics as growing plants in nutrient solution or in soilless media. A kit is only useful if it keeps roots moist, fed, and oxygenated. Before buying, check that the reservoir is opaque, the pump is reachable for cleaning, and you can top up water without dismantling the unit.
Hydroponic Kit Types: Countertop, Tower, DWC, and NFT
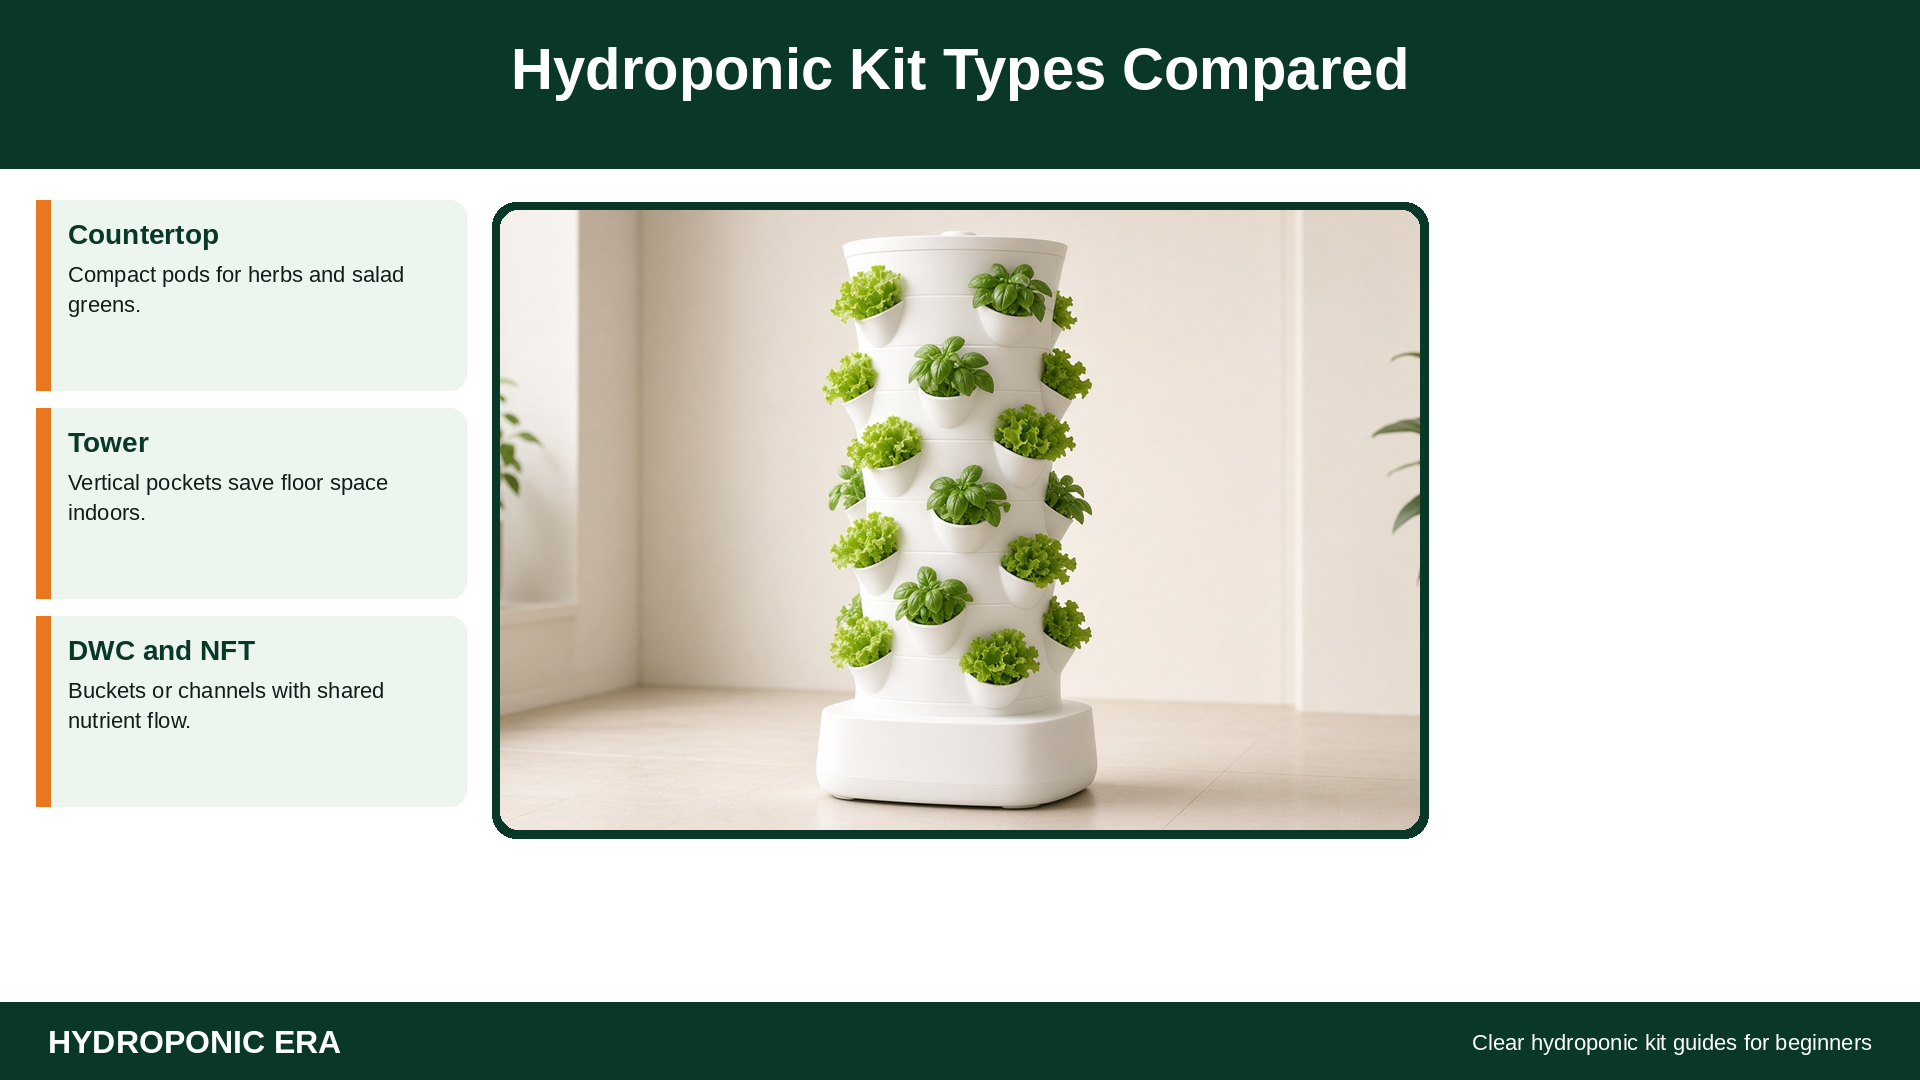
Beginners usually choose among four practical kit styles. None is universally best. Each trades space, plant count, and maintenance differently.
Countertop hydroponic kits
Countertop kits are compact pods or small reservoirs for kitchens and desks. They often include built-in LED lighting and planting pods. They suit herbs, lettuce, and other leafy greens when you want a low-profile indoor growing system.
Strengths: small footprint and quick assembly. Limits: few plant sites and limited light for fruiting crops. A solid first hydroponic kit if you want salad greens or kitchen herbs.
Tower hydroponic kits
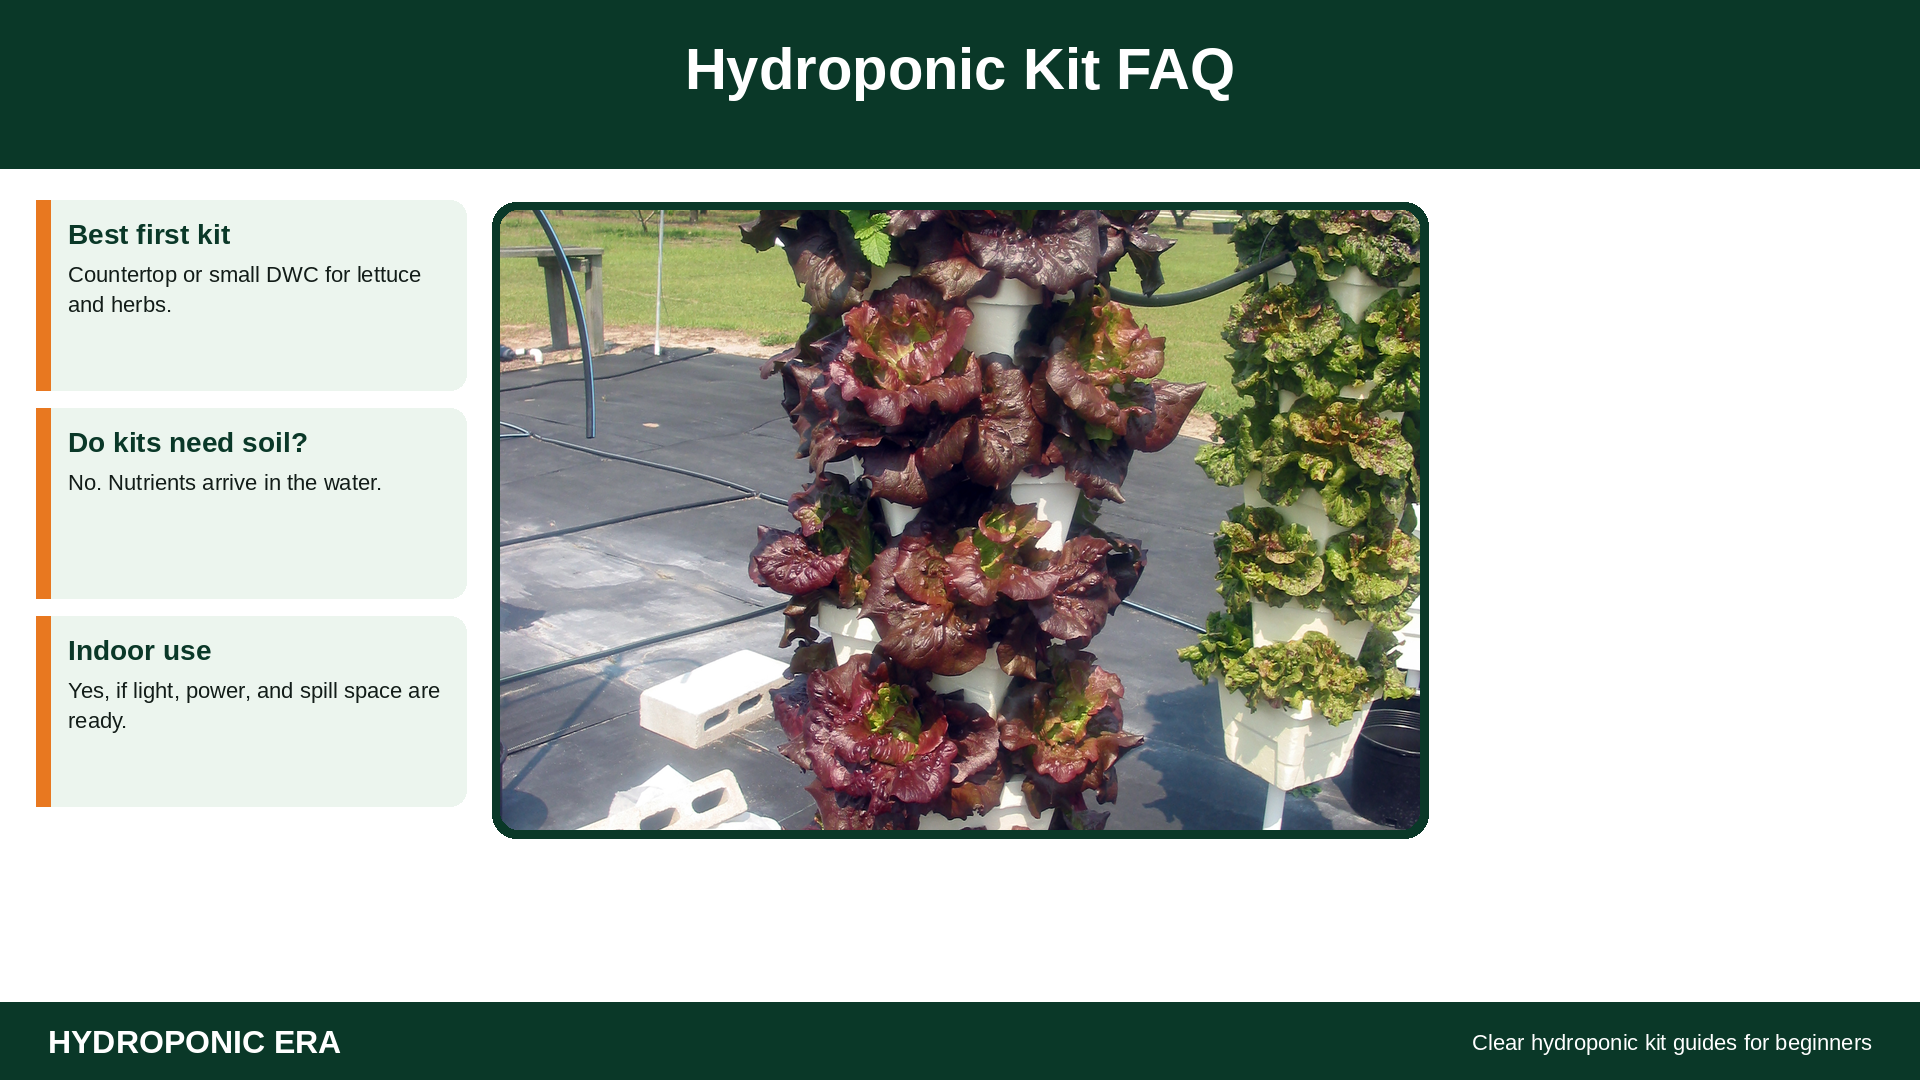
A tower kit stacks planting pockets vertically above a base reservoir. A pump sends nutrient solution to the top, and gravity returns unused solution to the tank. Oklahoma State University describes tower gardens as vertical hydroponic systems that can hold many plants in a small floor area.
Strengths: high plant density and efficient floor use. Limits: uneven light down the column indoors and dependence on a working pump. See our hydroponic tower garden guide before buying a tall kit for a short room.
Deep Water Culture (DWC) kits
DWC kits hold plant roots in oxygenated nutrient solution. An air pump and air stone usually supply oxygen. Extension materials often present DWC as one of the simpler active methods for home growers because the concept is easy to see: roots in water, air bubbles for oxygen, net pots for support.
Strengths: straightforward design and easy root checks. Limits: warm tanks hold less oxygen, and air-pump failure stresses roots quickly.
NFT kits
Nutrient Film Technique kits circulate a shallow stream of nutrient solution through channels. Roots sit in the film and take up water and nutrients while remaining exposed to air. NFT can grow many lettuce plants efficiently, but channel slope, flow rate, and pump reliability matter.
Strengths: efficient nutrient use for leafy crops. Limits: pump outages dry roots quickly and clogged channels reduce flow. NFT is a reasonable second kit after you understand pH, EC, and daily checks.
How to Choose a Hydroponic Kit by Space, Light, and Budget

A good buying process is quieter than a product comparison chart. Measure first, then match the kit type, then check what else you must buy.
Space
Measure width, depth, and height, including plant and light clearance. A tower that fits on the floor may still hit shelves once upper pockets fill. Countertop kits need a stable, spill-safe surface with room to open the reservoir and remove plants.
Light
A bright window helps, but it is rarely enough for a full column of greens or for fruiting crops. Oklahoma State University notes that light intensity, duration, quality, coverage, and placement all matter for indoor LEDs. If your room cannot support strong lighting, choose a smaller greens kit rather than a fruiting kit.
Budget
Price the whole first month: the kit, replacement nutrients, media, a basic pH meter and preferably an EC meter, a suitable grow light if needed, and electricity. University of New Hampshire Extension notes that home units range from tabletop pods to free-standing towers, and ready-made kits are often simpler than custom builds. Buy the smallest hydroponic kit that can grow the crop you want this month, then expand after one successful harvest.
What Beginners Should Skip
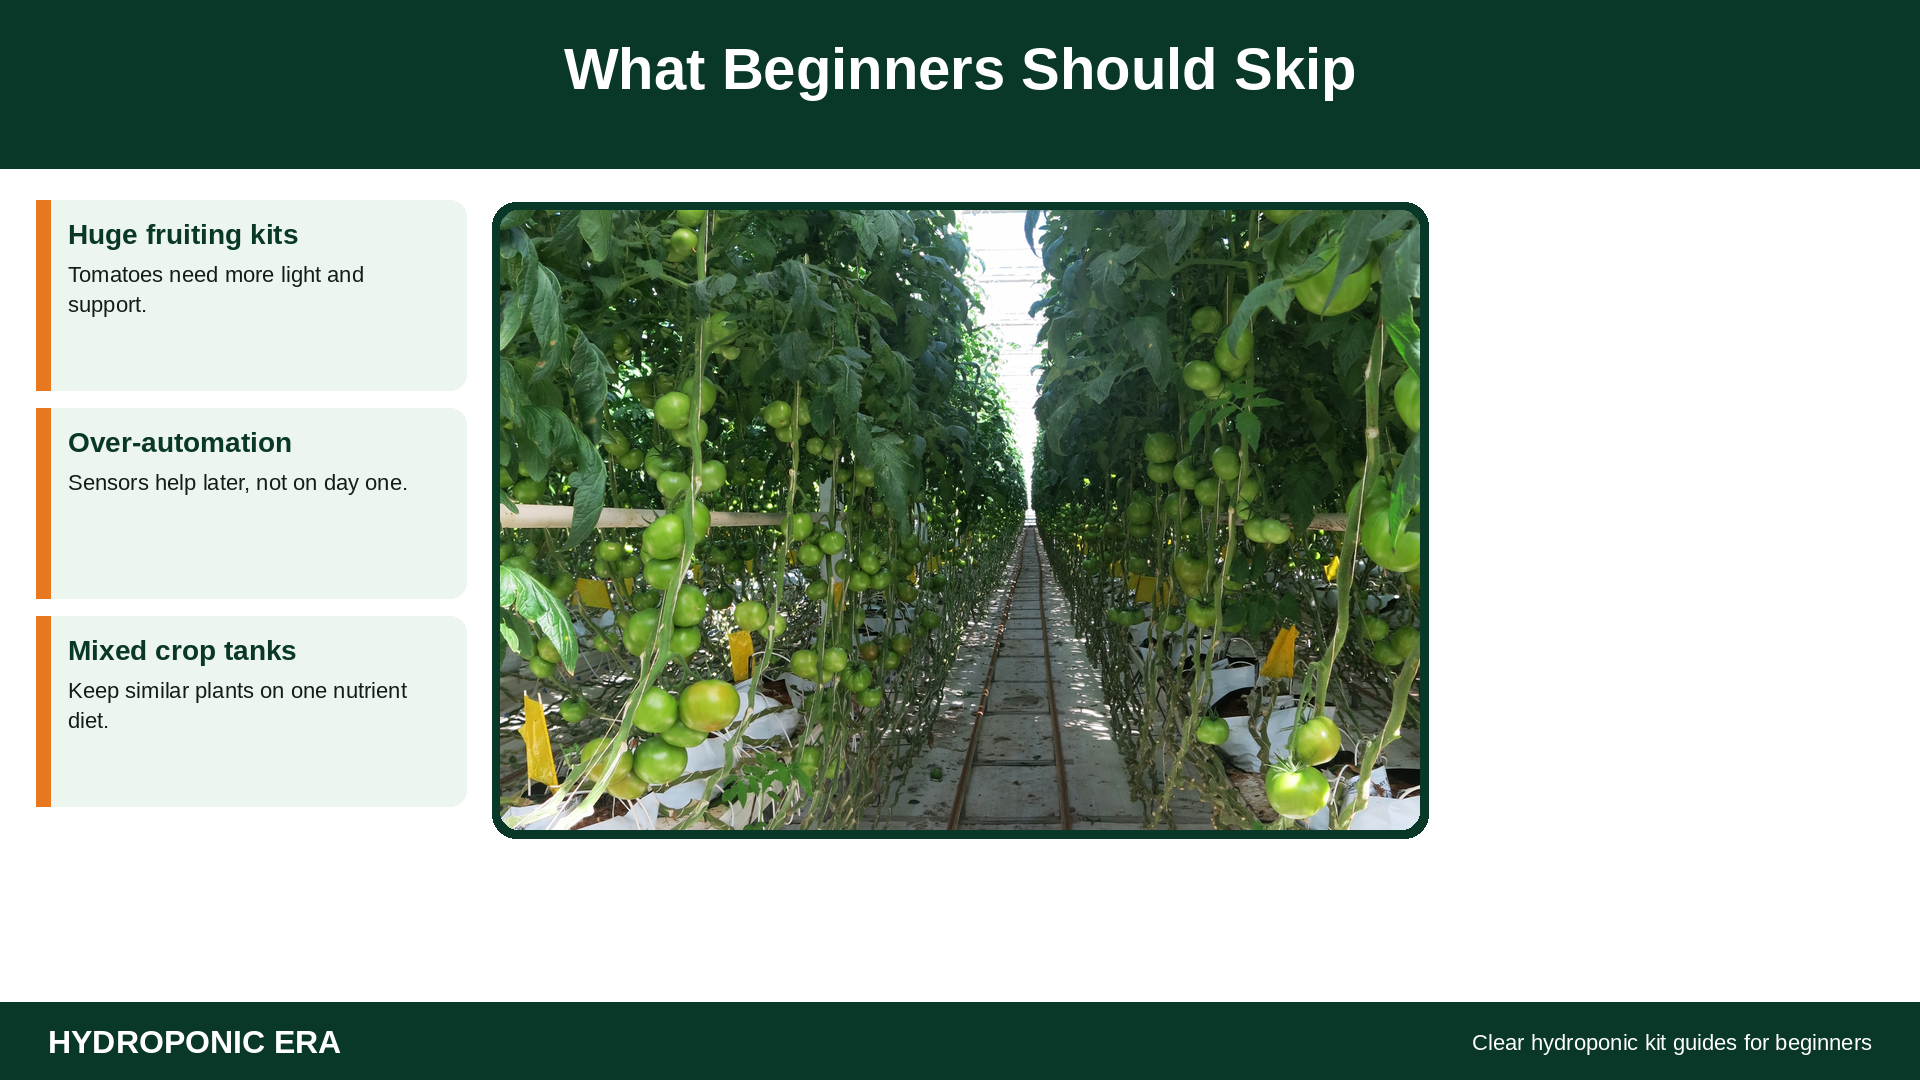
Skipping the wrong kit is as useful as choosing the right one.
Skip oversized fruiting kits first. Large tomato or cucumber kits look impressive, but they demand stronger light, staking, pruning, and a steadier nutrient routine. Start with lettuce, basil, or other compact greens.
Skip dense multi-crop promises. A single shared reservoir works best when plants have similar nutrient and light needs. Mixing heavy feeders with delicate greens in one small kit makes diagnosis harder.
Skip heavy automation on day one. Controllers and dosing pumps help later. First learn water level, leaf colour, root appearance, pH, and EC by hand.
Skip clear reservoirs and leaky stands. Light in the nutrient tank encourages algae. Unstable stands turn small leaks into floor damage. Choose opaque tanks and a water-safe location.
Skip kits with sealed, unreachable pumps. If you cannot clean or replace the pump, a single clog can end the grow. Service access is a feature.
Common Hydroponic Kit Setup Mistakes
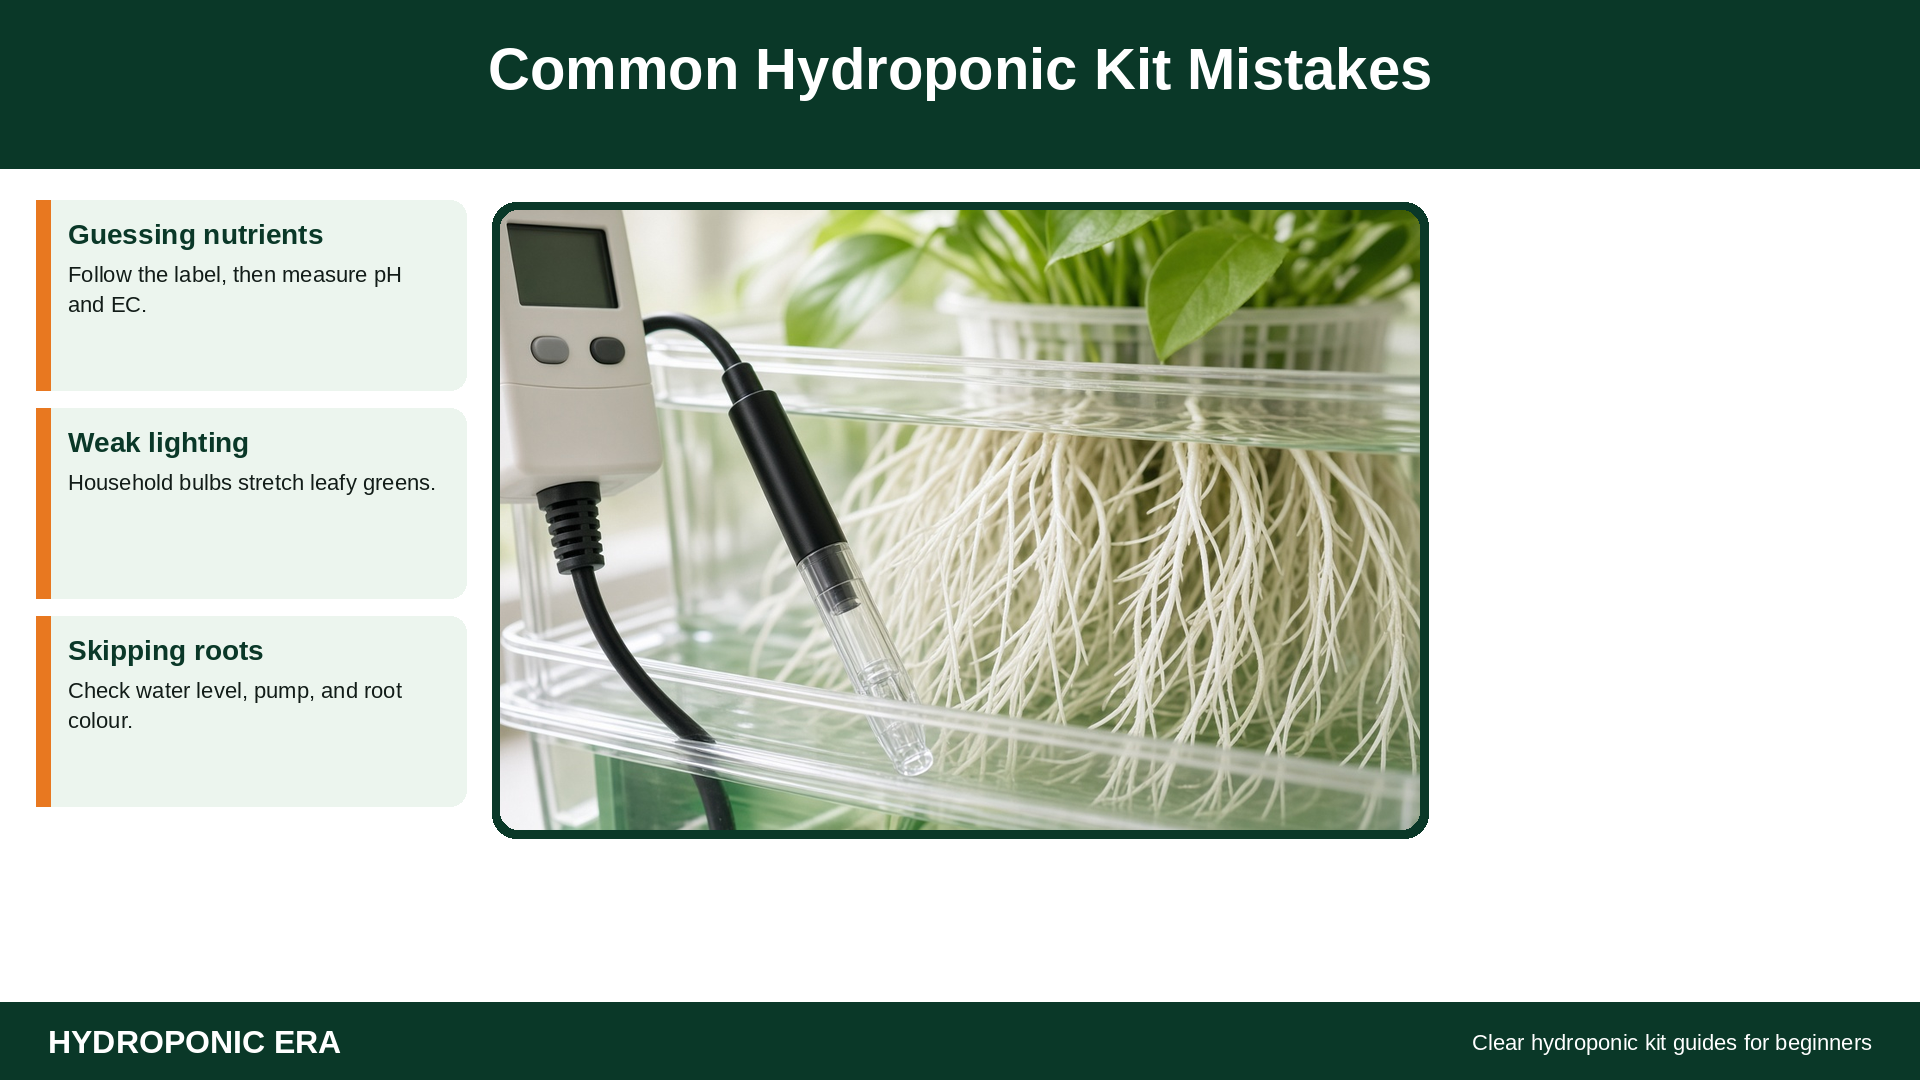
Most early problems come from setup habits, not from the idea of hydroponics.
1. Assembling before measuring the room. Confirm height, power access, and spill protection first.
2. Mixing nutrients by guesswork. Use the manufacturer’s rate for your crop stage. Penn State Extension emphasizes that nutrient concentration and balance are central to hydroponic success. More fertilizer is not faster growth.
3. Ignoring pH after mixing. Nutrient availability depends on pH. Measure after mixing, make small corrections, and recheck. Oklahoma State University’s general hydroponic guidance keeps many nutrient solutions around a mildly acidic range near pH 5–6, while crop-specific targets still matter.
4. Underestimating light. Weak household bulbs cause stretch and pale growth. Set a consistent photoperiod with a timer and adjust fixture height as plants grow.
5. Letting the reservoir run low. Roots can dry, pumps can run dry, and EC can climb as water evaporates. Check the water level daily at first.
6. Changing several variables at once. If leaves yellow, do not simultaneously replace nutrients, move the light, reset the timer, and transplant. Change one major factor, then observe.
7. Skipping sanitation. Dead leaves, algae, and dirty tubing affect shared water. Remove debris and clean between crop cycles.
A calm daily routine beats an expensive kit. Look at leaves, confirm the pump, check water level, and spot-check pH and EC on a schedule you can keep.
FAQ
What is the best hydroponic kit for beginners?
Usually a small countertop kit or a simple DWC kit for leafy greens and herbs. Prefer an accessible reservoir, clear instructions, and lighting that matches your crop. Finish one greens harvest before large fruiting systems.
Do I need a grow light with a hydroponic kit?
Indoors, almost always. Outdoors, direct sun may be enough. Tower kits need care because lower pockets receive less light. Check coverage before relying on a built-in fixture alone.
How much does a beginner hydroponic kit cost?
Costs vary from compact countertop pods to taller towers and NFT systems. Budget beyond the box for nutrients, meters, media, and electricity. UNH Extension’s tabletop-to-tower range is a useful way to think about price tiers.
Can I use a hydroponic kit indoors?
Yes, if you provide water-safe placement, power, airflow, and enough light. Our indoor guide covers room setup and daily checks.
What plants should I grow in my first hydroponic kit?
Start with lettuce, basil, and similar compact leafy crops. They grow quickly and teach pH, EC, and root care. Save tomatoes, peppers, and large vines for later.
Is a DIY system better than a ready-made hydroponic kit?
A ready-made kit is usually easier because parts fit and instructions exist. DIY can cost less but adds design mistakes. Learn with a small commercial kit, then build DIY once the routine is familiar.
Related reading
- Aeroponics for Beginners
- How to Control pH in Hydroponics for Beginners
- How Often to Change Hydroponic Water
- How to Grow Lettuce Hydroponically
- Why Hydroponic Leaves Turn Yellow
Final Thoughts
A hydroponic kit is a tool for managing the root zone. The right beginner choice fits your space, light, and willingness to check water and roots. Countertop kits keep the first experiment small. Towers save floor space. DWC makes water and air easy to see. NFT scales leafy greens once flow feels normal.
Choose by measurement, not product photos. Confirm what is included and which plants the kit can support. Skip oversized fruiting systems and automation you do not yet understand. Run one kit well: top up the reservoir, measure pH and nutrient strength, give enough light, and watch the roots.
For research-based background before you buy, read Oklahoma State University Extension’s hydroponics fact sheet and its EC and pH guide for hydroponics. Both explain the system types and measurements a hydroponic kit relies on.
For more foundation, return to the complete hydroponic garden guide and the indoor hydroponic garden guide. A steady first kit is the shortest path to a second successful harvest.
1 thought on “How to Choose a Hydroponic Kit for Beginners”