
Composting for Beginners: How to Turn Scraps Into Soil
Composting is the managed, oxygen-rich breakdown of kitchen scraps and yard trim into a dark, crumbly soil amendment. At home you balance carbon-rich “browns” and nitrogen-rich “greens,” keep the pile as moist as a wrung-out sponge, and give microbes air by turning. Beginners in the United States, United Kingdom, Australia, and Canada can start with a simple bin or open pile; finished compost feeds garden soil, not a hydroponic reservoir.
This guide explains what composting is, how browns and greens work, when to choose a bin versus a pile, how to start without attracting pests, how to fix smell and sogginess, and how compost relates honestly to soil farming versus hydroponics. Hydroponics does not use compost as the root medium.
Published by Hydroponic Era, beginner hydroponics and home growing guides. Practical advice only—not legal, pest-control, or waste-regulation advice for your city.
Key takeaways
- Composting is aerobic decomposition: microbes need carbon, nitrogen, water, and air.
- Add about two to three parts browns to one part greens by volume, and bury food scraps under browns.
- Keep moisture like a wrung-out sponge; turn the pile if it smells or mats.
- Skip meat, dairy, greasy food, and pet waste in most backyard piles.
- Finished compost looks dark and crumbly and smells like fresh soil—not like garbage.
- Use compost in soil beds and containers; keep it out of hydroponic reservoirs and pumps.
- US/UK/AU/CA rules on rats, bins, and council collection differ—check local guidance.
Table of contents
- What Composting Is
- Browns vs Greens: The Core Recipe
- Bins vs Pile: Which Setup Fits?
- How to Start Composting at Home
- Common Failures: Smell, Rats, and Soggy Piles
- Composting, Soil Farming, and Hydroponics
- US / UK / AU / CA Beginner Notes
- Frequently Asked Questions
- Final Thoughts
What Composting Is
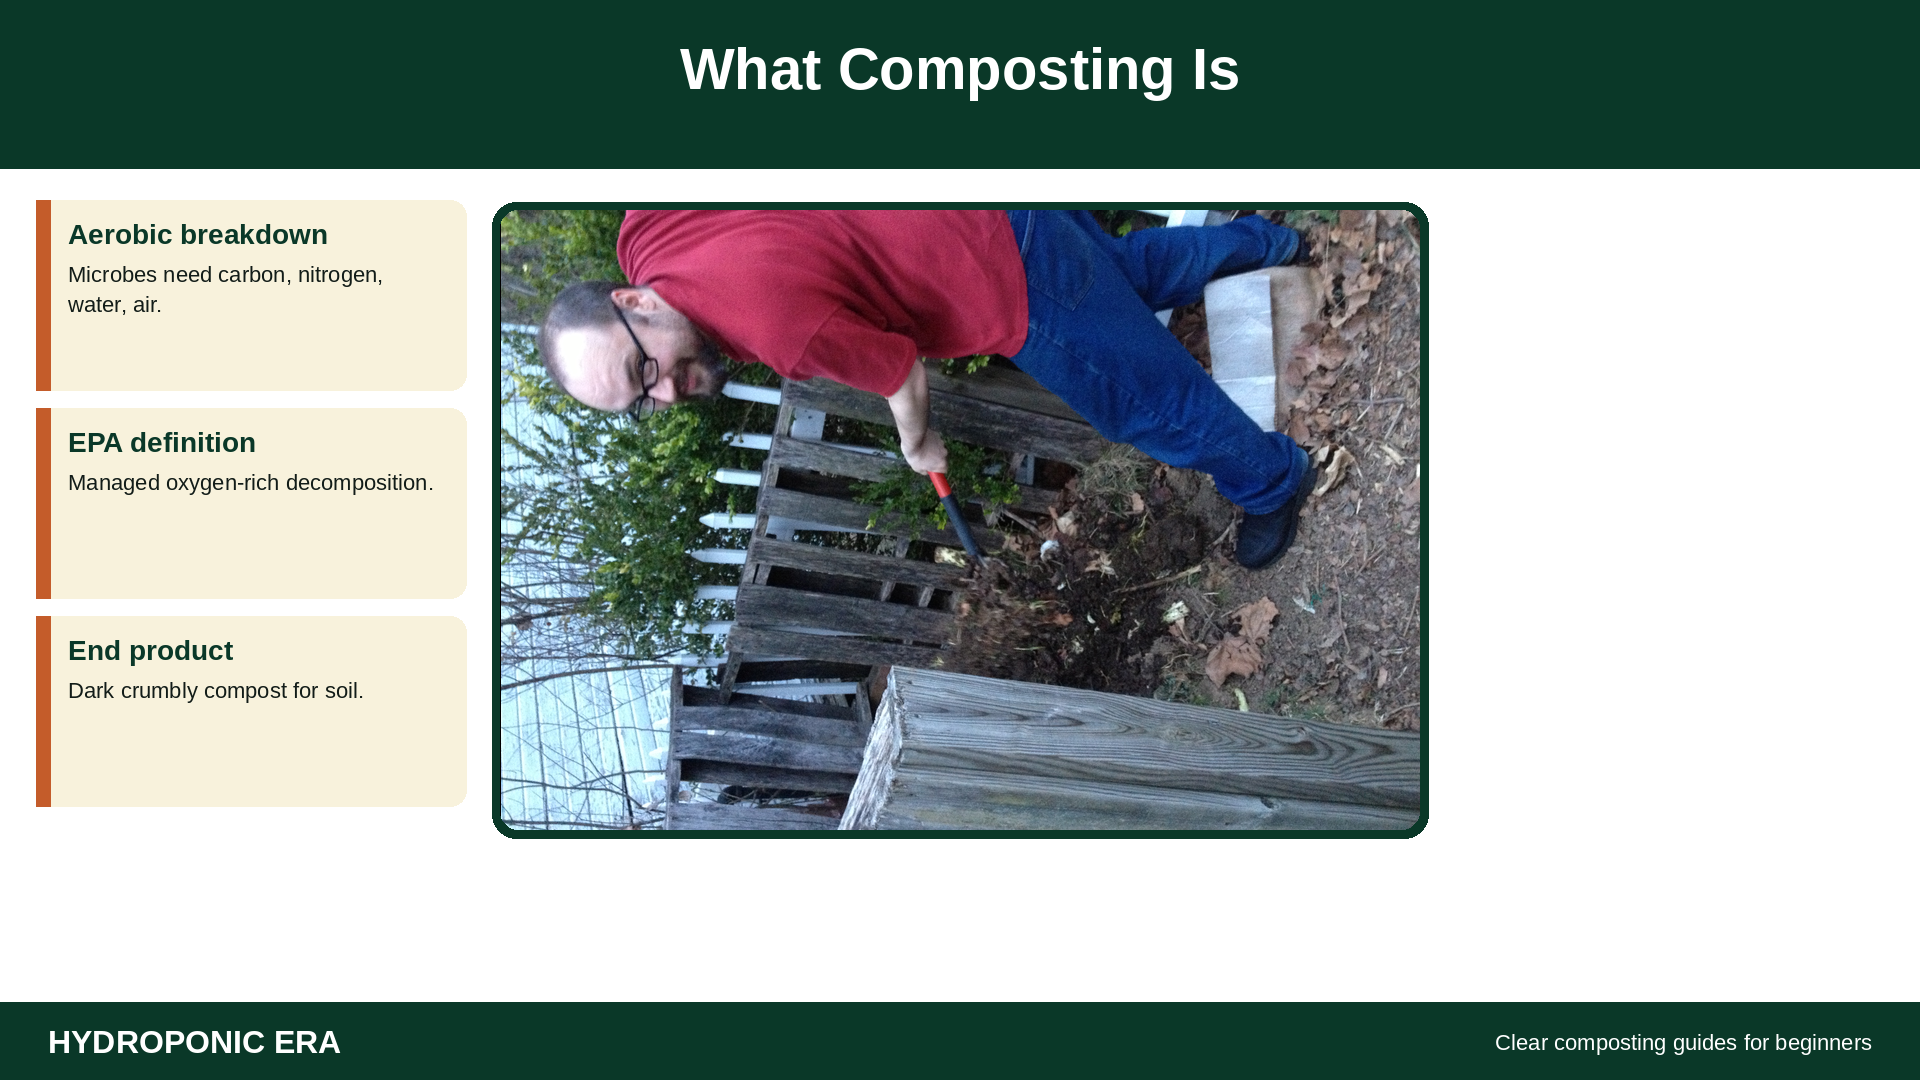
The U.S. Environmental Protection Agency defines composting as the managed, aerobic (oxygen-required) biological decomposition of organic materials by microorganisms. Grass clippings, leaves, yard trim, and food scraps are typical inputs. The end product is compost: a biologically stable soil amendment that builds soil health and can supply nutrients to plants. Microbes use carbon and nitrogen to grow, water to digest materials, and oxygen to breathe.
EPA also frames home composting as a practical way to cut what goes to landfill or incineration while producing a free soil amendment. You do not need a warehouse. You need a place that drains, a steady supply of browns, a closed kitchen caddy for scraps, and a habit of covering greens so the pile stays aerobic and calm.
University Extension pages use the same vocabulary. University of New Hampshire Extension’s home composting fact sheet stresses balance, moisture, and a pile large enough to hold heat—often about three feet on a side. Clemson’s Home & Garden Information Center notes that a carbon-to-nitrogen ratio near 30:1 by weight helps microbes work without releasing ammonia odors. Home growers rarely weigh every scrap; the volume rule of thumb (more browns than greens) gets you close.
Finished compost is not the same as fresh manure, mulch bark, or a bag of soluble fertilizer. It should look dark and loose, smell earthy, and show few recognizable food scraps. EPA suggests allowing a pile to cure for at least four weeks after it stops heating, and notes that a well-maintained backyard pile may finish in about three to five months; an untended pile can take a year.
Browns vs Greens: The Core Recipe
Every beginner lesson on home compost returns to four ingredients: carbon-rich browns, nitrogen-rich greens, water, and air. EPA’s home composting page lists greens such as fruit and vegetable scraps, grass clippings, coffee grounds and filters, paper tea bags without staples, and crushed eggshells. Browns include dry leaves, plant stalks and twigs, shredded non-glossy paper and brown bags, shredded cardboard without wax or tape, and untreated wood chips.
EPA’s practical mixing guidance is clear: add at least two to three times the volume of browns to the volume of greens, and always cover food scraps with four to eight inches of dry leaves or other browns. Start the pile with a four- to six-inch base of bulky browns so liquid can drain and air can move at the bottom. Layer like lasagna. Chop tough scraps so they break down faster.
Clemson Extension explains why the balance matters. When the carbon-to-nitrogen ratio is too low (too many greens), excess nitrogen can leave as ammonia smell. When the ratio is too high (too many dry browns), decomposition slows. Aim for a pile that feels like a wrung-out sponge—moist, not dripping. University of Georgia’s composting basics for growers target roughly 25:1 to 30:1 carbon to nitrogen and about 40% to 60% moisture, with active-phase temperatures that can reach the range used to reduce pathogens when the pile is managed as hot compost.
| Material type | Examples | Role in composting |
|---|---|---|
| Greens (nitrogen) | Fruit/veg scraps, grass, coffee grounds | Fuel heat and microbial growth |
| Browns (carbon) | Dry leaves, cardboard, twigs, paper | Energy source, structure, odor control |
| Water | Rain or a light hose mist | Lets microbes digest the mix |
| Air | Turning, bulky browns, open sides | Keeps the pile aerobic |
| Usually avoid at home | Meat, dairy, grease, pet waste, diseased plants | Attract pests; backyard heat may be uneven |
EPA lists materials to avoid in most backyard piles: meat, fish, bones, cheese and dairy, fats and grease, herbicide-treated plants, aggressive weeds with seeds, diseased plants, treated wood, pet waste, glossy paper, and produce stickers. Commercial facilities may accept some of those items; your bin usually should not. That single habit prevents most “my composting attracts animals” stories.
Bins vs Pile: Which Setup Fits?
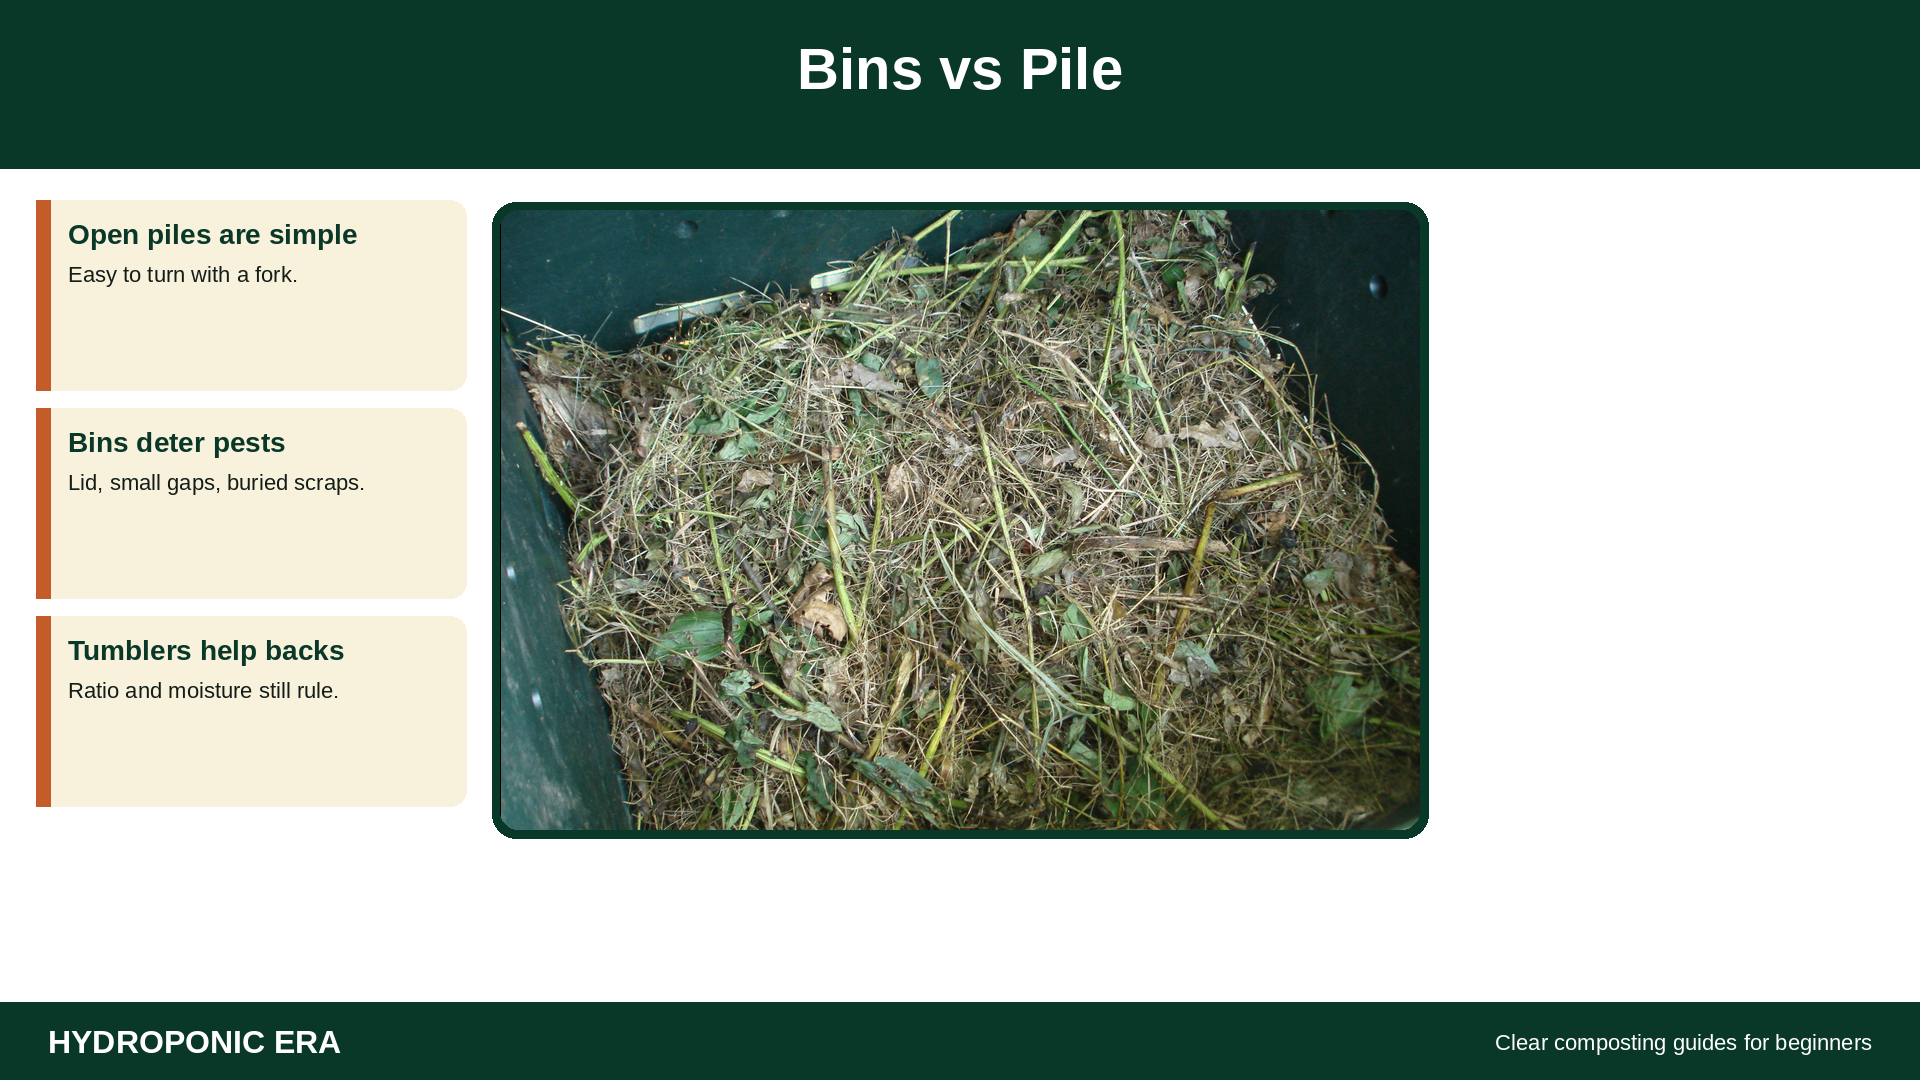
You can practice this method in an open pile, a wire or wood enclosure, a closed plastic bin, or a tumbler. EPA says choose a spot that is easy to reach year-round, drains well, sits away from a fence line if possible, and has water nearby. Sun or shade both work; moisture and air matter more than perfect light.
Open piles are cheap and easy to turn with a fork. They need more browns on top and more attention to neighbors and wildlife. Enclosed bins with lids and no gaps larger than about a quarter inch help deter rodents when you also bury food scraps and skip meat and dairy. Tumblers make turning easier on the back; they still need the same brown-to-green ratio and moisture. Vermicomposting (worm bins) is a separate indoor or shaded method EPA describes for apartments and small spaces—red wigglers in bedding, not random worms from a bait shop.
| Setup | Best for | Watch-outs |
|---|---|---|
| Open pile | Large yards, lots of leaves | Pests if scraps are exposed; looks messy |
| Enclosed bin | Suburban yards, odor control | Needs lid, small gaps, buried greens |
| Tumbler | People who dislike forking | Can dry out or pack if ratio is wrong |
| Worm bin | Indoors / balconies | Different species and feeding rules |
Clemson suggests a pile roughly three feet on a side as a minimum for holding heat, and warns that piles much larger than about five feet become hard to aerate. UNH’s gardener sheet makes the same size point in backyard language. If your only option is a small decorative bin, accept slower “cold” composting and keep the mix airy with shredded browns.
How to Start Composting at Home
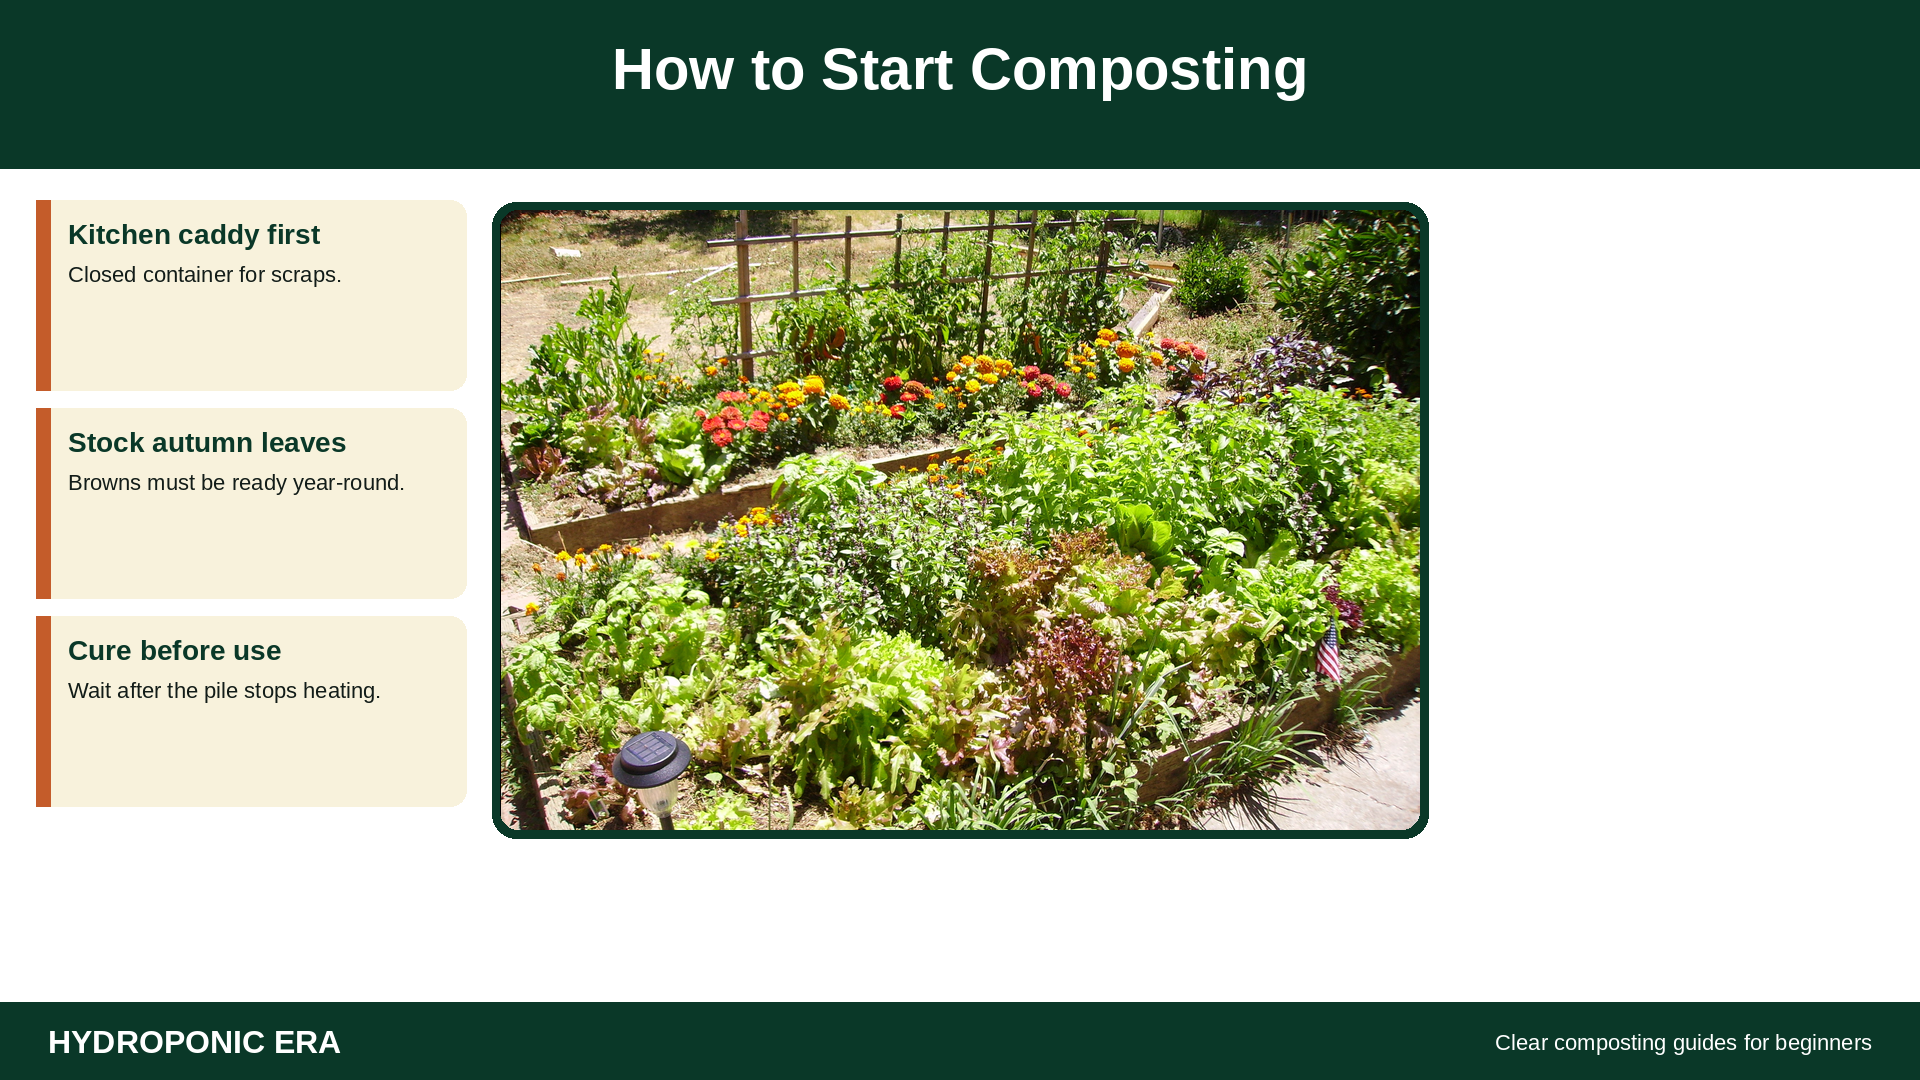
A calm first month of home compost work looks like this:
- Pick the spot. Level ground, hose reach, not against a shared fence if you can avoid it.
- Set a kitchen caddy. EPA suggests a closed container on the counter, under the sink, or in the fridge or freezer for fruit and vegetable scraps.
- Stock browns. Bag dry leaves in autumn. Keep shredded cardboard handy so every green addition gets covered.
- Build the base. Four to six inches of twigs or wood chips, then layered greens and browns.
- Cover every scrap. Four to eight inches of browns over food waste.
- Check moisture weekly. Squeeze a handful; a few drops is fine, a stream means add browns and turn.
- Turn when needed. EPA notes turning speeds decomposition and fixes odor; use a fork to move outer material inward.
- Harvest and cure. When the pile no longer heats after mixing and scraps are gone, cure at least four weeks, then sift.
EPA reports that a maintained pile can reach about 130°F to 160°F in the center. That heat helps reduce pathogens and weed seeds when the pile is built and turned well. A cold pile still makes compost; it just takes longer. Do not force a thermometer obsession on day one—force the brown cover and the sponge-wet feel.
Use finished compost as a soil amendment or mulch. EPA’s home guidance suggests mixing about two to four inches of compost into the top six to nine inches of soil as an amendment, or applying about a three-inch mulch layer a few inches away from stems. That is soil work. It is not a recipe for a nutrient film channel or a deep-water culture tote.
Common Failures: Smell, Rats, and Soggy Piles
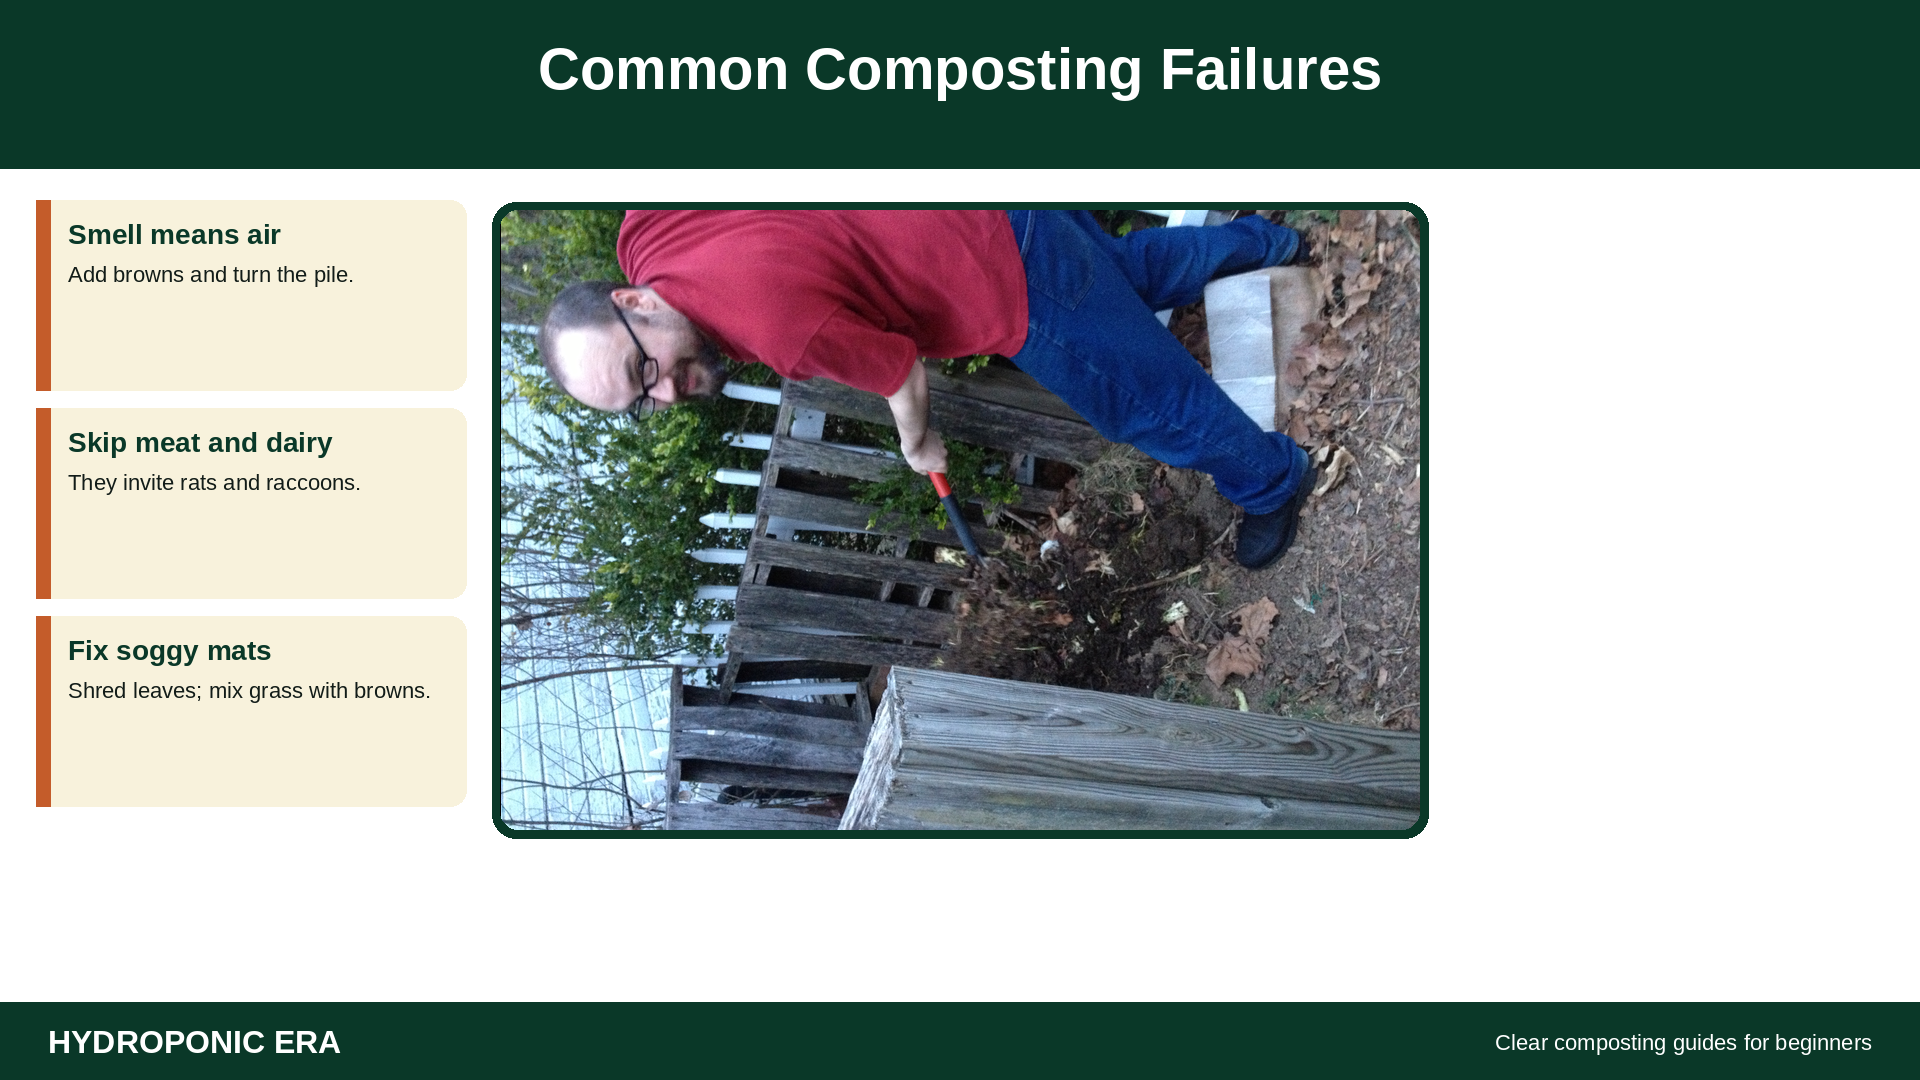
Most backyard pile failures are ratio and air problems, not mysterious curses.
Bad odor. EPA says a foul pile is often too wet or too low on air. Add dry browns and turn. Ammonia usually means excess greens—again, add browns. A healthy pile smells earthy, not like a bin of garbage.
Soggy, matted layers. Whole leaves and wet grass can form a thatch that blocks oxygen. Shred leaves when you can, mix grass with browns immediately, and turn. Clemson’s moisture advice is the sponge test: damp, not waterlogged.
Pile will not heat. EPA’s fix is to mix in greens and turn. Also check size; a tiny decorative heap may never hold heat. Cold composting still works if you wait.
Rats, raccoons, and flies. EPA’s rodent section is blunt: reinforce bins with a lid and possibly a floor; keep gaps at or under about a quarter inch; keep the brown-to-green ratio; bury food scraps; never add meat, dairy, or greasy foods. Those steps matter more than buying a “pest-proof” label on a cheap plastic drum.
Neighbors and rules. Some councils ban open piles or require rodent-proof bins. That is local law, not a gardening preference. Check before you build a three-bin palace against a shared fence.
Composting, Soil Farming, and Hydroponics
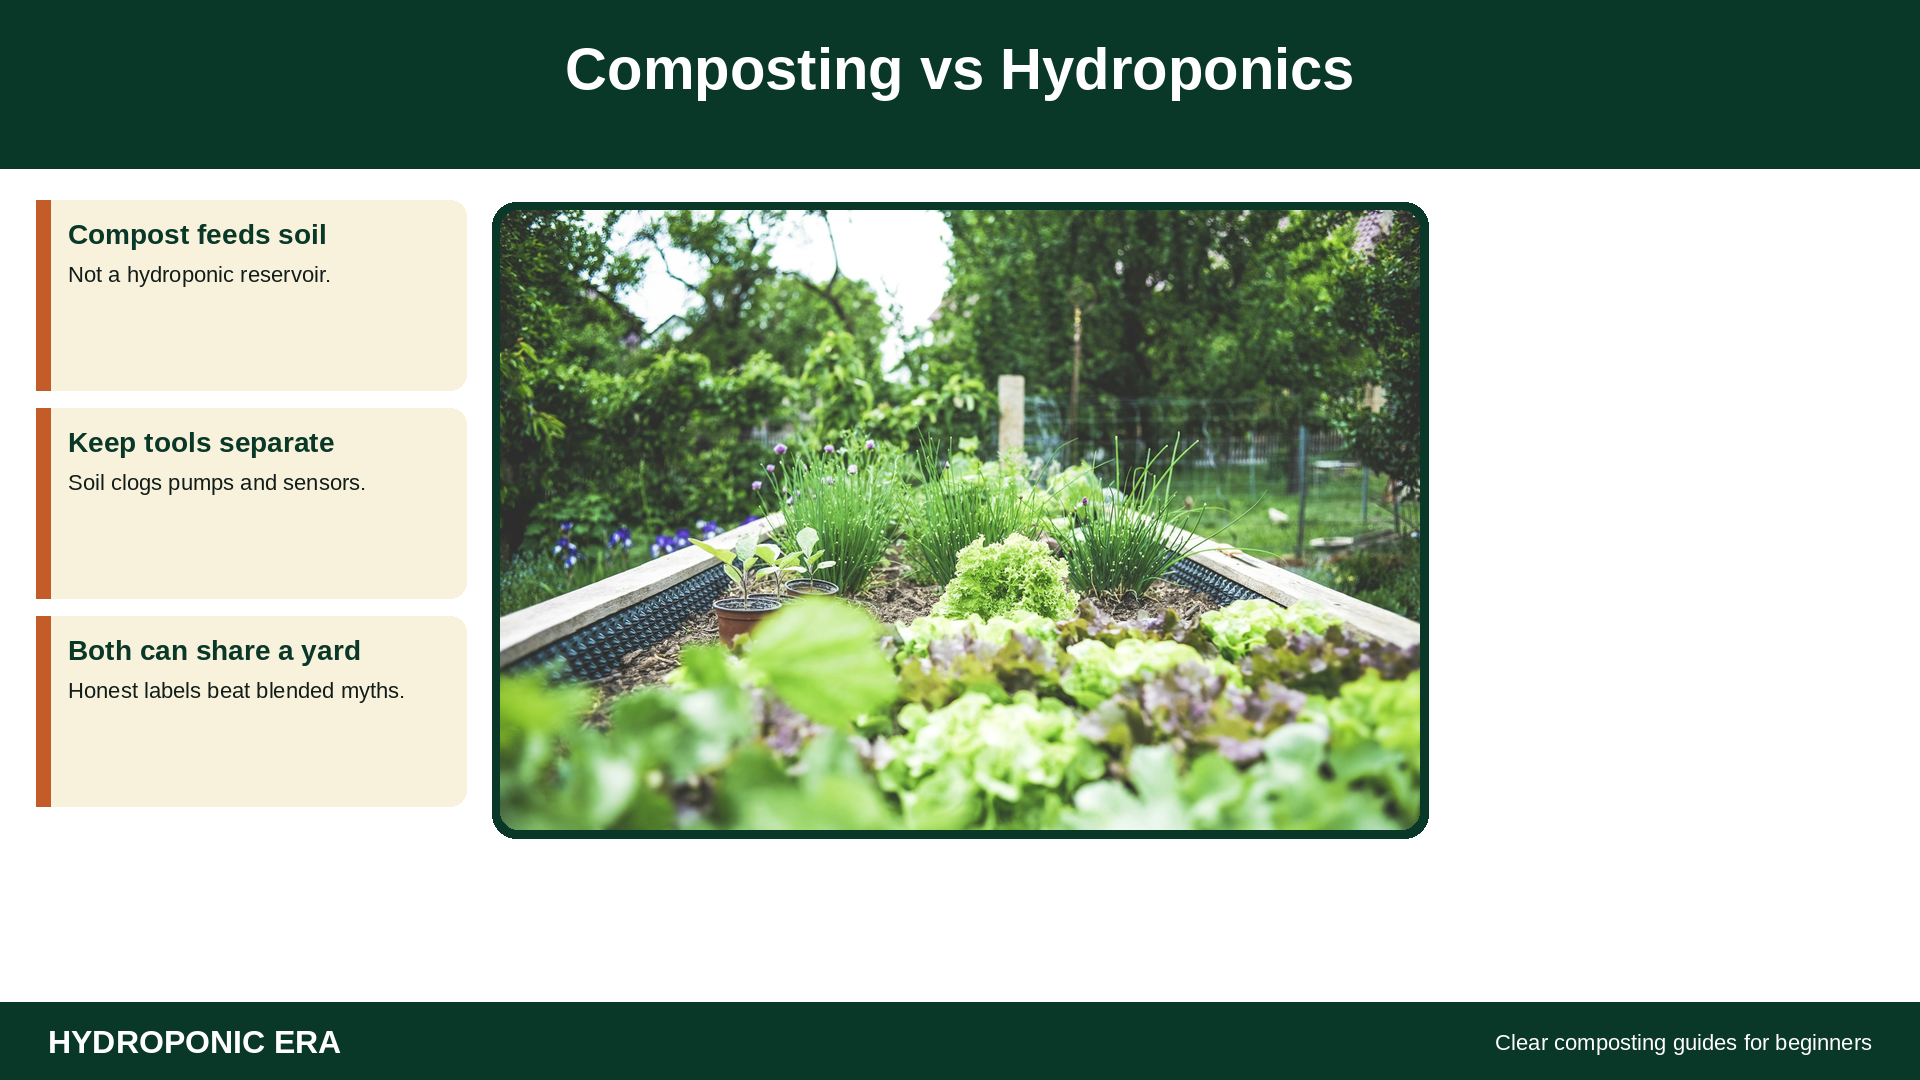
Be honest about the boundary. Composting creates a soil amendment. Soil farming and raised beds use that amendment so living soil can feed roots. Hydroponics grows plants in a measured nutrient solution or inert media. Compost does not replace hydroponic fertilizer in a clean reservoir. Soil particles clog pumps, foul sensors, and invite biofilm you did not plan.
| Topic | Composting / soil beds | Home hydroponics |
|---|---|---|
| Where roots live | Soil improved with finished compost | Solution or inert media |
| Fertility path | Organic matter + soil biology | Complete soilless formula + pH/EC |
| Role of compost | Central amendment | Keep out of the reservoir |
| First beginner crop | Seasonal greens in a sunny bed | Lettuce, herbs, microgreens under lights |
| Main weekly habit | Cover scraps, check moisture, turn | Test pH/EC, top up or change solution |
If you keep both systems on one property, keep tools separate. Wash soil forks away from hydro benches. For soilless technique after this page, use the live hydroponic garden beginner guide and the indoor hydroponic garden guide. Towers and mist systems are covered in the hydroponic tower garden and aeroponics for beginners guides. Reservoir habits live in how to control pH in hydroponics and how often to change hydroponic water. Crop pages for lettuce, mint, peppers, and microgreens stay soilless on purpose. If leaves yellow or roots brown in a tank, see yellow leaves and brown roots—those are reservoir problems, not composting problems.
Lighting for indoor soilless crops is a separate purchase decision; see the best grow lights for hydroponics guide when you need lamps, not leaf piles.
Keep a simple notebook beside the bin. Write the date you added a heavy load of grass, the date you turned, and whether the center felt warm. Those three lines teach more than a shopping list of activators. If you share tools with a soil garden, rinse them before they touch a hydroponic reservoir. If children help collect scraps, teach the same “no meat, no dairy” rule so the pile stays boring to wildlife. Boring is the goal of good home practice.
When you spread finished material, start with a thin layer on a small bed of lettuce or herbs in soil. Watch drainage after rain. Compost should improve crumb and moisture holding, not create a mud bath. If a batch still shows intact food after curing, return those pieces to the active pile and give the rest more time. Patience is cheaper than a second bin full of half-finished scraps.
US / UK / AU / CA Beginner Notes
United States. EPA’s composting-at-home page is the clearest federal starter. County Extension offices add climate detail and soil tests for the beds that will receive your compost. Some cities offer curbside organics; backyard piles still need rodent-aware design.
United Kingdom. Many councils publish bin rules and may collect food waste separately. Allotment sites often require tidy, enclosed composting. RHS and local council pages beat a generic internet tip sheet for rat-proofing in dense housing.
Australia. Heat, dry winds, and council rules vary hard by state. Keep piles moist enough in summer; use enclosed bays where rodents or brush fires are a concern. NSW DPI and local councils publish climate-specific notes—use them.
Canada. Cold winters slow piles outdoors. Insulate, use larger volumes, or shift kitchen scraps to a municipal program until spring. Indoor worm bins bridge the gap for apartments.
Units stay mixed on purpose: feet and metres, °F and °C. Label your own notebook and stay consistent. Spelling on this site uses a shared US/UK/AU/CA reading style (composting, fertiliser/fertilizer appears in sources as written).
Frequently Asked Questions
What is composting in simple terms?
Composting is managing scraps and yard waste so microbes turn them into crumbly soil amendment with air, moisture, and a brown-to-green balance.
How do I start composting if I only have a balcony?
Use a small enclosed bin or a worm bin, keep a bag of shredded cardboard as browns, and follow EPA’s vermicomposting outline for indoor spaces.
Why does my composting pile smell?
It is usually too wet, too green, or too tight for air. Add browns, turn, and bury fresh scraps.
Can composting attract rats?
Yes, if you add meat or dairy, leave scraps uncovered, or use a bin with large gaps. EPA’s rodent checklist is the fix.
Does hydroponics use compost?
No. Home hydroponic roots live in solution or inert media. Put finished compost in soil beds, not in the reservoir.
How long does composting take?
EPA notes about three to five months for a maintained pile, longer if you ignore it. Cure after heating stops.
Where should I read official guidance?
Start with EPA’s Composting At Home page, then your local Extension or council sheet for climate and bylaws.
Final Thoughts
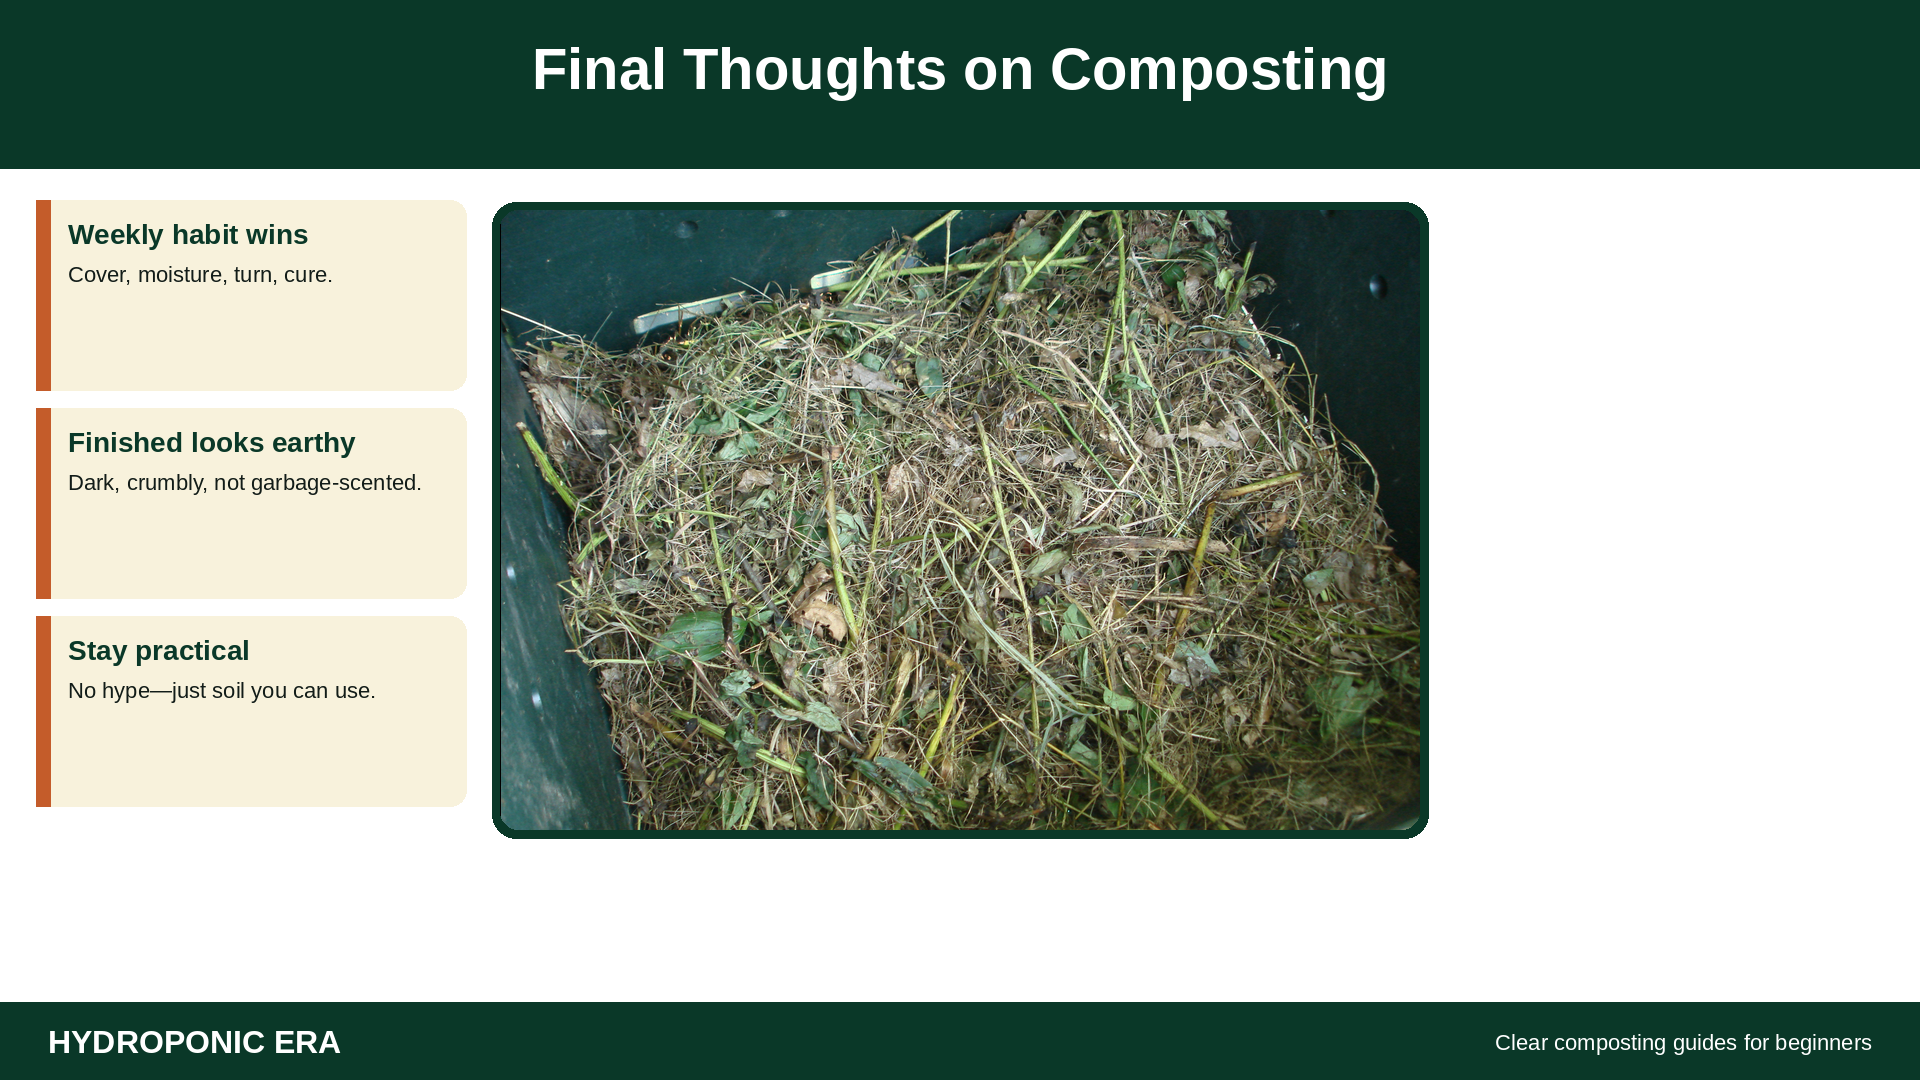
Composting for beginners is a weekly habit, not a gadget. Cover greens with browns, keep the sponge-wet feel, turn when the pile complains, and use finished compost where soil lives. Keep hydroponic loops clean and separate.
Published by Hydroponic Era. External reading: the EPA Composting At Home guide, UNH Extension’s composting fact sheet, Clemson HGIC composting, and UGA composting basics (C 1365-01).