
Microgreens light requirements are modest: most crops need a daily light integral (DLI) of about 9–16 mol/m²/day after germination, which you can reach with a grow light run 16–18 hours a day at roughly 150–250 µmol/m²/s (the math: 16–18 hours at those levels gives a DLI of about 9–16). Germinate seeds in the dark for 2–4 days (the “blackout period”), then move trays under light once most seeds have sprouted. A bright south-facing window can work, but a simple LED shop light 6–12 inches (15–30 cm) above the trays gives straighter, greener, more uniform greens.
Key takeaway: Dark to germinate, then 16–18 hours of moderate light. Too little light makes pale, leggy, leaning greens; extreme light is wasted electricity on a crop harvested in two weeks.
| Stage | Light | Typical length | Why |
|---|---|---|---|
| Germination (covered) | Dark, weighted lid for heavy seeds | 1–4 days | Even moisture, roots push down |
| Blackout (lid flipped) | Dark | 1–3 days | Stems stretch slightly for easier cutting |
| Greening | 16–18 h/day, DLI ~9–16 | Until harvest | Color, flavor, sturdy stems |

How Much Light Do Microgreens Need? Microgreens Light Requirements Explained
Penn State Extension calls microgreens a low-light crop, with a DLI below 20 mol/m²/day. Virginia Cooperative Extension says the general recommendation is a DLI between 9 and 16 mol/m²/day. At Virginia Tech’s CEA Innovation Center, microgreens are grown with an 18-hour photoperiod at about 250 µmol/m²/s, which gives a DLI of 16.2. Research summarized in the same guide suggests arugula does well at a DLI of about 9, while mizuna and mustard may benefit from 12 or more.
DLI is simply intensity (PPFD) times hours. To find it, multiply PPFD by hours of light and by 0.0036. For example, 200 µmol/m²/s for 16 hours gives a DLI of about 11.5. See PPFD and DLI explained.
Microgreens Light Requirements by Stage

1. Germination in the dark
Utah State University Extension covers each tray with another tray and adds a flat weight of 2–5 pounds (0.9–2.3 kg) for the first half of the dark period, so roots push down into the media instead of lifting the seed. Penn State’s home guide also recommends keeping seeds in a dark place for a few days to help germination and keep moisture steady.
2. The blackout period
For the second half of the dark period, USU flips the top tray over so it forms a cover without touching the seedlings. The University of Maryland Extension notes that excluding light for a few days after germination causes stems to lengthen, which makes harvesting easier. Covered times in USU’s chart range from 1–2 days for arugula, kale and radish to 3 days for peas and sunflowers and 7–14 days for cilantro.
3. Greening under light
Once most seeds have germinated and lifted their lids, uncover them and give full light. Penn State’s photos show brassicas kept dark for 3 days, then turning green within a day of light exposure.
Photoperiod: How Many Hours?
USU runs grow lights on a timer for 18 hours, then 6 hours dark. Maryland Extension suggests about 16 hours of total light each day. Running lights longer at lower intensity can reach the same DLI with a cheaper fixture. A plug-in timer is the easiest upgrade you can make. See light schedule and photoperiod.
Best Lights for Microgreens
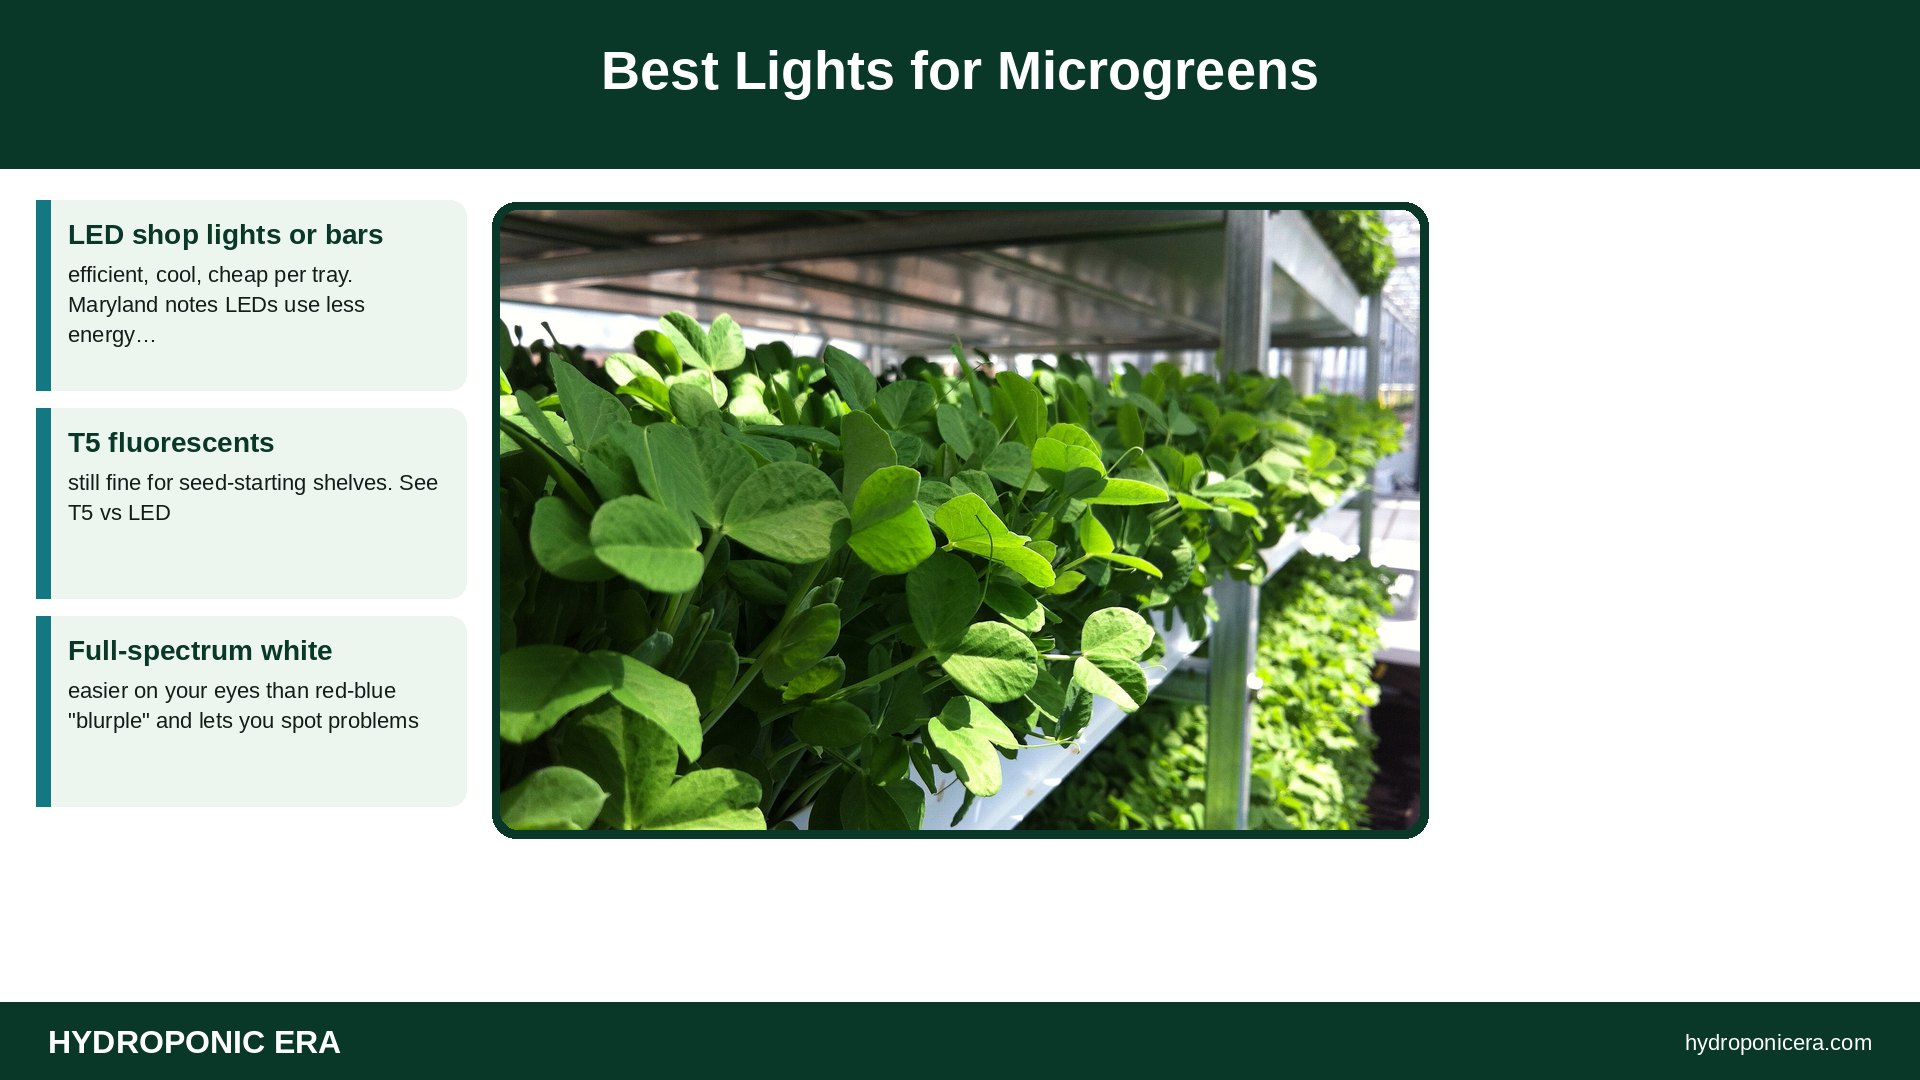
- LED shop lights or bars: efficient, cool, cheap per tray. Maryland notes LEDs use less energy than fluorescents for the same light.
- T5 fluorescents: still fine for seed-starting shelves. See T5 vs LED.
- Full-spectrum white: easier on your eyes than red-blue “blurple” and lets you spot problems.
- Windowsill: workable, but USU points out Utah winters can have as little as 8 hours of sunlight.
Hang lights about 6–12 inches (15–30 cm) above the foliage, as Maryland suggests, and adjust by watching the plants. See seed-starting shelf with grow lights.
Signs Your Microgreens Need More (or Less) Light
| Sign | Cause | Fix |
|---|---|---|
| Pale yellow leaves | Too long in the dark, or weak light | Uncover sooner, lower light |
| Tall, floppy stems | Low light intensity | Move light closer or add hours |
| Leaning toward window | One-sided light | Rotate tray daily or use a grow light |
| Bleached or crispy tips | Light too close or too hot | Raise the fixture |
| Very short, tough greens | Too much light, too early | Lengthen blackout slightly |
See leggy seedlings and light burn.
Do Microgreens Need Light at All?
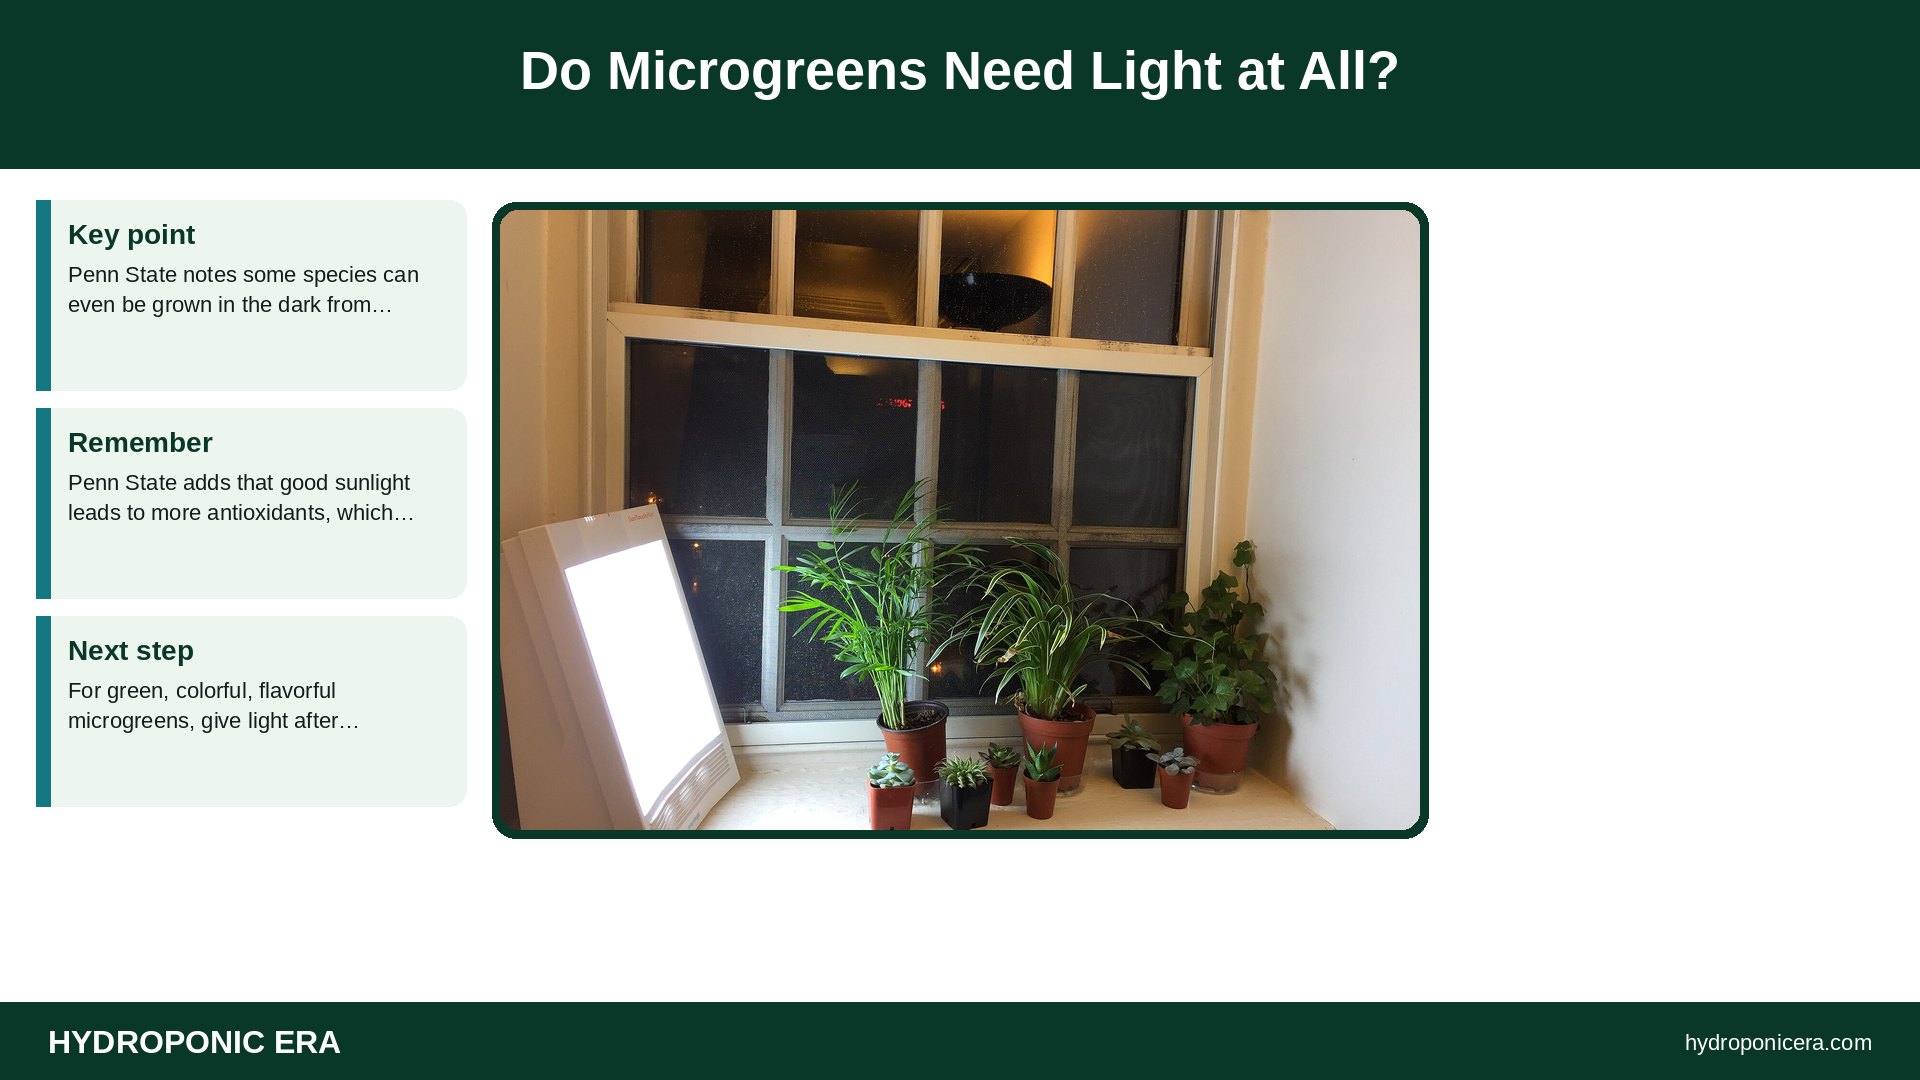
To germinate, no. Penn State notes some species can even be grown in the dark from sowing to harvest, but those are really sprouts or etiolated shoots: pale, mild and lower in the pigments that sunlight builds. Penn State adds that good sunlight leads to more antioxidants, which plants produce mainly in response to solar radiation. For green, colorful, flavorful microgreens, give light after germination.
Temperature and Airflow Go With Light
USU holds 74°F (23°C) during germination, 72°F (22°C) under lights and 68°F (20°C) at night. Virginia Tech’s guide recommends 60–70°F (16–21°C) and 50–70% humidity, with fans for airflow. Lights add heat, so check the canopy temperature on shelves. See airflow and fans.
Energy Cost of Lighting Microgreens

Because microgreens are low-light and short-lived, a modest LED shop light is usually enough for a home shelf. To estimate cost, multiply watts by hours by days and divide by 1,000 for kWh, then multiply by your utility rate. For example, 30 watts for 16 hours over 12 days is about 5.8 kWh per tray cycle. See electricity cost framework.
A Simple Setup That Meets Microgreens Light Requirements
- Wire shelf with one LED shop light per shelf.
- Hang lights on chains so you can raise or lower them.
- Outlet timer set to 16–18 hours on.
- Small clip fan on low.
- Optional: phone light meter app to compare spots. See measuring PPFD with a phone.
Meeting microgreens light requirements doesn’t take expensive gear. Moderate light, a steady schedule and a proper blackout period will cover most crops. See growing microgreens hydroponically.
Microgreens Light Requirements by Crop Type
| Crop group | Typical DLI target | Notes |
|---|---|---|
| Arugula | About 9 | Research in the Virginia Tech guide suggests it does well at lower light |
| Mustard, mizuna | 12 or more | May benefit from brighter light |
| Most brassicas (broccoli, kale, cabbage, radish) | 9–16 | General recommendation |
| Pea shoots, sunflower | 9–16 | Grown taller; uneven light causes leaning |
Microgreens light requirements also depend on how long the crop stays under the lamp. Fast crops like radish are only under light for about a week, so a modest light is fine. Slow crops like cilantro, basil and beet spend two weeks or more under light, so consistent intensity matters more. If you grow several crops on one shelf, set the light for the crop with the highest microgreens light requirements and raise the lamp slightly over low-light crops like arugula.
Common Mistakes With Microgreens Light Requirements
- Leaving trays covered too long: stems stretch and turn yellow.
- Running lights 24 hours a day: plants still need a dark period, and you pay for extra power.
- Hanging the lamp too high: intensity falls quickly with distance. See light distance by stage.
- Relying on a dim window in winter: greens lean toward the glass and grow thin.
FAQs
How many hours of light do microgreens need?
About 16–18 hours a day under grow lights.
How long should microgreens stay in the dark?
Usually 2–4 days for most crops; longer for cilantro.
Can microgreens get too much light?
Yes; lights too close can bleach or stunt them.
Can I use a regular LED bulb?
Yes for small trays, if it’s bright and close enough.
What DLI meets microgreens light requirements?
About 9–16 mol/m²/day for most crops.
Do microgreens need light to germinate?
No; most germinate best in the dark.
Sources
- Virginia Cooperative Extension — Introduction to Microgreen Production in Indoor Vertical Farms and Greenhouses
- Penn State Extension — Growing Microgreens
- Penn State Extension — A Step-by-Step Guide for Growing Microgreens at Home
- Utah State University Extension — Grow Your Own Microgreens
- University of Maryland Extension — Growing Microgreens and Baby Greens Indoors
- University of Maryland Extension, Maryland Grows — Fine-tuning your indoor plant lighting choices
- Photo credits (Wikimedia Commons, edited with titles): Terramera scientists working in a climate-controlled growth chamber located in Vancouver, BC. The space uses LED lighting, which supports plant growth. (50188965171) by Simon Fraser University – Communications & Marketing (CC BY 2.0); Dahlias started indoors by F. D. Richards from Clinton, MI (CC BY-SA 2.0); Lufa Farms Microgreens in Trays by Lufa Farms (CC BY-SA 2.0); Potted plants succulents under grow light Nov 2016 by Asdfjrjjj (CC BY-SA 4.0); Lufa Farms Microgreens in Trays by Lufa Farms (CC BY-SA 2.0)
2 thoughts on “Microgreens Light Requirements: Blackout, Hours and Intensity”