
A 5 gallon bucket DWC (deep water culture) system is the simplest powered hydroponic build: one food-grade bucket, a net pot lid, an air pump, and an air stone. Roots hang in aerated nutrient solution, and one bucket grows one large plant, such as a tomato, pepper, or a big head of lettuce. You can build it in under an hour for roughly the cost of a store-bought starter kit or less, using parts from a hardware store and an aquarium aisle.
Key takeaway: The air pump is the heart of a 5 gallon bucket DWC. Keep it running 24/7, keep light out of the bucket, and keep the solution cool.
| Question | Short answer |
|---|---|
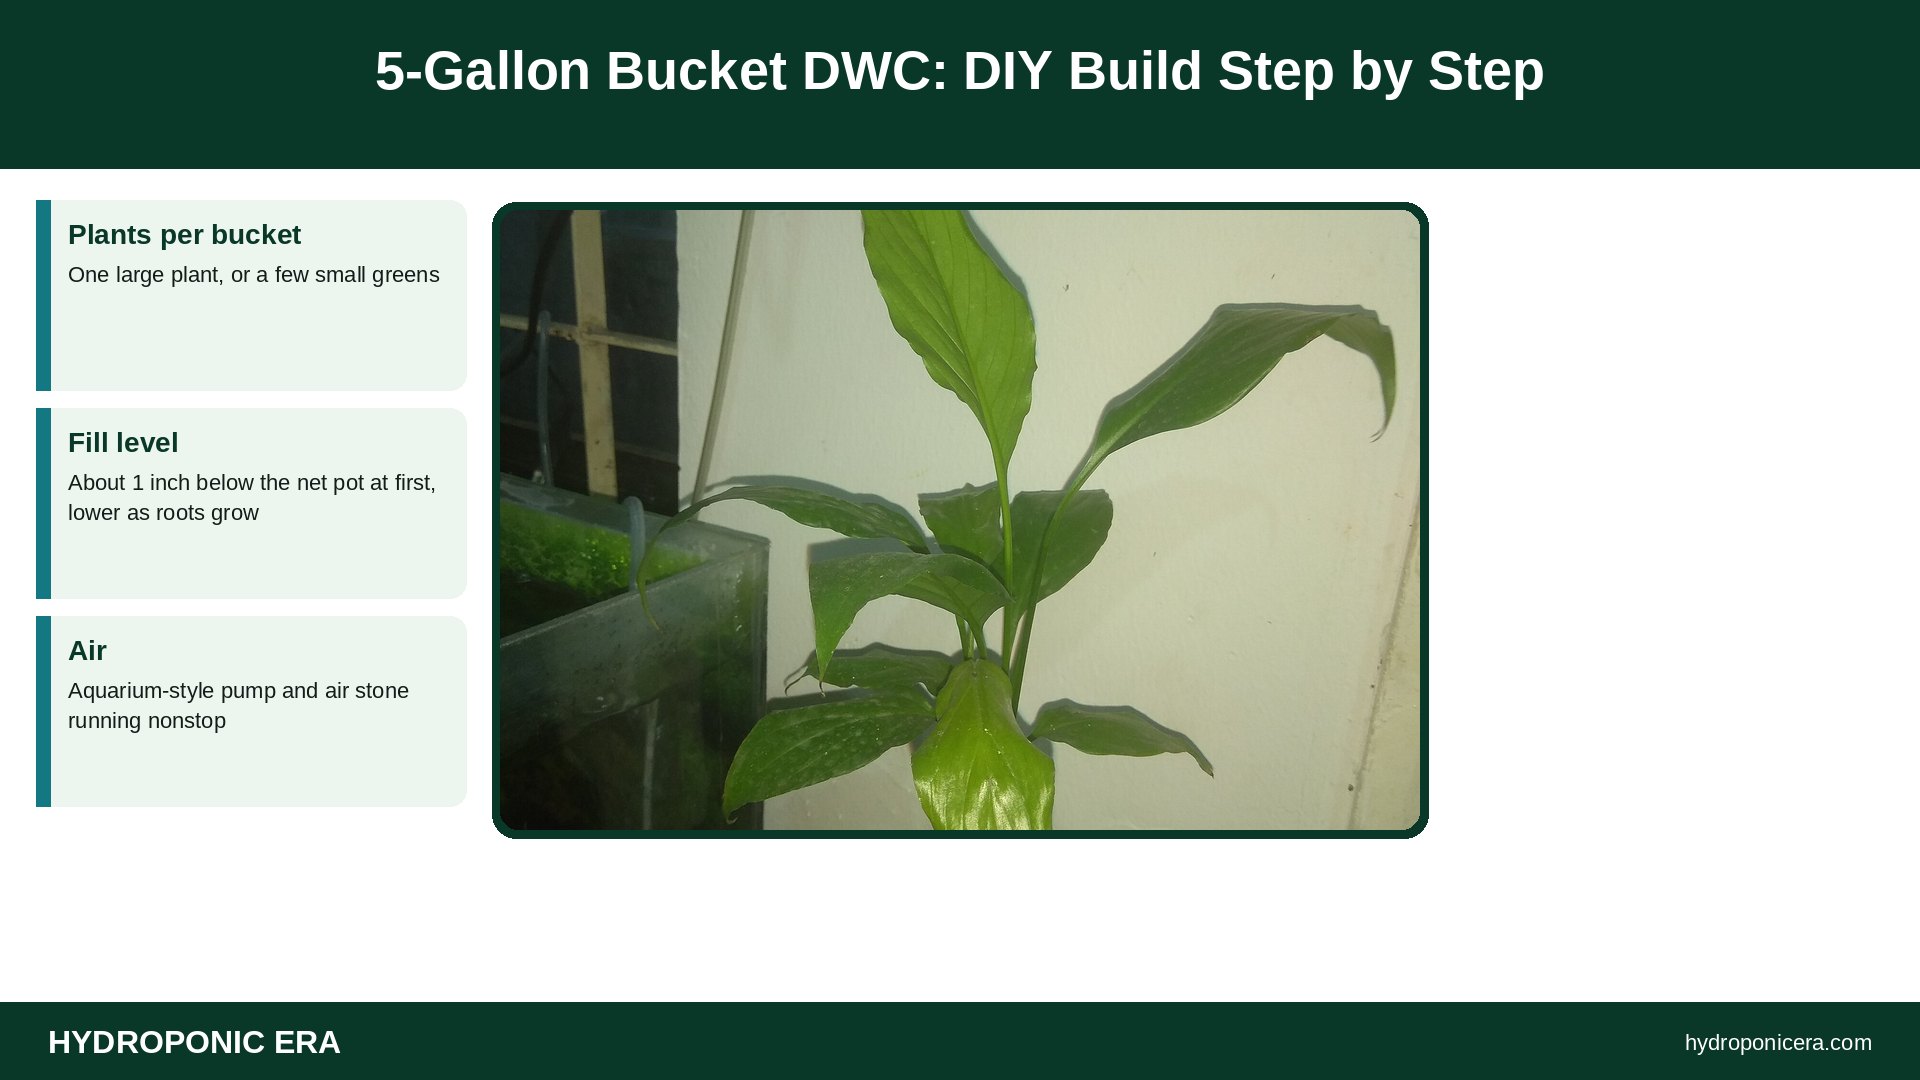
| Plants per bucket | One large plant, or a few small greens |
| Fill level | About 1 inch below the net pot at first, lower as roots grow |
| Air | Aquarium-style pump and air stone running nonstop |
| pH / EC | pH 5.5–6.5; EC based on crop and nutrient label |
| Change solution | Every 1–3 weeks, top off in between |
| Ideal water temp | Roughly 65–70°F |
Bucket DWC Parts List
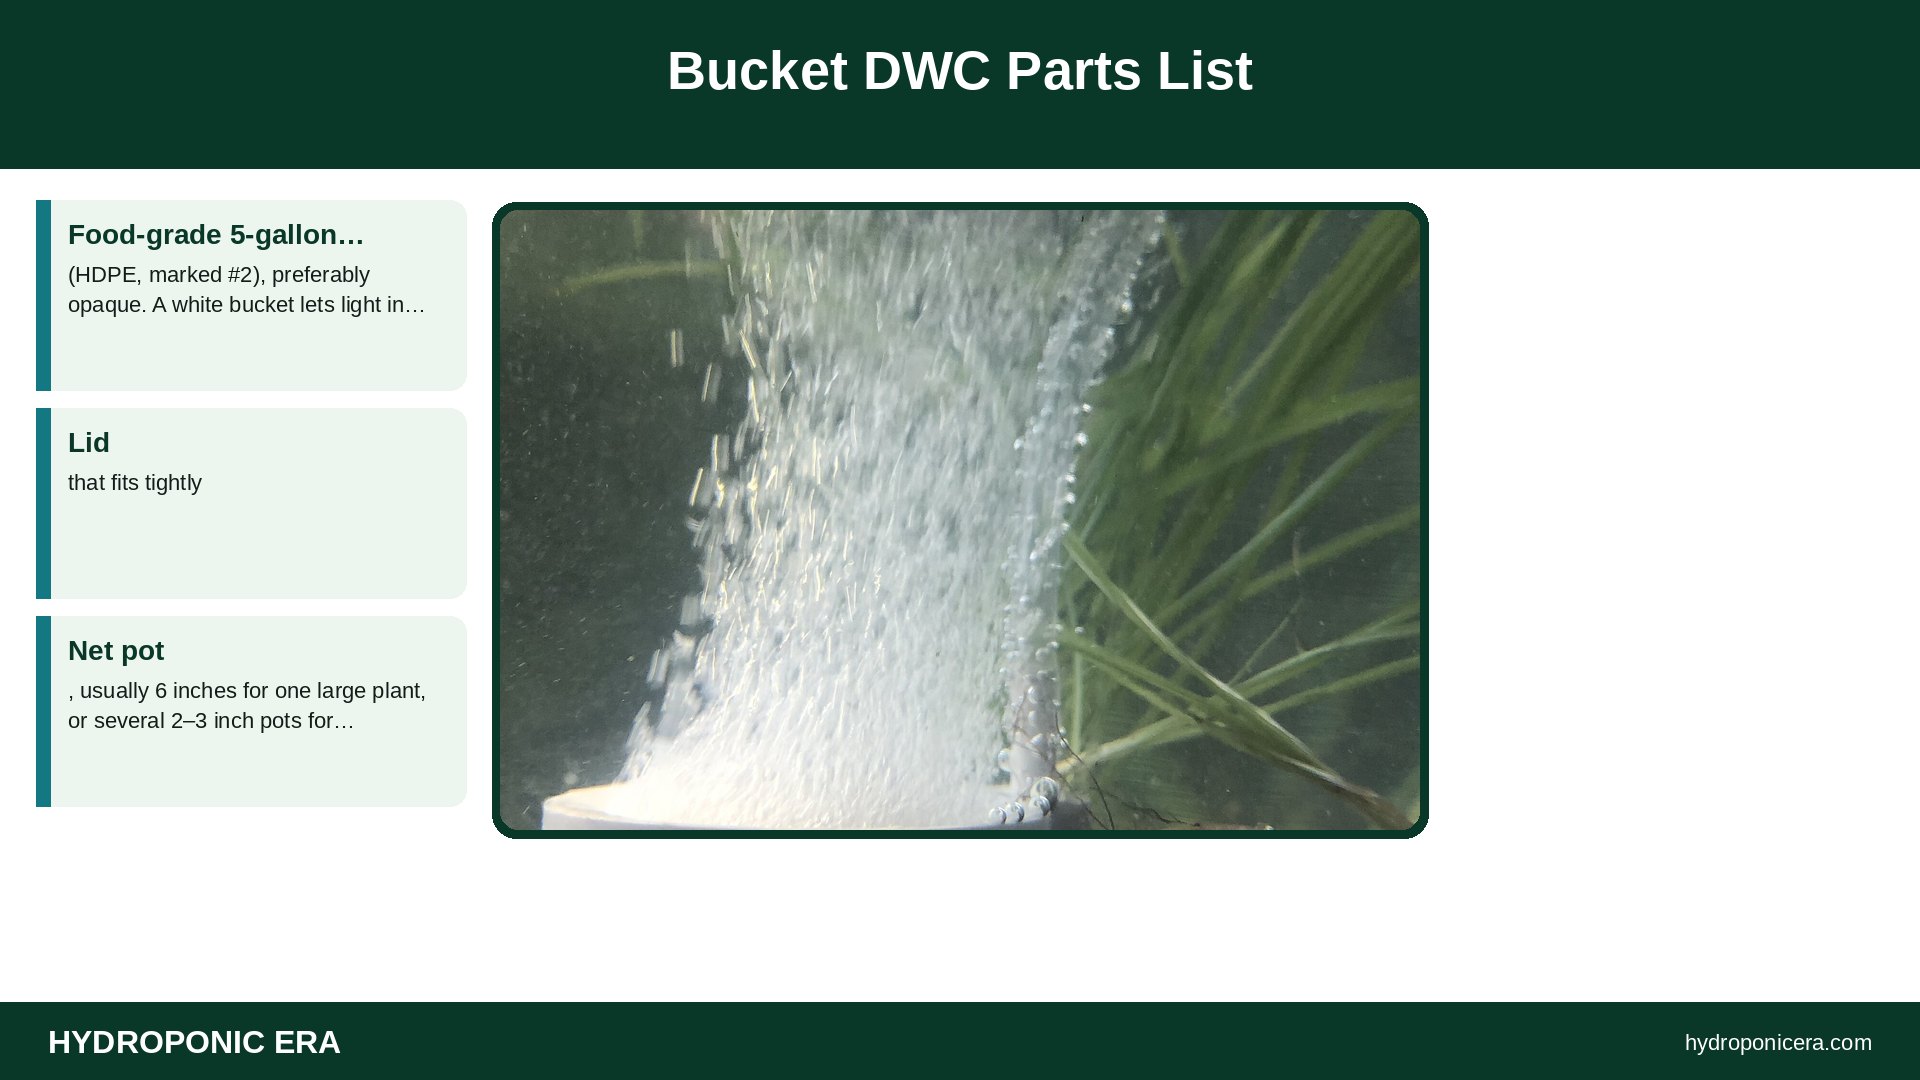
- Food-grade 5-gallon bucket (HDPE, marked #2), preferably opaque. A white bucket lets light in; paint it or wrap it. See safe plastics for DIY hydroponics.
- Lid that fits tightly.
- Net pot, usually 6 inches for one large plant, or several 2–3 inch pots for greens. See net pot sizes by crop.
- Hole saw sized to the net pot rim.
- Air pump, air line tubing, a check valve, and an air stone. See air pump sizing.
- Growing medium: clay pebbles or a rockwool starter cube.
- Hydroponic nutrients, pH test kit or meter, and pH up/down.
Step-by-Step Bucket DWC Build
- Clean the bucket. Wash with mild soap and rinse well.
- Cut the lid. Mark the center and cut a hole with the hole saw so the net pot sits snugly on its rim.
- Drill the air line hole. Make a small hole near the edge of the lid (or high on the bucket side) just big enough for the tubing.
- Light-proof. If the bucket is translucent, paint the outside or wrap it in foil tape plus a light-colored layer to reflect heat.
- Set up air. Connect the air stone to tubing, run it through the hole, and drop the stone to the bucket floor. Add a check valve so water can’t siphon back if the pump sits below the water line.
- Mix the solution. Fill with water, add nutrients following the label, then adjust pH. Our guide to mixing nutrient solution walks through it.
- Set the level. Fill so the solution sits about an inch below the bottom of the net pot. Bubbles splashing up will keep the medium moist.
- Plant. Place a rooted seedling in the net pot and backfill with rinsed clay pebbles.
Running Your 5 Gallon Bucket DWC
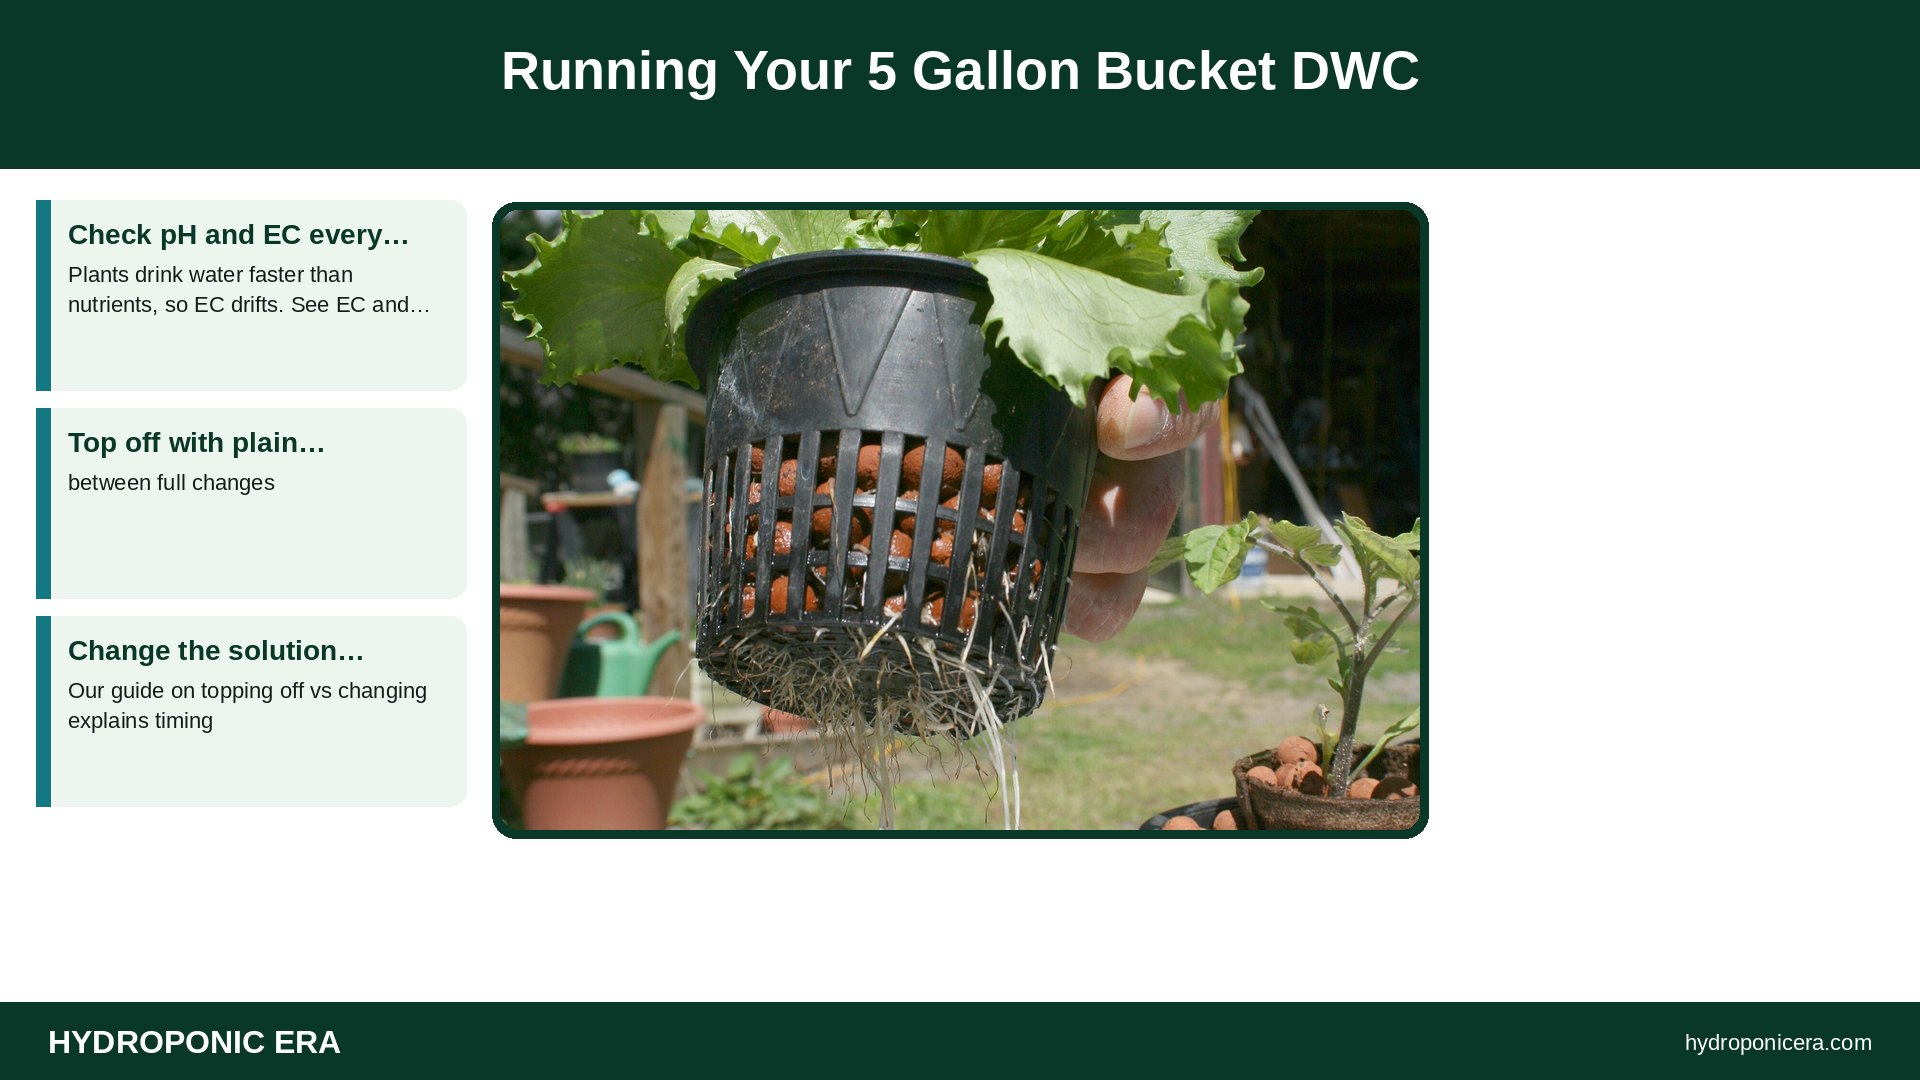
For the first week or two, the young roots need to reach the water. Once they dangle into the solution, you can gradually lower the level to leave an air gap of a couple of inches. That air gap gives the upper roots oxygen and reduces the risk of rot at the stem.
- Check pH and EC every day or two. Plants drink water faster than nutrients, so EC drifts. See EC and TDS basics.
- Top off with plain water or weak solution between full changes.
- Change the solution every 1–3 weeks. Our guide on topping off vs changing explains timing.
- Keep the pump running. A stopped air pump in warm weather can starve roots of oxygen within hours.
Water Temperature and Oxygen
Warm solution holds less dissolved oxygen and favors root rot organisms. In a 5 gallon bucket DWC the small water volume heats up quickly in summer. Keep the bucket off warm floors near vents, shade it, and consider frozen water bottles as a temporary fix. See dissolved oxygen in hydroponics and Pythium root rot.
Healthy DWC roots look white or cream and smell fresh. Brown, slimy, or foul-smelling roots signal trouble. Our brown roots guide lists causes.
Best Crops for One Bucket
| Crop | Notes |
|---|---|
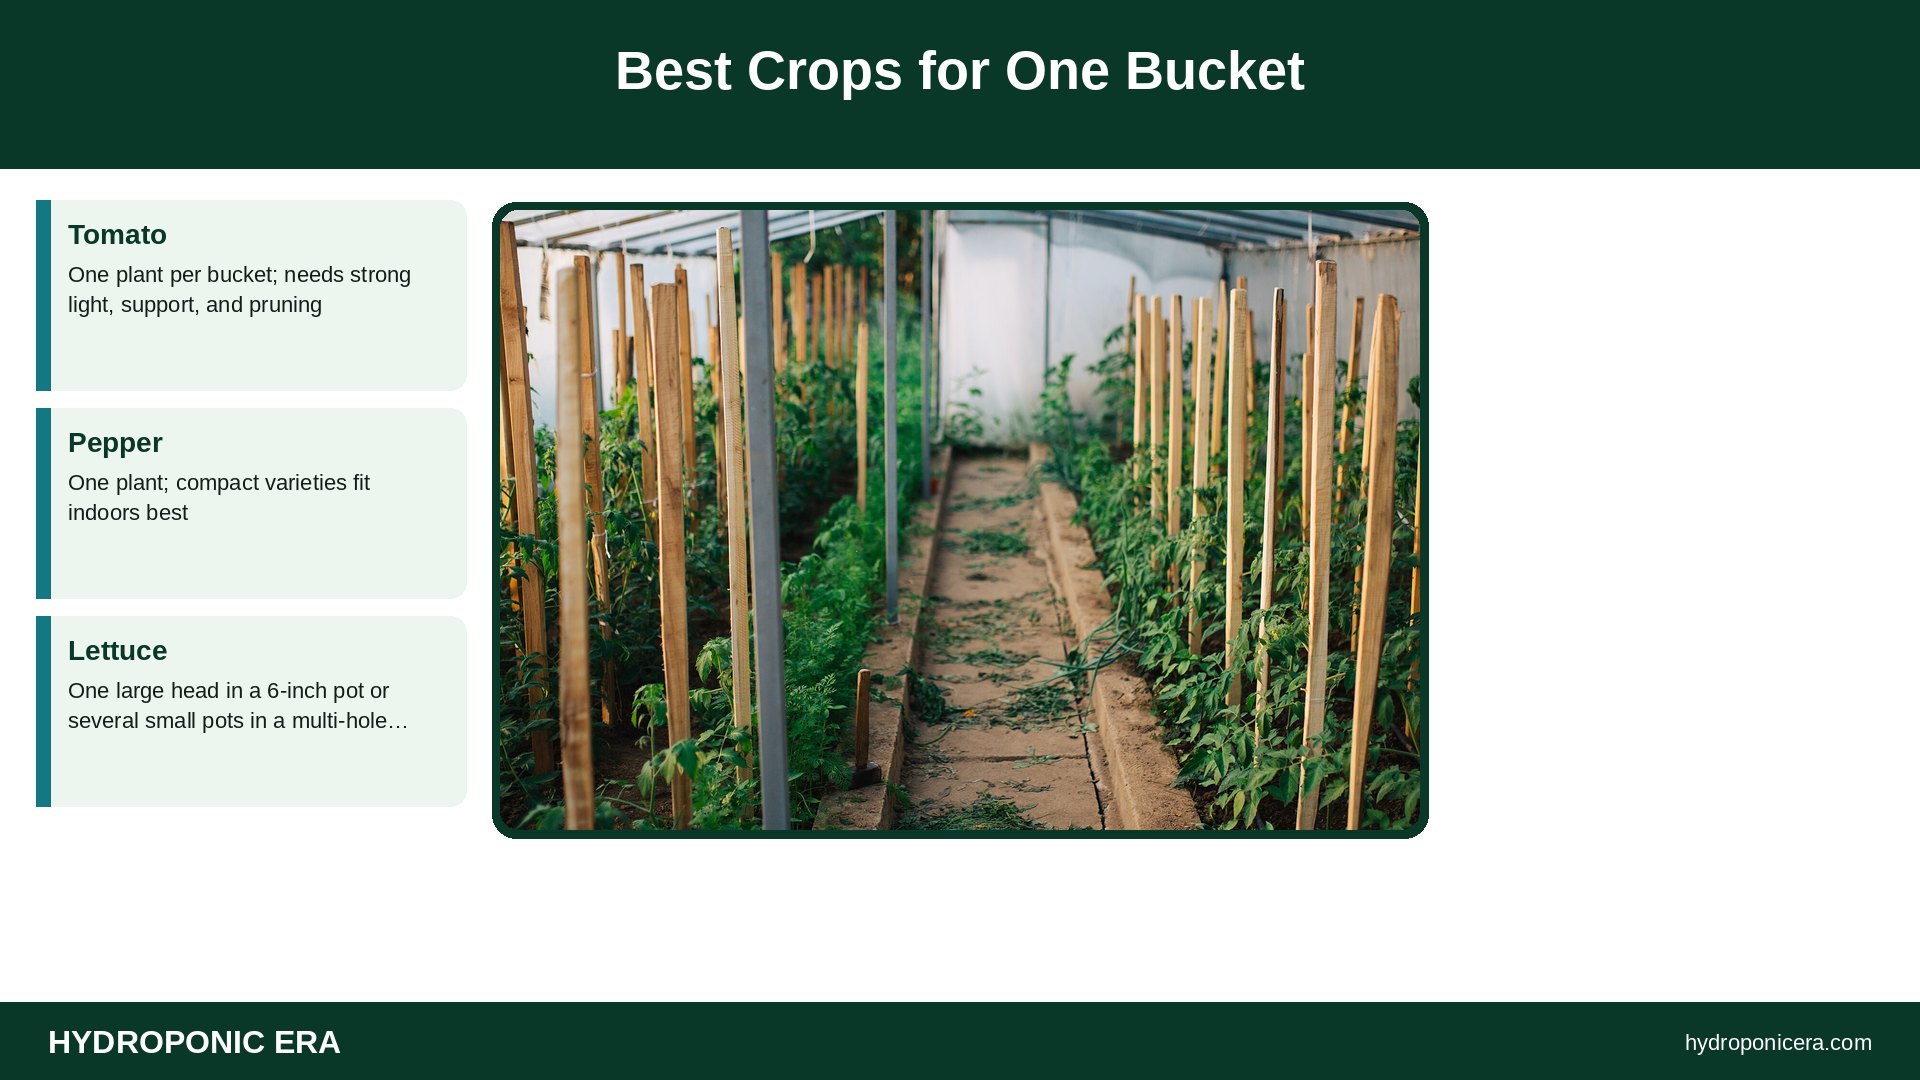
| Tomato | One plant per bucket; needs strong light, support, and pruning |
| Pepper | One plant; compact varieties fit indoors best |
| Lettuce | One large head in a 6-inch pot or several small pots in a multi-hole lid |
| Basil | One plant grows large; prune often |
| Cucumber | Possible with a trellis, but drinks a lot of water |
See our guides to hydroponic tomatoes and hydroponic basil for crop-specific targets.
Common Bucket DWC Mistakes
- Translucent buckets that grow algae. Light-proof them. See algae in reservoirs.
- Too much water too long. Keeping the stem wet invites rot; lower the level once roots are established.
- No check valve. A power cut can siphon water into the pump.
- Skipping pH. Nutrients lock out quickly outside the target range.
- Undersized pump or a clogged air stone. Replace stones when bubbles weaken.
Scaling Up: Multiple Buckets
Once a single 5 gallon bucket DWC works, you can run several side by side with one larger air pump and a manifold. Each bucket stays independent, which isolates problems. If you want shared solution across buckets, look at recirculating DWC (RDWC), which links buckets with plumbing and a control reservoir.
Cost Breakdown (Approximate)
Prices vary by store and region, so treat these as rough categories rather than quotes. The bucket and lid are the cheapest part. A small aquarium air pump, tubing, and stone are modest. Nutrients, a pH kit, and a basic EC meter cost more up front but serve many future builds. Our cost to start home hydroponics guide shows how to budget.
Bucket DWC vs Kratky: Which First?
If you have never grown hydroponically, a Kratky container teaches the basics with no pump at all. A bucket DWC adds an air pump, which supplies oxygen continuously and supports much larger plants, so it’s the better first build if you want tomatoes or peppers. Many growers run a bucket DWC for one fruiting plant and a few Kratky jars of lettuce side by side, then decide which style suits them. Both use the same nutrients, pH targets, and light.
FAQs: 5 Gallon Bucket DWC
How many plants can I grow in a 5 gallon bucket DWC?
One large fruiting plant or a few small greens. Crowding several big plants into one bucket leads to tangled roots and fast nutrient swings.
How often should I change the water?
Every 1–3 weeks, depending on plant size and how fast EC and pH drift. Top off in between.
Do I need an air stone?
Yes. Without aeration the roots run out of oxygen. That is the main difference between DWC and the passive Kratky method.
Can I use a Home Depot or Lowe’s bucket?
Use one labeled food-grade HDPE (#2). Standard orange buckets are often not rated food-safe and are translucent.
Why are my DWC roots brown?
Often warm water, low oxygen, or light leaks. Nutrient stains can also tint roots; smell and texture tell you whether it’s rot.
Sources
- University of Florida IFAS Extension — Leafy Greens in Hydroponics and Protected Culture for Florida
- Penn State Extension — Hydroponics Systems: Nutrient Solution Programs and Recipes
- USDA National Agricultural Library — Hydroponics resources
- Photo credits (Wikimedia Commons, edited with titles): Spathiphyllum wallisii hydroponically grown by Kephalian (CC BY-SA 4.0); Air Stone Disk aquarium Germany 2024 by Nimmerwelk (CC BY-SA 4.0); 2009-03-30 Lettuce roots by Ildar Sagdejev (Specious) (CC BY-SA 4.0); Greenhouse filled with tomato plants and a bucket on the path by Shixart1985 (CC BY 2.0); Hanfsämling mit Wurzelhaaren am Stamm – Hemp seedling with root hairs on the stem by Vschlothauer (CC0)