
Quick Answer
Hydroponic plant spacing for home systems is about matching canopy width, airflow, and site count to your channel, raft, or bucket layout—not cramming every net pot with a transplant. Crowding raises humidity pockets, slows drying after mist, and invites tip burn and soft pests; overly wide spacing wastes light and reservoir capacity.
Use with beginner systems, DWC vs NFT vs Dutch bucket, apartments / small spaces, and beginner mistakes.
Key Takeaways
- Space for mature canopy size, not seedling size.
- NFT and raft sites need horizontal planning; Dutch buckets need diameter + aisle access.
- Airflow between leaves reduces disease pressure—see airflow habits in related guides.
- Leafy greens tolerate tighter centers than fruiting vines.
- UF/IFAS leafy-greens hydro materials emphasize protected culture density discipline for quality.
- If leaves overlap into a solid mat, raise spacing or prune outer leaves.
- Apartment racks: measure shelf depth before buying dense kits.
- Original scorecard: mature width known | fan path clear | harvest access OK | no wet leaf mats.
Related HydroponicEra guides
- Hydroponic systems for beginners
- DWC vs NFT vs Dutch bucket
- Apartments & small spaces
- Beginner mistakes
- Lettuce
- Airflow & fans
- Tip burn
Why Hydroponic Plant Spacing Beats “Max Sites” Marketing
Kit sellers advertise site counts. Plants advertise canopy diameter. When butterhead lettuce needs roughly hand-span spacing at maturity and you planted every hole in a narrow NFT channel, leaves shade each other, airflow dies, and tip burn risk rises (tip burn).
UF/IFAS materials on leafy greens in hydroponics and protected culture stress crop quality under managed density—not densest packing by default. Oklahoma State hydroponics overviews treat systems as engineered environments: light, air, and root zones must all work.
Fruiting crops in Dutch buckets need even more honesty: indeterminate tomatoes and cucumbers want vertical training space (trellising, tomatoes).
Hydroponic Plant Spacing by System Type
| System | Spacing lens | Home tip |
|---|---|---|
| NFT / channels | Center-to-center along channel | Leave empty sites for large heads |
| DWC / raft | Hole grid vs head size | Stagger plantings for continuous harvest |
| Kratky jars | Jar footprint + leaf spread | Do not pack jars so leaves touch walls constantly |
| Dutch bucket / drip | Bucket diameter + aisle | One vigorous vine per bucket is common |
| Vertical towers | Vertical shading of lower sites | Put shade-tolerant greens lower |
Compare hardware in system comparison, NFT, DWC, and Kratky.
Step-by-Step Hydroponic Plant Spacing Plan
- List crop and expected mature width (seed packet / cultivar notes—not influencer claims).
- Measure usable length/width of channels, rafts, or shelf depth.
- Choose system-appropriate layout (systems guide).
- Mark plant sites lightly before transplanting every hole.
- Leave skip sites for large butterheads or basil bushes.
- Confirm a fan can move air through the canopy (airflow).
- Transplant; photograph day 1 for later density audits.
- At week 2–3, if leaves form a sealed mat, remove every other plant or harvest outer leaves.
- For fruiting crops, plan trellis footprint early (trellis).
- Log final spacing that produced clean harvests for your room.
Crop Variables That Change Hydroponic Plant Spacing

| Crop class | Tendency | Notes |
|---|---|---|
| Loose-leaf lettuce / herbs | Can be tighter | Still need airflow (lettuce, herbs) |
| Butterhead / romaine heads | Wider | Skip sites in dense kits |
| Basil bushes | Wide if unpruned | Prune or space (basil) |
| Tomatoes / cukes | Wide + vertical | Buckets/aisles matter |
Apartment constraints: small spaces.
Common Hydroponic Plant Spacing Mistakes
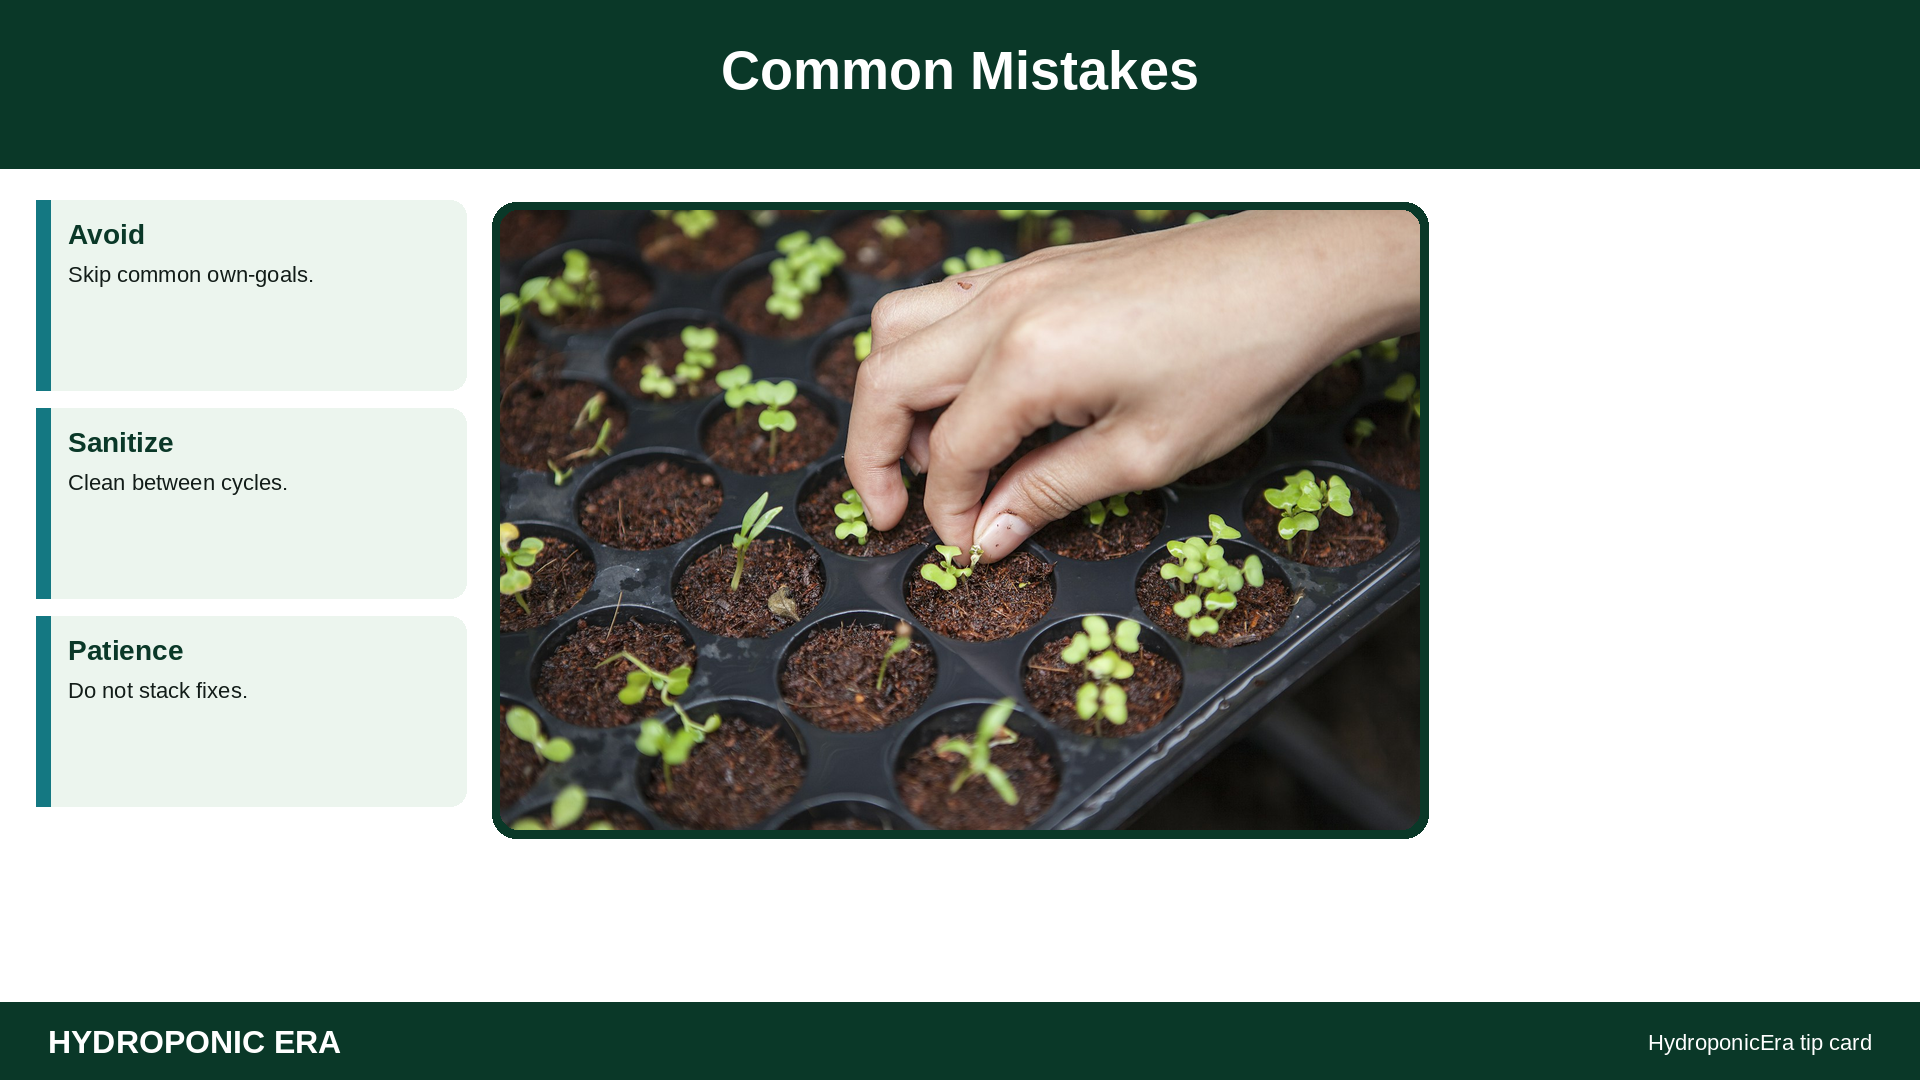
- Filling every kit hole “because it is there”
- Spacing for seedlings then never thinning
- Ignoring fan dead zones in corners
- Mixing sprawling mint with tight lettuce without a wall
- Trellising after vines already tangle
- Assuming vertical towers eliminate shading
Troubleshooting Crowding When Hydroponic Plant Spacing Is Too Tight
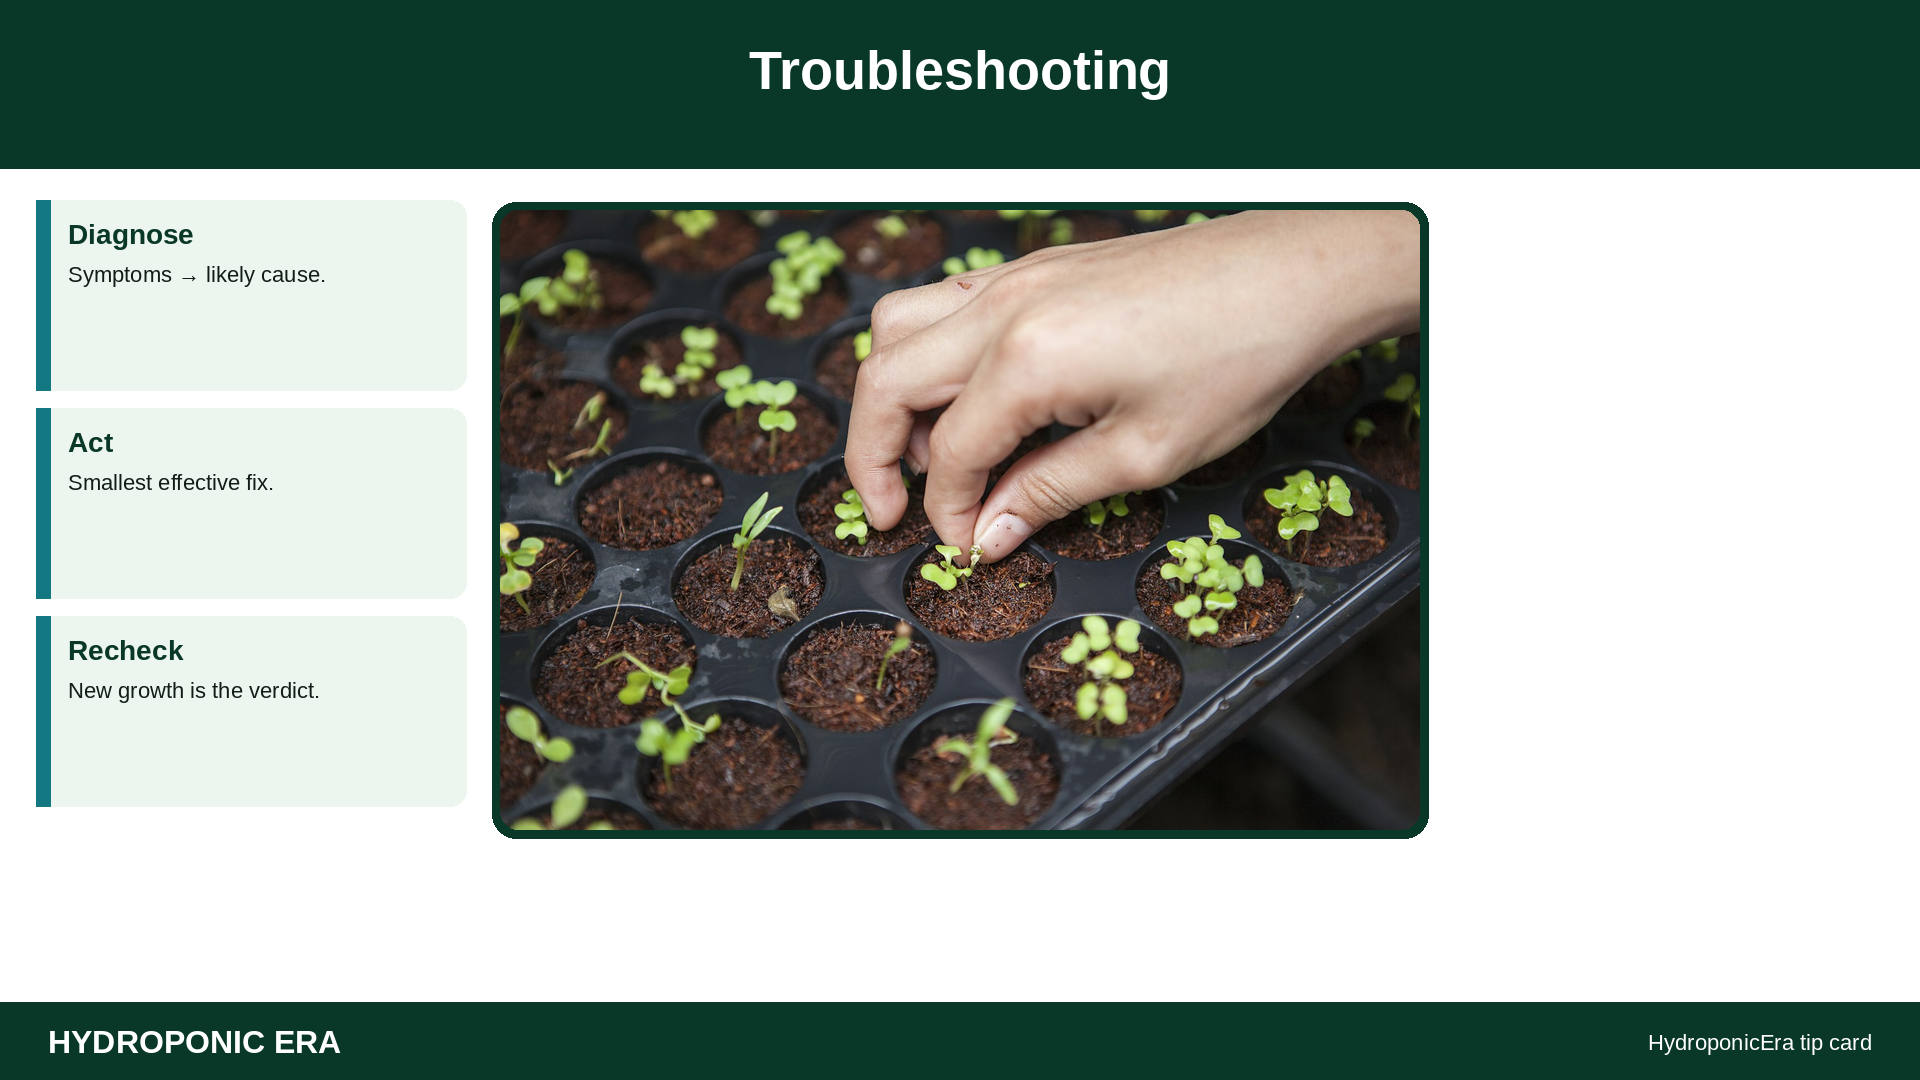
| Symptom | Spacing angle | Also check |
|---|---|---|
| Tip burn on inner leaves | Dense canopy / weak air | tip burn, Ca delivery |
| Stretch + pale lower leaves | Self-shading | lights, PPFD |
| Powdery mildew start | Still, humid leaf mats | PM, humidity |
| Hard harvest access | No aisle / overplanted | Remove plants; redesign |
Original Framework: Hydroponic Plant Spacing Scorecard

Print this scorecard on the reservoir: crop | mature width estimate | sites used / sites available | fan path clear (y/n) | leaf mat at day 21 (y/n) | harvest access (y/n). Adjust only one density variable at a time. That is original operational value—no fabricated “perfect cm” table for every cultivar.
Cluster next reads: mistakes, airflow, yield expectations.
Hydroponic Plant Spacing: What to Check Before You Change the Layout
- Mature canopy width estimated?
- Empty sites planned for large heads?
- Fan path through canopy?
- Fruiting crops have aisle/trellis room?
- Photo log started?
- Apartment shelf depth measured?
FAQs

Can I transplant every hole and thin later?
Yes—if you actually thin. Many growers never do.
Is tighter always higher yield?
Not if quality crashes from tip burn, disease, or unharvestable centers.
NFT vs DWC spacing?
Both need mature width math; raft grids look denser but still shade.
Herbs tighter than tomatoes?
Usually yes—vines need buckets and vertical room.
Link to beginners?
Start with systems and mistakes guides before densifying.
Vertical towers special?
Lower sites get less light—put shade-tolerant greens there.
Putting Hydroponic Plant Spacing Into Practice in a Real Room

Walk your system with a ruler and a phone camera. Measure center-to-center distances on NFT channels or raft holes, then photograph the canopy from above at day 14 and day 28. If the overhead photo looks like a continuous green carpet with no leaf edges visible, you are denser than airflow prefers. Thin, harvest outer leaves, or leave empty sites next cycle.
Apartment racks add a depth constraint: leaves that smash into a wall stay wet longer after misters or humidity spikes. Pull the rack a few centimeters off the wall or skip the back row of sites. Pair this habit with apartment hydroponics and airflow rather than buying another fan first.
Fruiting vines need a different mental model. One vigorous tomato in a Dutch bucket with a clear aisle beats three tangled plants you cannot prune (trellising, tomatoes). Cucumbers likewise punish cramped footprints.
Original weekly density audit: overhead photo | leaf-mat y/n | fan flutter through mid-canopy y/n | harvest access y/n | tip-burn edges y/n. Store the photos by date. That evidence trail is honest expertise without invented yield charts.
When quality crashes at high density—tip burn, mildew starts, pale lower leaves—believe the plants. Extension leafy-greens hydro materials emphasize managed protected culture, not maximum hole fill. Recheck light uniformity (PPFD) so you do not confuse shading with a “weak LED.”
Bottom line: mature width, airflow path, and harvest access beat marketing site counts. Link next to beginner mistakes, system comparison, and lettuce.
Closing practice: change only spacing or only pruning in a given week so logs stay interpretable (yield expectations stays honest when density is controlled).
Putting This Hydroponic Plant Spacing Guide Into Practice
Make a one-page spacing card: crop, mature width estimate, sites used, fan path clear, day-21 leaf-mat check. Keep related HydroponicEra cluster URLs linked so this page is not an orphan. Prefer extension literacy (UF/IFAS leafy greens, OSU hydroponics) over invented centimeter tables for every cultivar.
Recheck after environment changes—new LED height or a heat wave can make yesterday’s density too aggressive. New growth is the verdict; damaged inner leaves may not recover. Keep sanitation, light, and oxygen in the differential whenever tip burn appears (tip burn, PPFD, airflow).
Additional field note: photograph canopies beside dated notes. That evidence trail is honest expertise without fabricated farm claims. Extra practice line: skip every other site on the next lettuce cycle and compare quality to a fully filled channel before declaring denser “better.”
Bottom line: site counts sell kits; mature canopy width grows food. See also systems for beginners, DWC vs NFT vs Dutch, and beginner mistakes.
Extra density note: when mixing crops on one raft, space for the wider canopy species and accept fewer total sites—compatibility and spacing interact (best plants). Revisit after reading the multi-crop reservoir article in this batch.
How Much Hydroponic Plant Spacing Do Home Growers Need?
Most home growers underestimate hydroponic plant spacing until leaves fuse into a humid mat. Recheck hydroponic plant spacing whenever you transplant, when canopy fills 70% of the light footprint, and after any heat wave that pushes soft growth. Good hydroponic plant spacing keeps leaf edges dry, preserves PPFD on lower leaves, and makes harvest cuts cleaner. If you are unsure, start wider on hydroponic plant spacing for fruiting crops and tighten only after you measure mature width. Consistent hydroponic plant spacing habits beat one-time layout guesses.
Sources
- University of Florida IFAS — HS1279: Leafy Greens in Hydroponics and Protected Culture for Florida
- University of Florida IFAS — HS1421: Growing Herbs in Small Hydroponic Systems
- Oklahoma State University Extension — Hydroponics
- Michigan State University Extension — Hydroponics as an agricultural production system
- Virginia Cooperative Extension — SPES-720: Calculating and Using Daily Light Integral (DLI)
- Penn State Extension — Hydroponics Systems and Principles of Plant Nutrition
- Ohio State University Extension — HYG-1263
- University of Florida IFAS — HS184: Building a Floating Hydroponic Garden
3 thoughts on “Hydroponic Plant Spacing Guide for Home Systems”